
After working up a lot of pimped-out items for my copy of Thunder Road, I’m still finding I want to do more. I want to add some different features and I started thinking of possibly moving it to a new setting and an urban Death Race theme seemed appropriate and interesting.
When I first picked up Thunder Road, I noticed the UK version (the one I own) is actually a great match for the 10mm Dropzone Commander‘s scale models.

This has led to a few crossover elements like adding some of the infantry figures to the actual Thunder Road models to help improve their aesthetic.

Dropzone Commander has a great paper terrain set in their “Ruinscape” accessory and it is with that I decided to build my new theme around.

I decided to turn the whole thing into a little unofficial “expansion” called Thunder Road: Skull City. Skull City will use all the rules I developed for my Advanced variant and expand it to use the new burned out urban terrain. I have the extra rules cards being printed and hope to have them soon from CowCow.

First thing I had to do was make the “swappable” boards iconic to the game. These are boards that continuously are placed one in front of the other as the cars race off the edge of the lead board. This is the main mechanic of the game and helps create the endless road that is such an integral part of the game’s appeal.
I had a few options like scanning the terrain tiles and editing them in Photoshop similar to the boards in my advanced set but I wasn’t confident I could get the quality I wanted so I decided to actually use the actual tiles themselves and mod them.

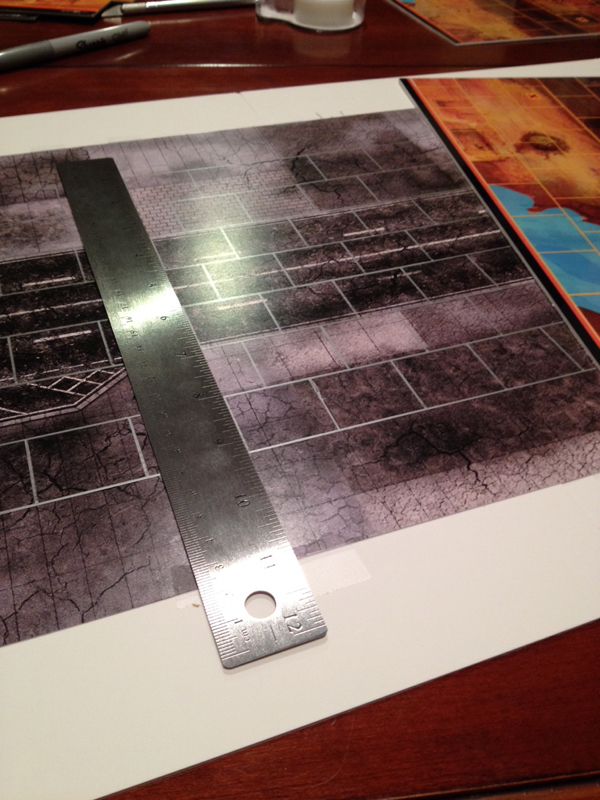
I started by laying out the tiles I wanted to use and measuring out the distances to match the original boards. I then grabbed a metallic silver sharpie and used a straight edge to start marking the board lines to match the original. It took awhile but with some patience and heavy use of my other boards as a guide, it started to come together pretty well.

Afterwards, I cut the tiles to size- basically used one and half tiles per “board” and that perfectly matched the size needed for the regular boards. I used the same process of mounting them to artboard as I used on my poster image boards. I sprayed both the 11×14 artboard and back of each tile with 3M adhesive spray and carefully laid them on the board. I broke out the straight edge and exacto knife and cut the final board down to size, this time without cutting the crap out of my finger.
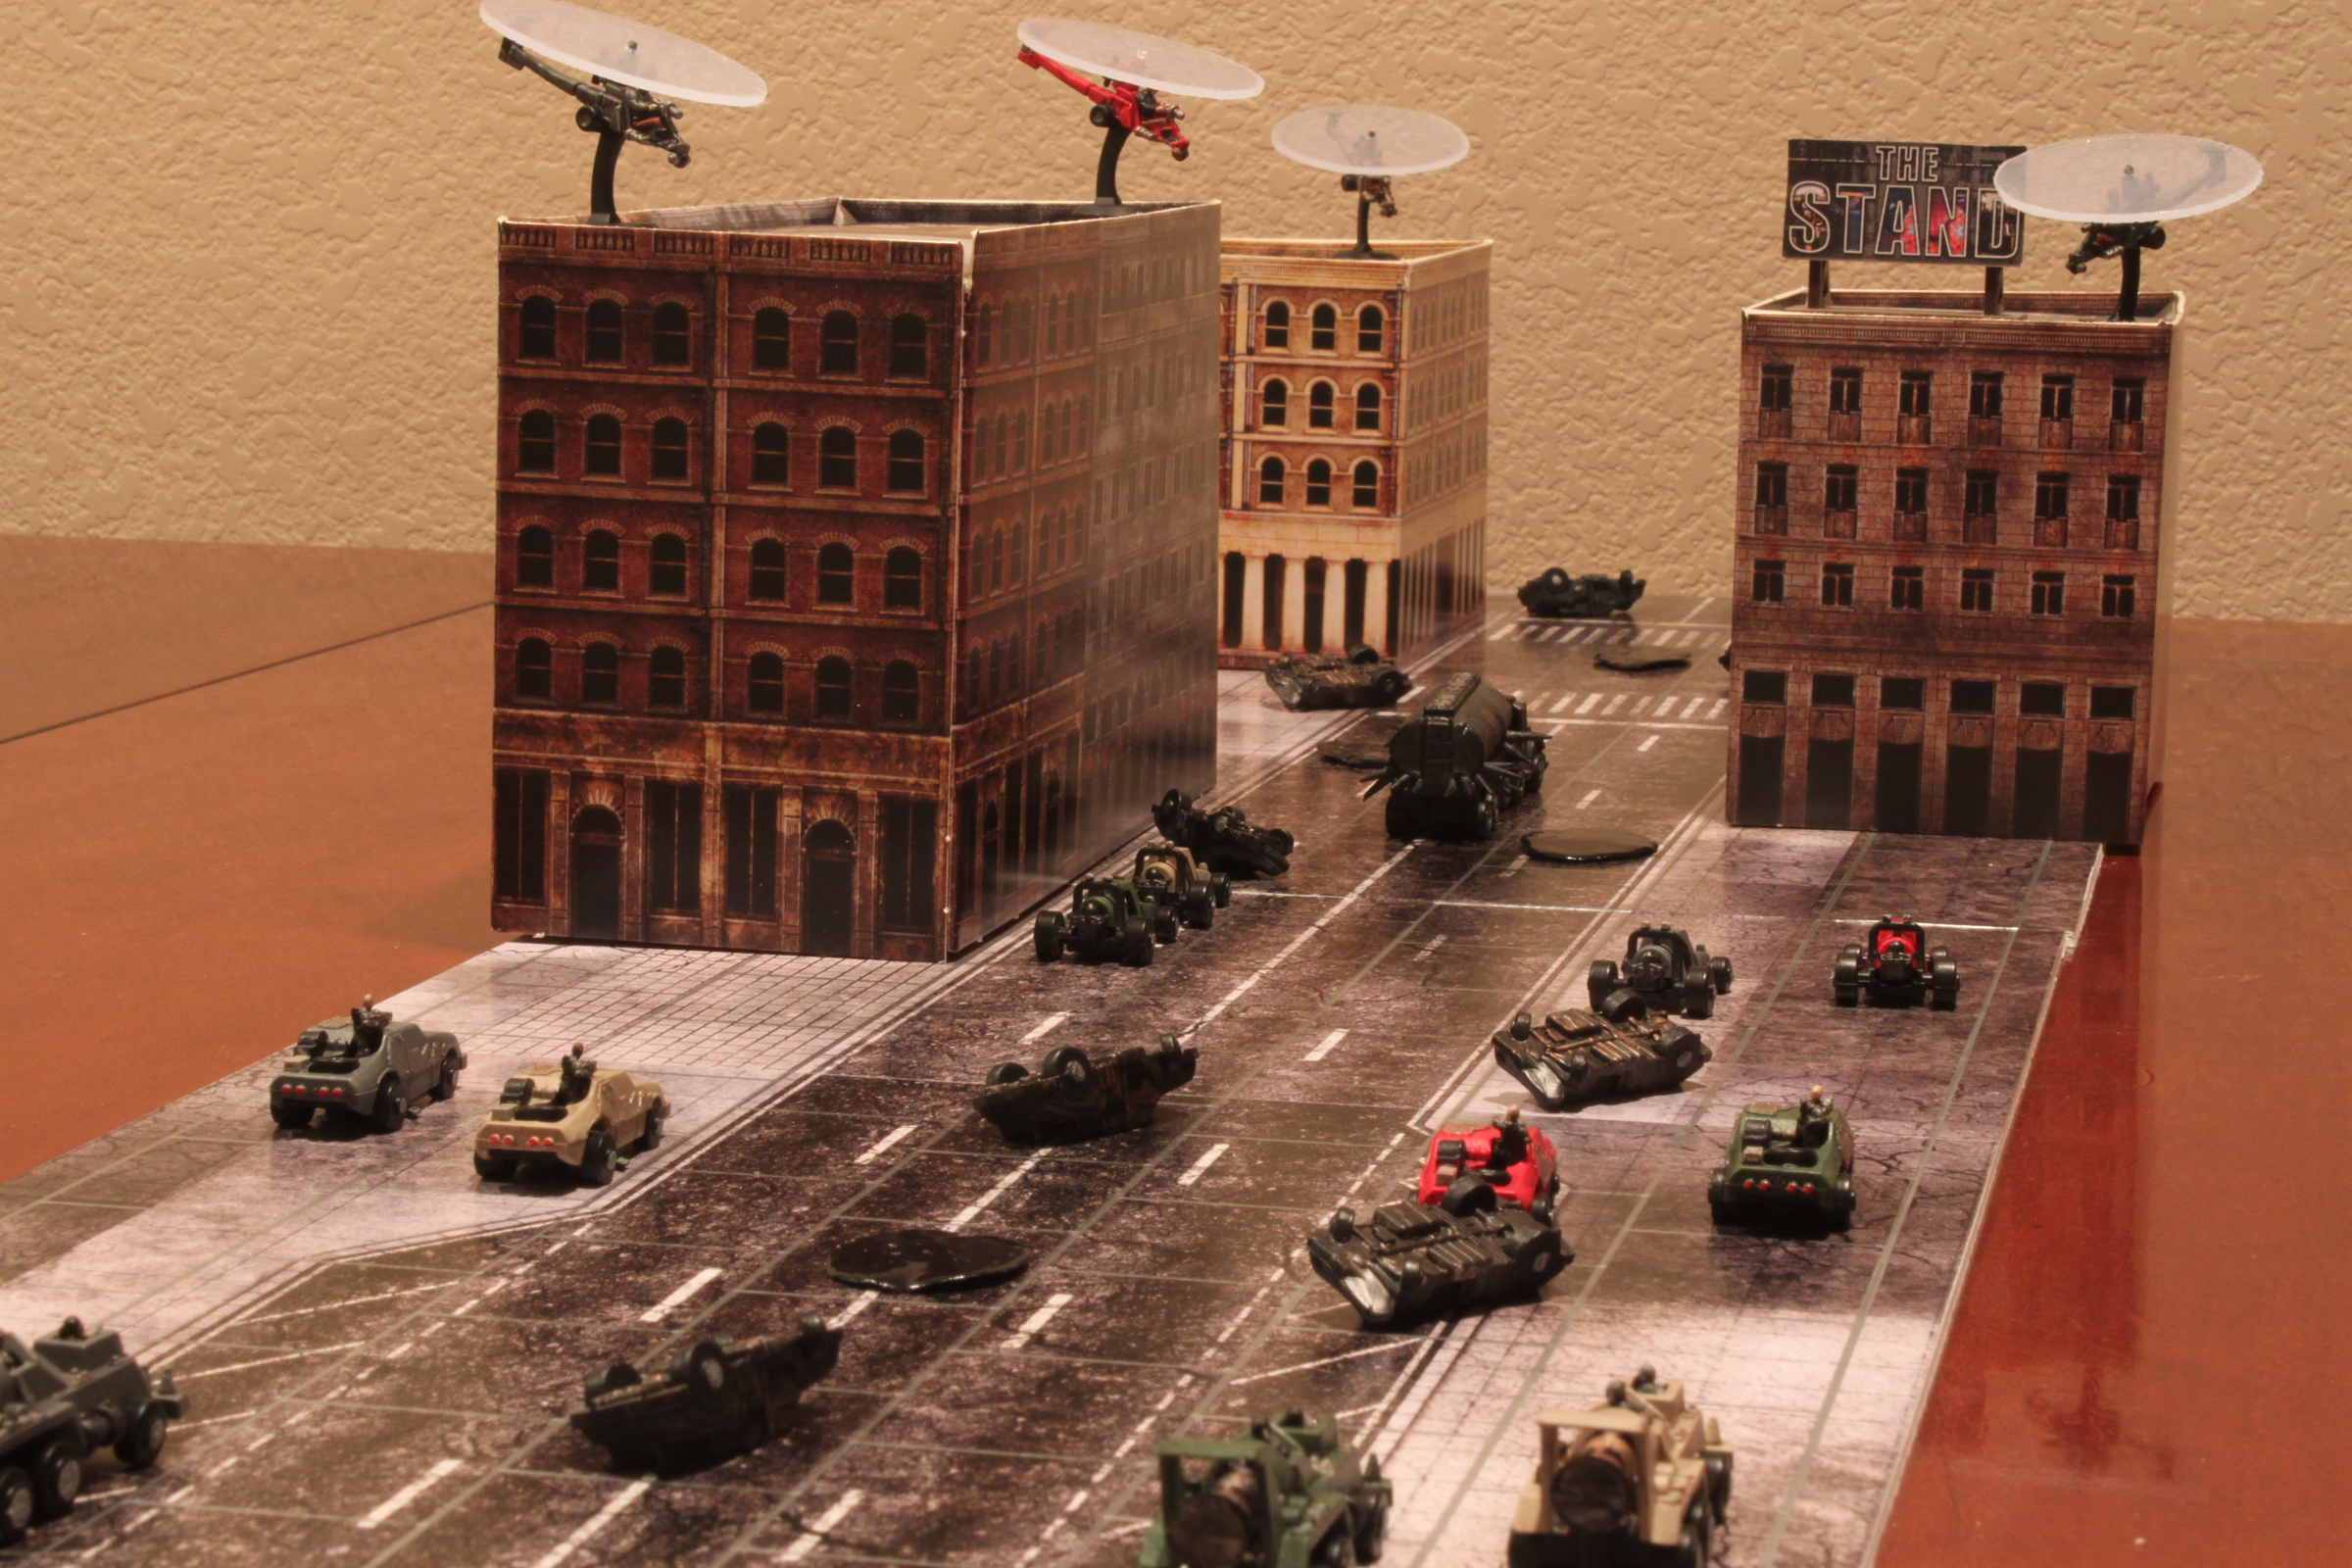
The final boards came out well and I did a quick test set up. I have a few items left to finish up the “expansion” but it is coming along very well.
Jonathan
Howdy,
I was looking at your cards on board game geek for the thunder road and had a couple of questions about fire tokens.
1. By assigning a value for the tokens are you saying that I have to roll under the value to stop the car from being wrecked?
So if the car has two tokens it needs to roll above a three to remain unwrecked?
2. During the game is it possible to remove fire tokens?
3. I think you said that if the car is wrecked it can remove all fire tokens. Is that correct?
thanks
Jonathan
Christian
Hey Jonathan, sorry for the unclear/incomplete rules on BGG. After playing around with the fire tokens a little more, I made the concept a little simpler:
-For each token, a vehicle moves one less space (minimum 0 spaces).
-If this drops the vehicle movement to 0, the vehicle wrecks.
-After the vehicle moves, remove 1 token.
-If a vehicle wrecks, remove all tokens.
Example: a Doom Buggy off the road has 3 fire tokens on it, the player rolls 3, 4, 6. If the player assigns the “3” to it, it would subtract 3 from that value and move zero (wrecking it). If the players assigns either the “4” or “6”, the Doom Buggy will move 1 or 3 spaces (depending on which die used) and then remove a fire token.
This keeps the concept of needing high die rolls to keep the vehicle alive but hopefully is a little easier (at least it was easier for us when we were running it). I’ll change the document on BGG. Thanks for the questions!
Marcus
Inspiring work! Thanks for sharing.
Zopie
Amazing! Looks great!
I just got my copy of Thunder Road at a thrift store for 2$. It is missing a few pieces but I think I’ll replace all the cars. I’m really looking forward to trying it out!
Christian
Thanks all! Zopie, I saw that a user on BGG had some custom car sets on Shapeways: team set
He also has individual models for sale as well.