
This week I worked a bit more on my Walking Dead terrain, specifically the game board. As I discussed in my paper terrain post, I prefer terrain that is quick, usable, and easily stored. Taking my Walking Dead game into the monochromatic world of black and white (b/w) makes printable paper terrain even easier. Also, painting a full game board in b/w seems too tedious for me. It can be done to great effect, however. Just check out this thread on coolminiornot.com and or this one on lead-adventures.de.

from user vikotnik on lead-adventures.de
Those links show an amazing amount of artistry going into that board and game. I lot of Vikotnik’s images helped push me over the edge, convincing me that b/w is a path worth pursuing.
Regarding my own b/w terrain, I’m using the Capital City pdfs from Fat Dragon Games. They have periodic sales and you can get some of their terrain packs very cheap.
Going back to my photography days, I knew I needed a baseline. Luckily, I had my walker already painted up so I could run some test prints to figure out the right b/w balance. To do this, I took the pdfs and converted them to jpegs and opened them in Photoshop. Next I converted the images to grayscale. At this point, I could take the conversion at its word and just start printing but I suspected that it might be problematic so I went old school and developed a test strip.

It may be hard to see from the photo but the natural print would have been way to dark. I wasn’t sure if the lightest strip was where I wanted so I tried it again only going lighter and increasing the contrast to compensate for the wash-out effect that increasing the brightness will have.

This had me settle on the final settings for my b/w printing and I ran a full sheet test to make sure there were no other issues across the entire image.
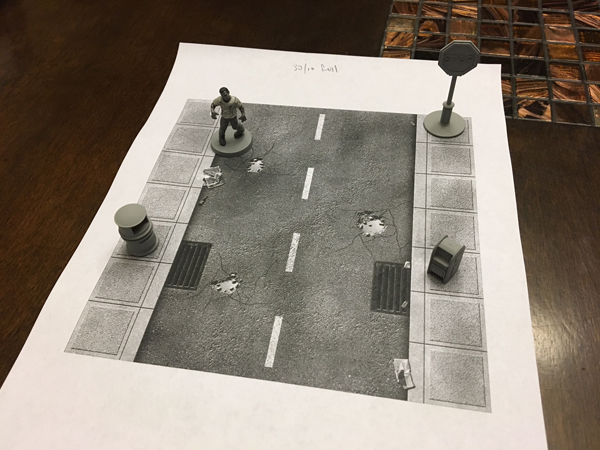
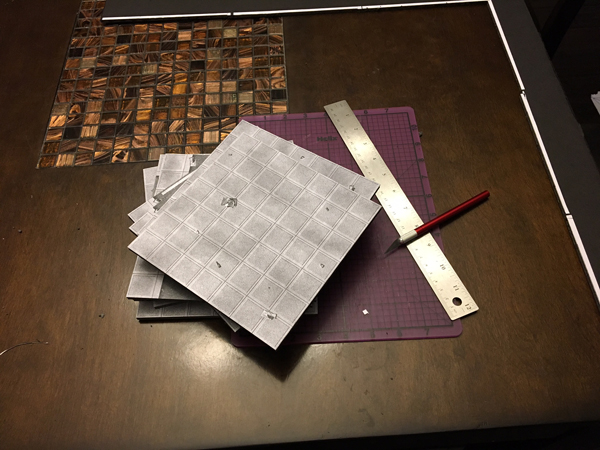
With the testing done, it was time to print. I printed out nine 7″x7″ squares to make my modular game board (Fat Dragon’s single boards are all 7″ squares). The normal game of Walking Dead uses 20″x20″ but my 3×3 design will be a little larger at 21″x21″. I then grabbed some trusty black foam core and spray mounted the prints directly on.

I then cut them out with an X-acto knife and lightly sprayed an acrylic sealer on the boards to help protect them from wear and tear.

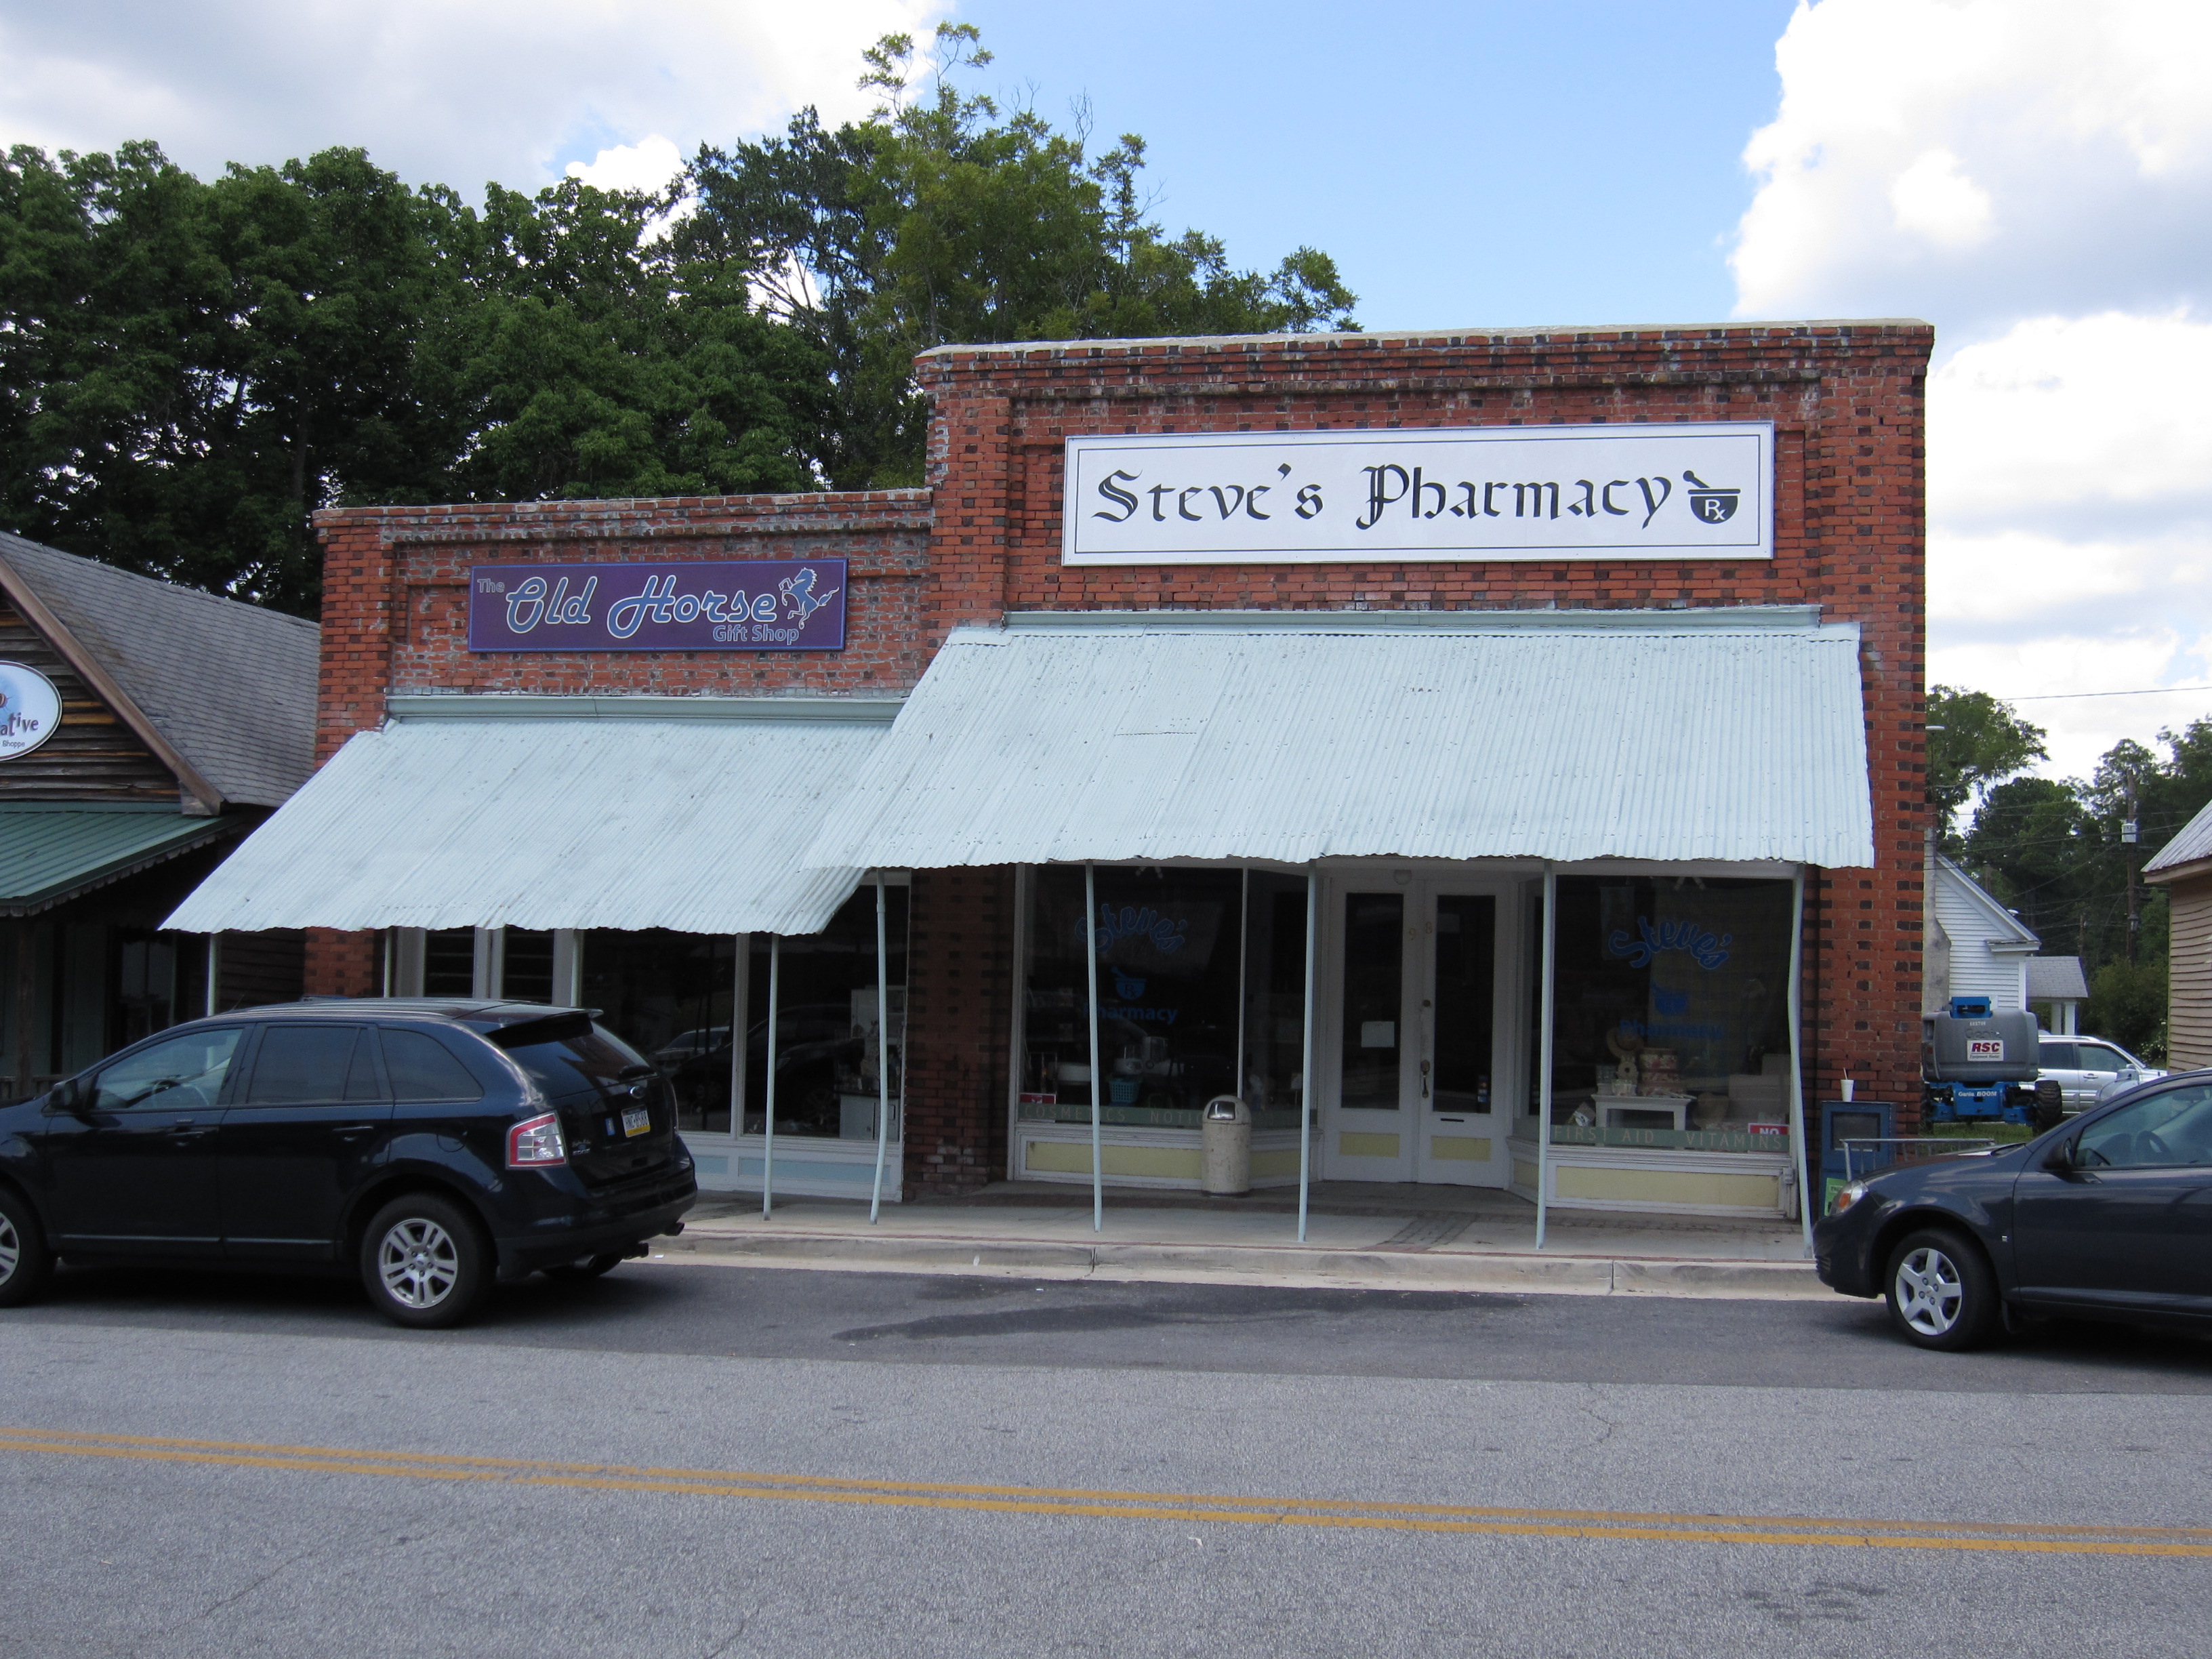
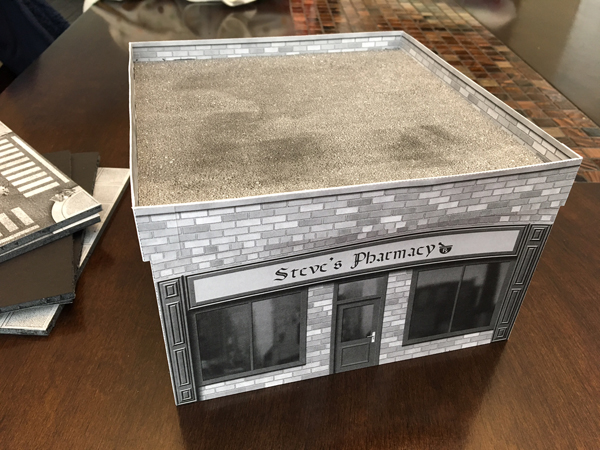
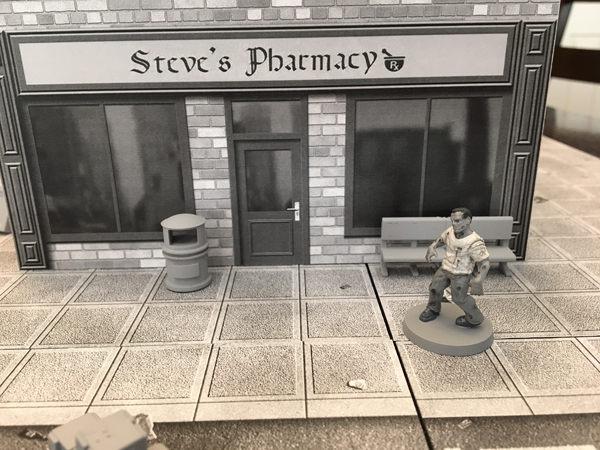
With my modular board turning out well, I turned my attention to making a building as an optional centerpiece. With my brightness and contrast already locked in, I went to print out the buildings through Photoshop again. This time though, I had to make an alteration as I didn’t want some generic store name from the stock pdf package. I found an image of a drug store from a screenshot of The Walking Dead tv show and photoshopped it into my building.

Paper terrain buildings can be extremely easy to assemble if you’re just going for stock terrain pieces. This four-sided structure just takes a bit of cutting and some glue. I use clips to help set the white glue in places where the pressure of the fold might try to mess up the connection.


The roof is likely the most complicated part but even that is quite simple. Make sure you read Fat Dragon’s instructions on how to score the reverse sides and it should come together.


I ran into a little issue with the roof as a bit of the white space started creeping in around the edges.

This will happen a lot since it will be difficult to size the roof cutout to perfectly align with the assembled roof edge/support. This can be cleared up easily with a sharpie. Since I’m already photoshopping these tiles, I’ll just add the same roof pattern to those flaps when I print my next building.

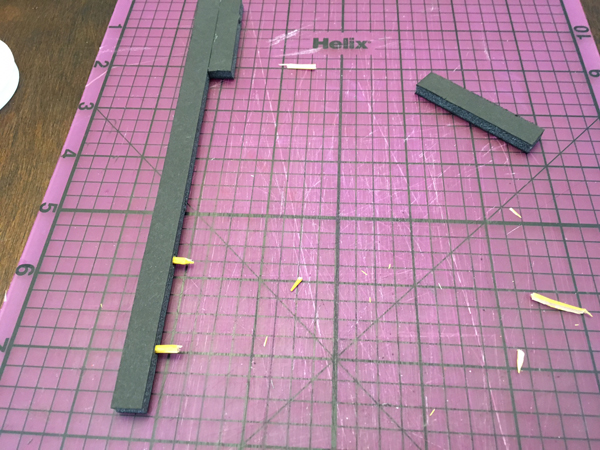
Paper terrain can be a little too flimsy at times and if this bothers you, you can brace the insides with more foam core.

After test fitting some quickly cut support pieces, I made the supports permanent with some glue and toothpick “pins.”


With the building complete, it was time to put it all together.
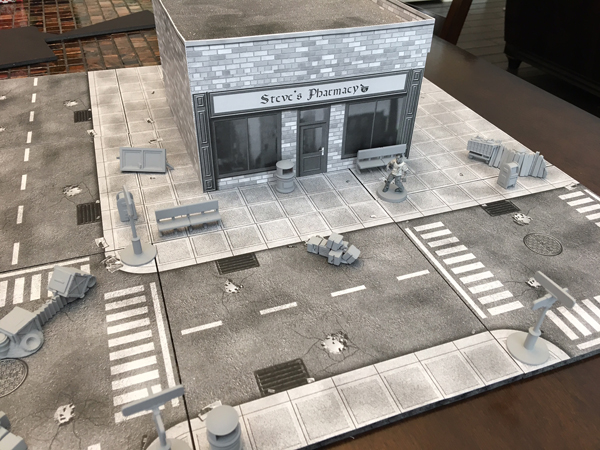
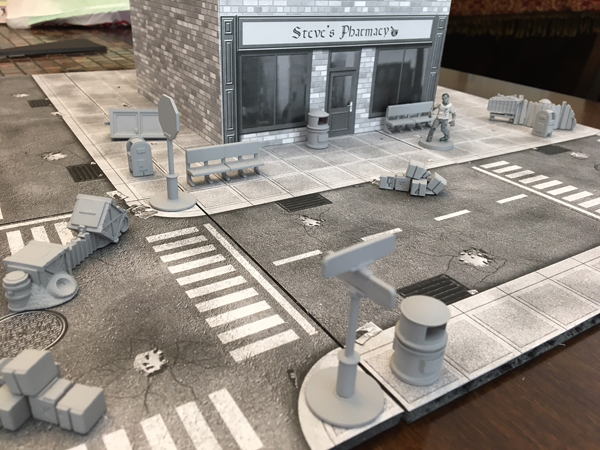
The sculpted terrain bits are from Mantic‘s Battlezones line and work very well. Since I still don’t have the game yet, I might as well start getting those pieces together so I can hit the ground running painting up the fun things like the heroes and walkers when they arrive.
Well, I’ve walked these streets in a carnival, of sights to see…