Over the summer, I had made up some street lights for the Batman Miniature Game. I thought they turned out well but after playing with they, they weren’t quite right: they weren’t very bright, the connections were fiddly and only four of the six original ones work properly now. So I was looking for a replacement and thought I found a good idea using a set of small lights and new posts to hang them on.
As described in my previous post, the new lamp posts were too small so I was going to have to mess around.
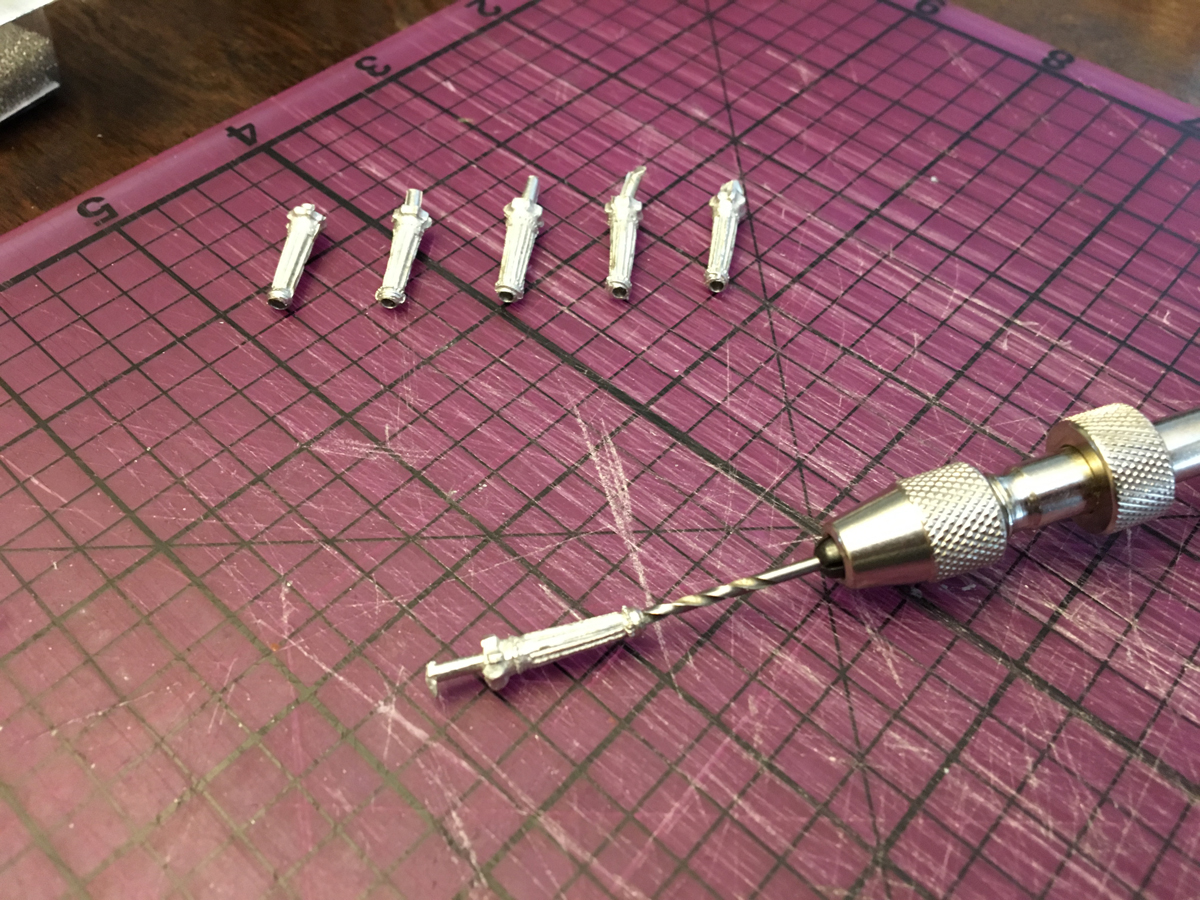
I cut the main post off and left the base of the post and was going to use some brass rods I had from a left over pinning kit. I drilled holes in the bases and then tried to do the same with the tops of the new lamp posts but they were just too small. I scrapped them and decided to do a simple curved top lamp post.
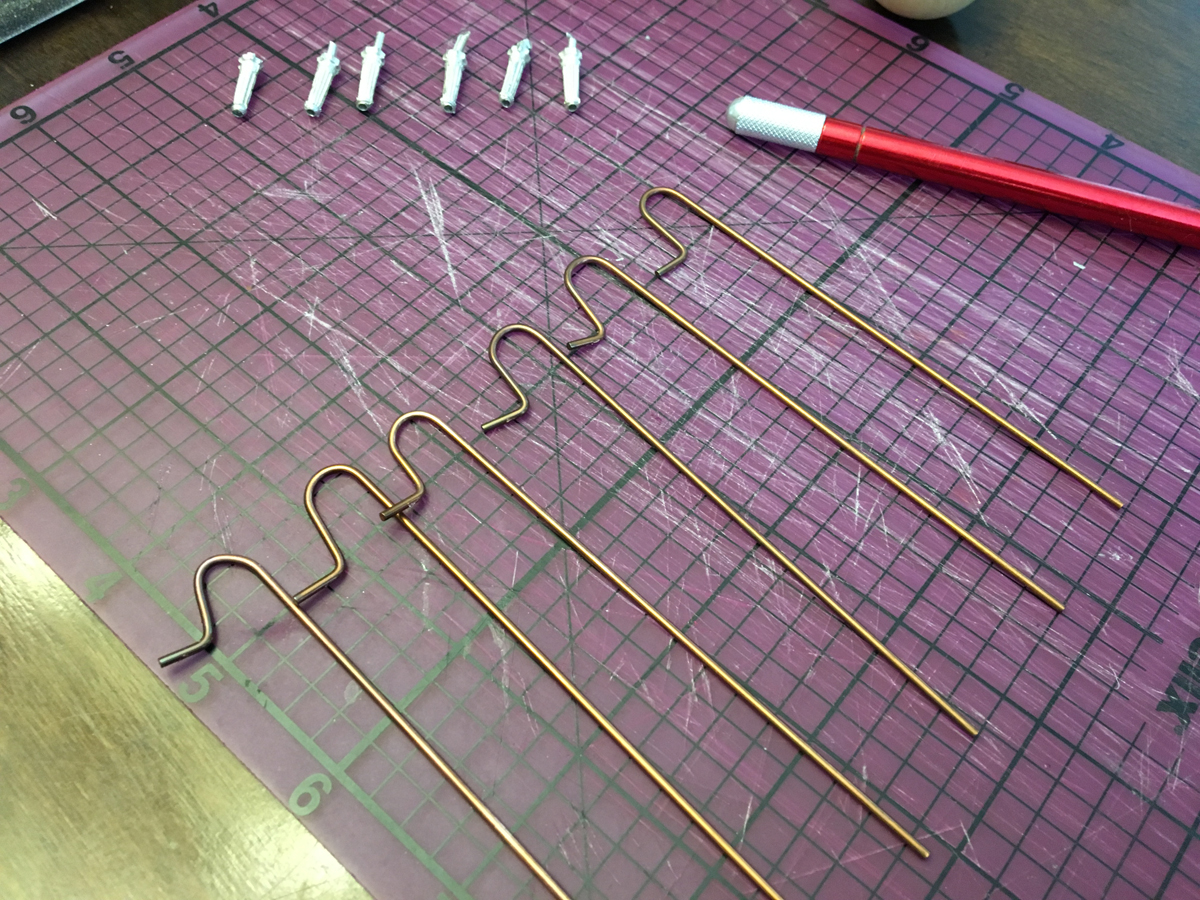
I took each rod and bent them around my X-acto knife handle and then used needle-nose pliers to bend the last little hook out. This was all pretty labor intensive and by the end, my fingers felt bruised.
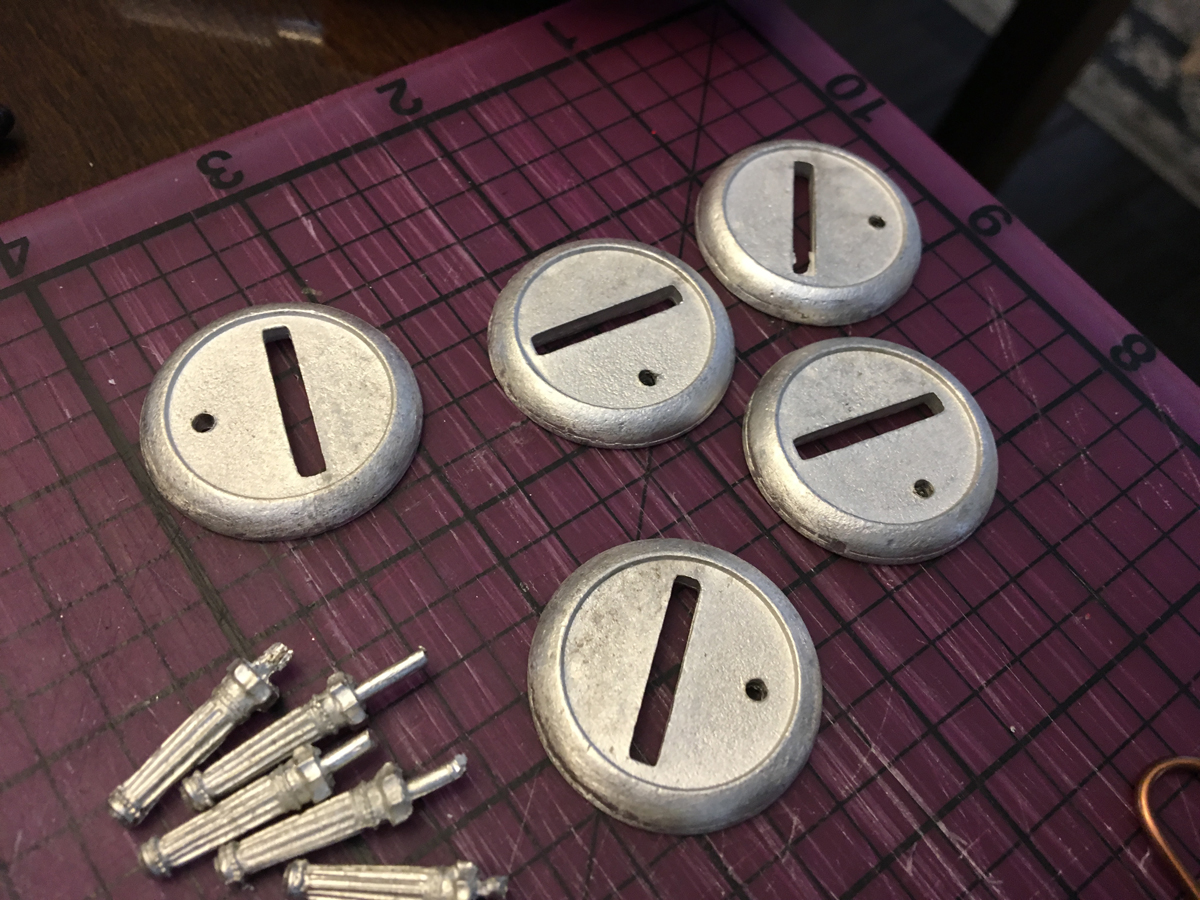
Soldiering on, I got out my Privateer Press metal bases and drilled holes in them as well to fit the lamp post base stems. I used a regular power drill for these.
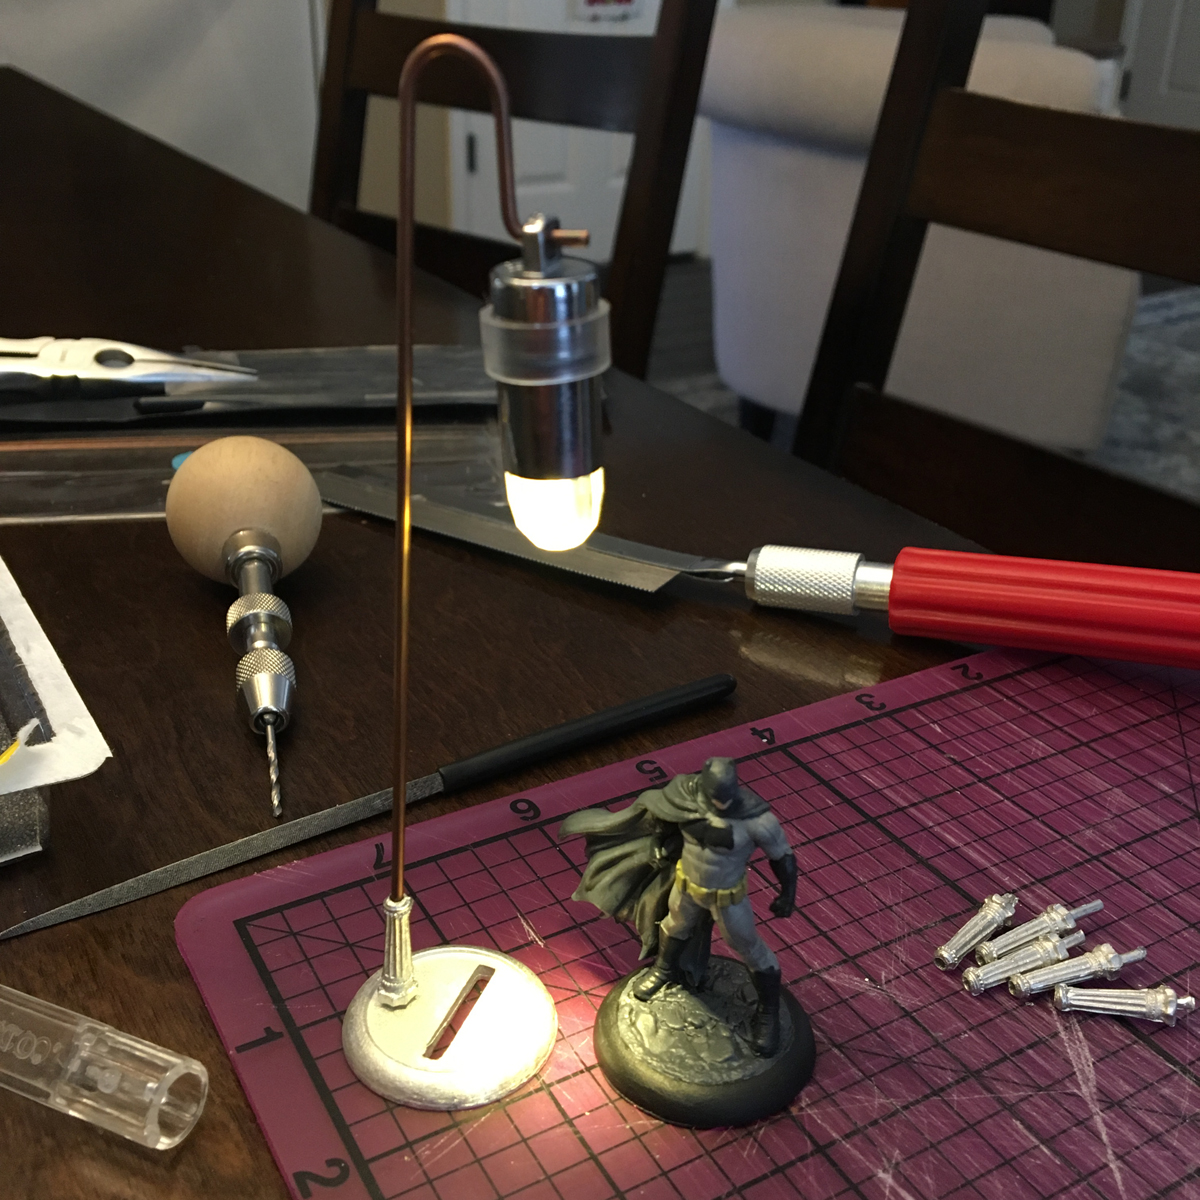
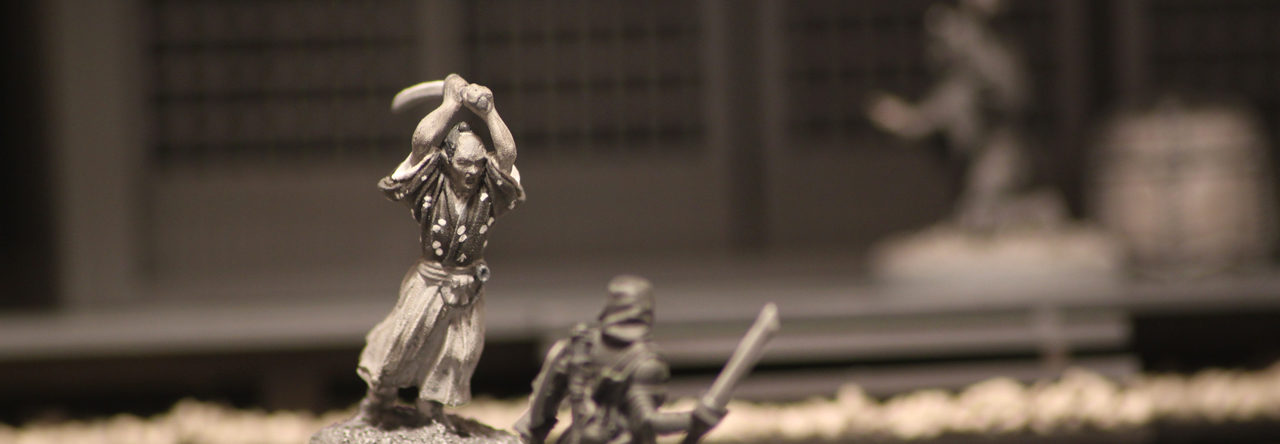
Afterwards, I dry assembled it all and it looked like it was going to work out. At this point, Batman decided to oversee the production process.

All six were now complete (all dry fitted). Next, I knew I needed to base these more than just making flat discs so I remember that my friend picked up a generic street mold plate and I asked to him if I could try it out.

This plate allows you to set up some green stuff onto a base and then press it into a detail area on the plate to create a custom molded base. This turned out to be also quite labor intensive.
These plates are from Basius and I’m not sure what is going on with the company as they did a few kickstarters for these baked plates but I don’t think they are making the plates for sale anymore. Sad as these plates are pretty nice.

Back to modelling, first I made a generic shape on the base out of green stuff. This shape needs to match the area you hope to imprint. Some tips my friend gave me included waiting for the green stuff to harden a bit (around 20 minutes) then make sure you mist the plate and the green stuff with water to help ensure it won’t stick to the plate.

After a few tries, I got a version that I was happy with.

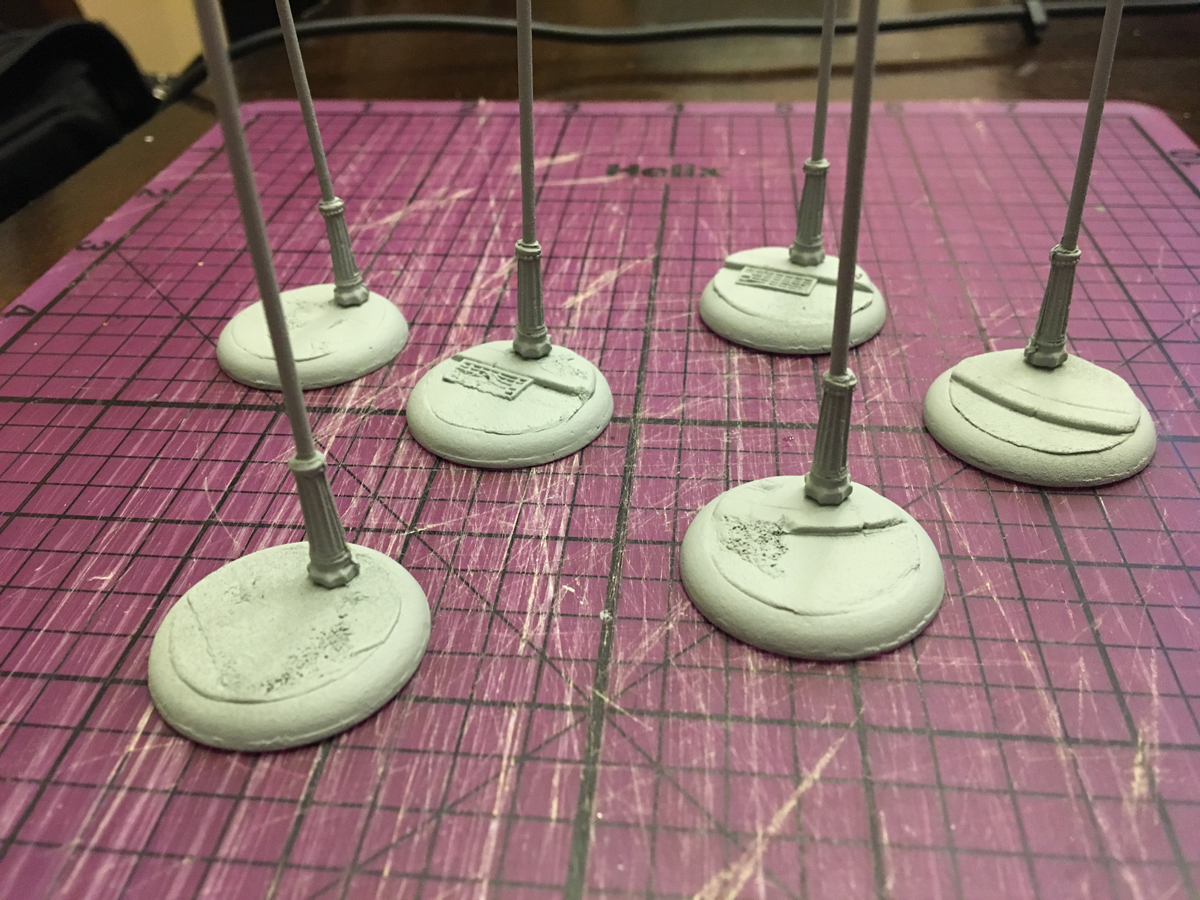
After a few hours of making green stuff, letting it harden and doing multiple attempts, I had all six bases complete. I could have done this faster if I would have made a lot of green stuff and put it on the bases at the same time but I went slow and completed each base before starting a new one. The little teddy bear was an impression on the plate that I thought might be nice but it was in an area with other items that I didn’t want to include so I made him separately.

After waiting 24 hours for the green stuff to cure more, I re-drilled the holes in the base for my lamp post bases. Next, I trimmed off the excess green stuff that spread too much over the top of the base to clean things up.

Then I dry-fit them again and primed.
After the priming was dry, I superglued the posts into the base.

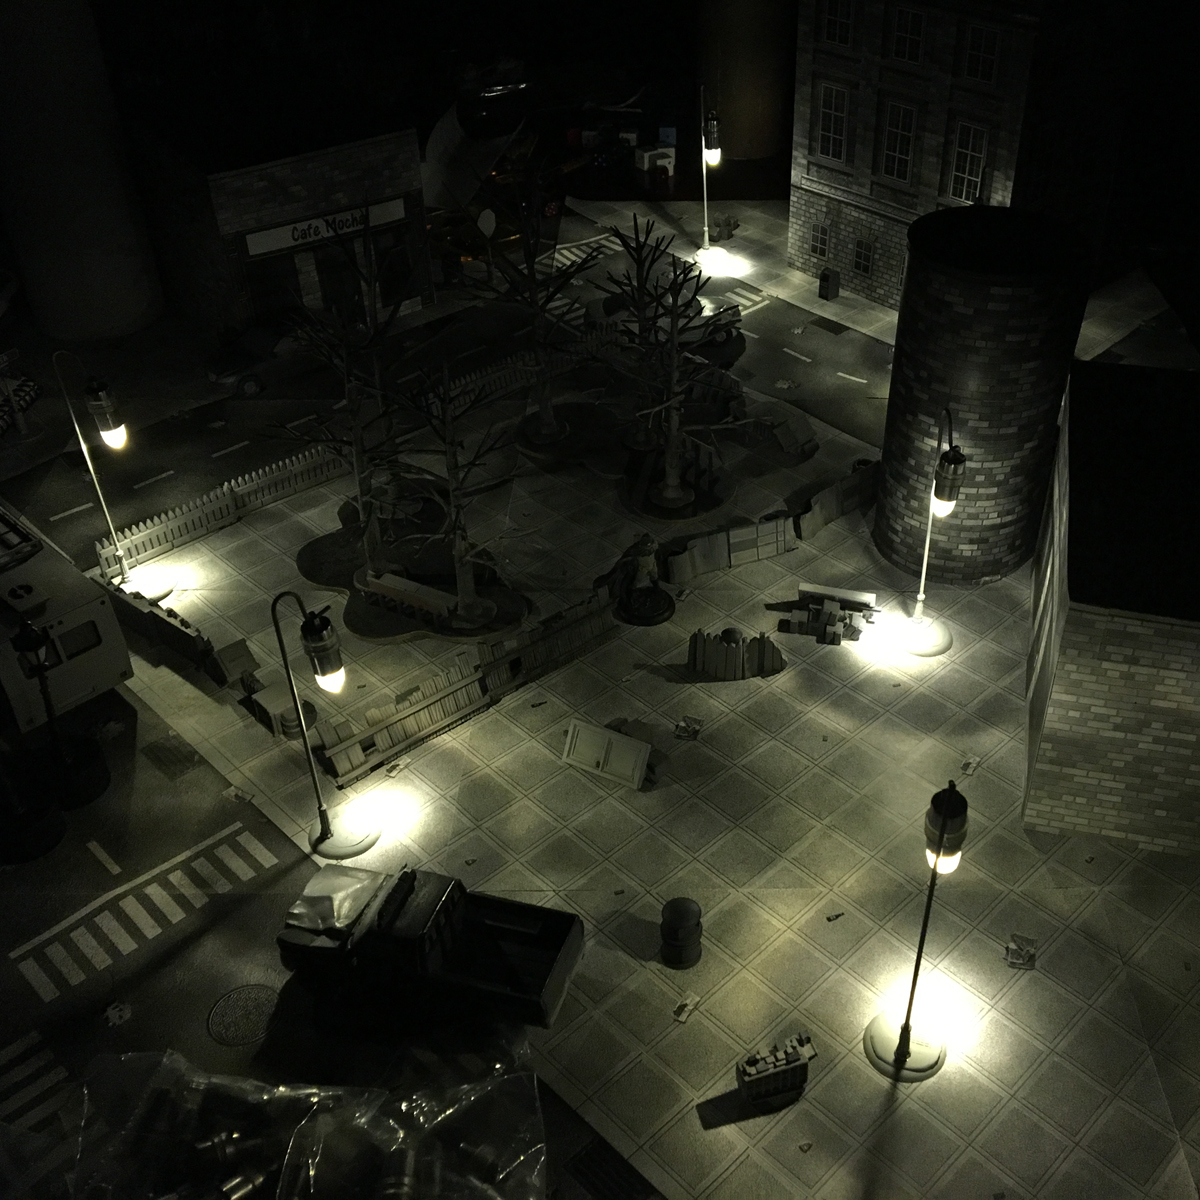
Even though they aren’t painted up yet, I couldn’t resist putting them on the table and checking them out. They worked great even with all the lights off and I’m really excited to see them in use in our next game.