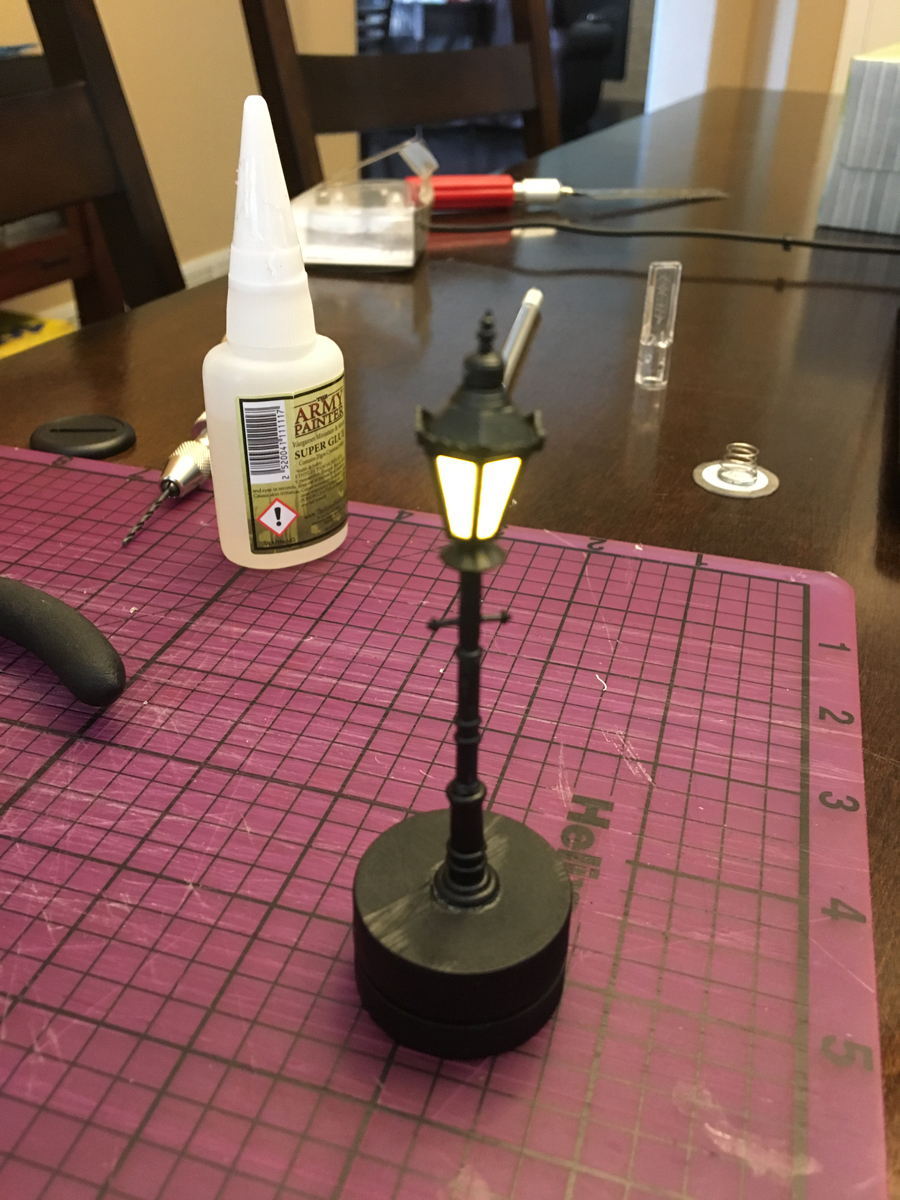
In preparing for last weekend’s CabinCon, I also was able to finish out another languishing project that I initially started as a concept back in March: light up street lamps for the Batman Miniatures Game.
To get these to work, I wanted two things: a small base for the battery and wiring and the ability to turn them on and off. I waited too long to order a simple battery case/switch from Amazon and with only a day left before I had to take off, I needed something quick.
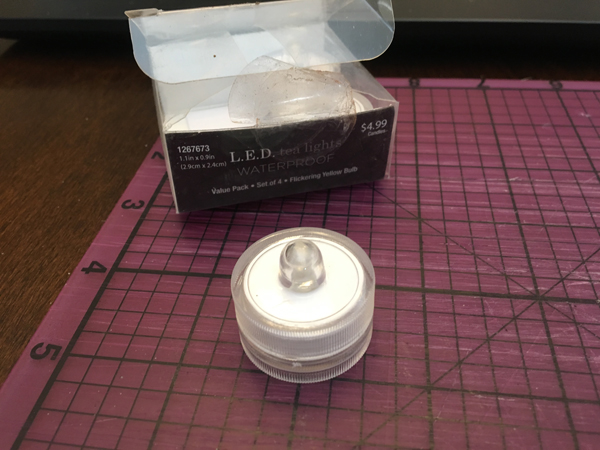
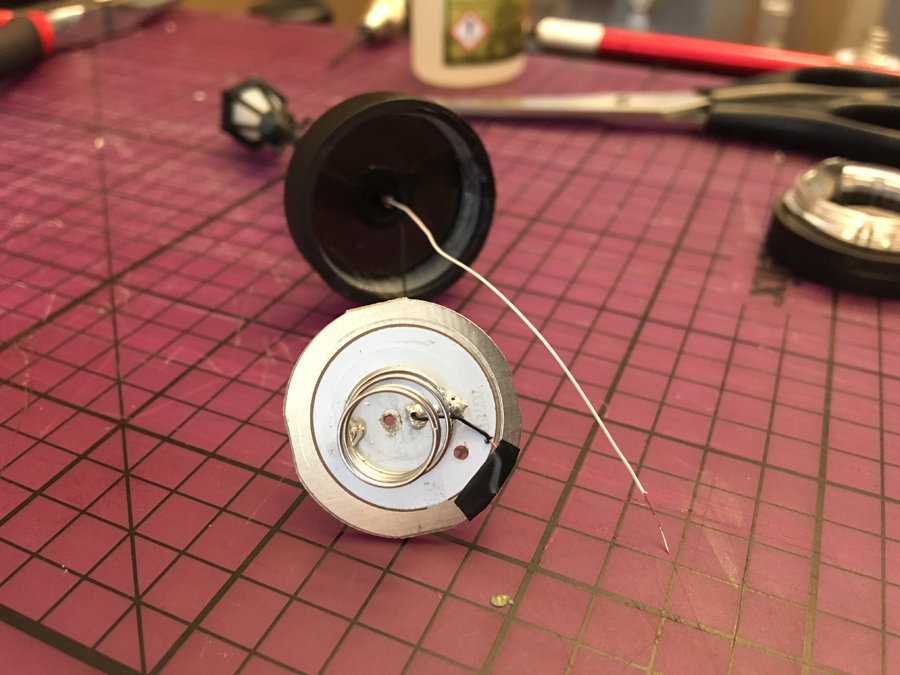
Trolling the aisles at my local Hobby Lobby, I found these small LED flicker tea lights and they looked perfect.

Opening one up, I threw out the cardboard pieces and removed the light assembly and casing top.

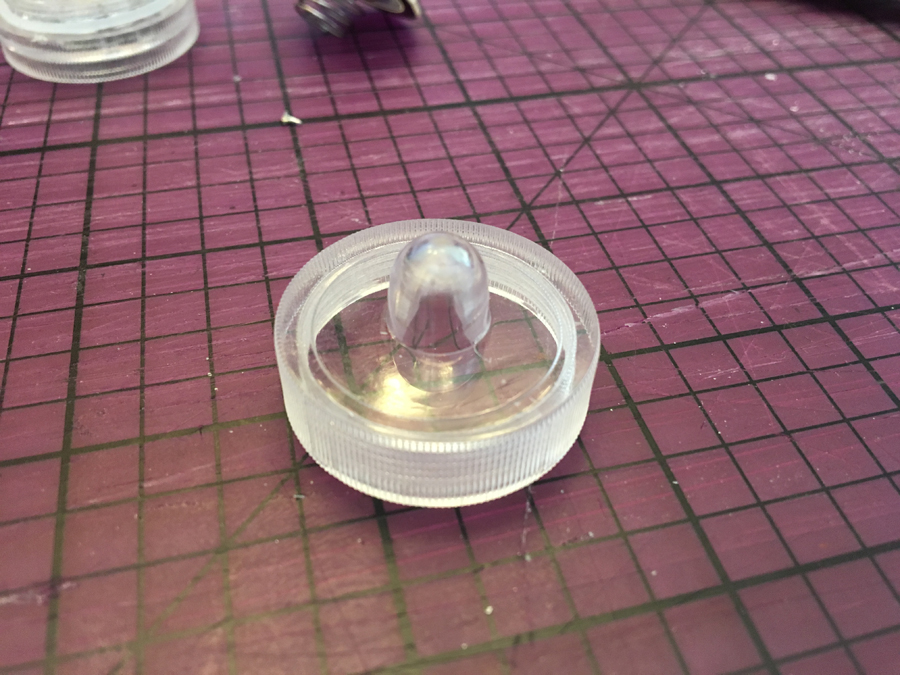
Looking at the way they wired and soldered the LED to the base, I found that if I could get the LED off, I could put my lamp wires to this piece and it should work out.

Moving the LED top back and forth a dozen or so times weakened the prongs and eventually the light broke off.
After that, I needed to cut the top off the clear case so that my lamp wires could feed through the top.
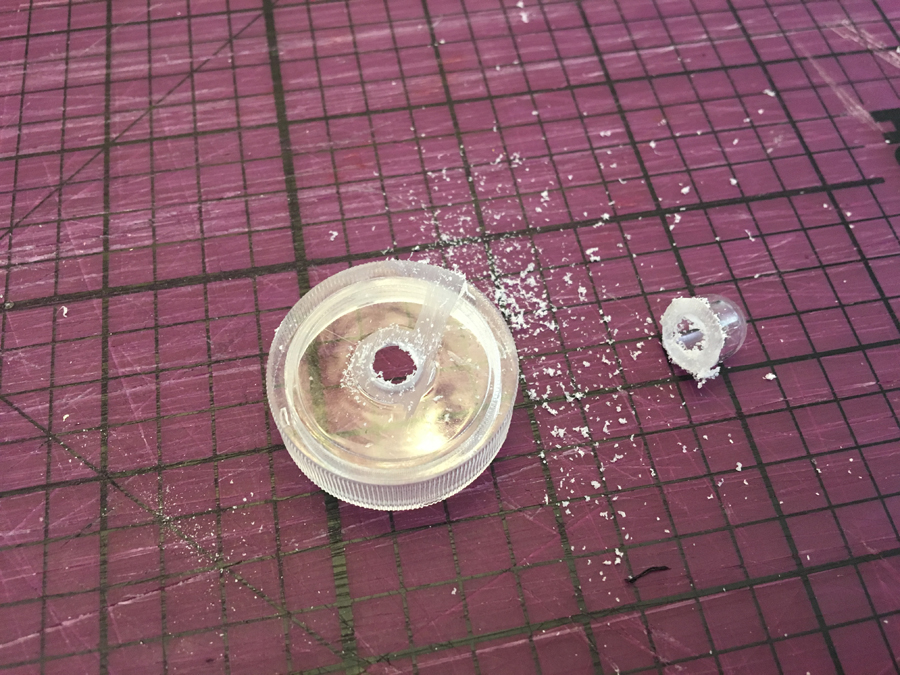
A few seconds with a razor saw and the top came off easily. I cleaned the center out with a quick pass with my sword of exact zero and we were ready for some paint.
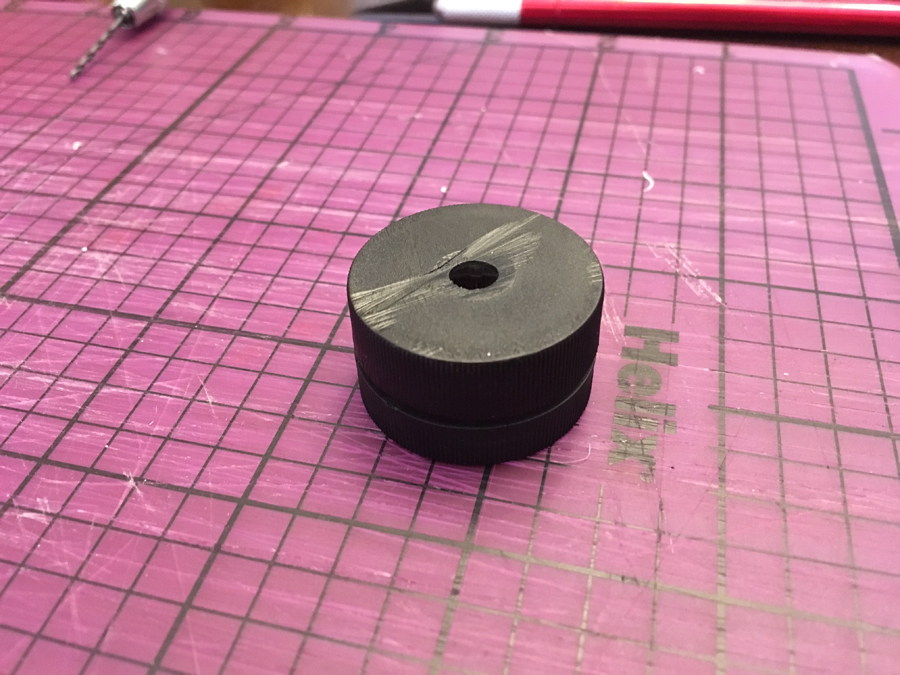
I covered the inside of the hole so the spray paint didn’t mess with the innards and while this dried, I started working on the lamps themselves.
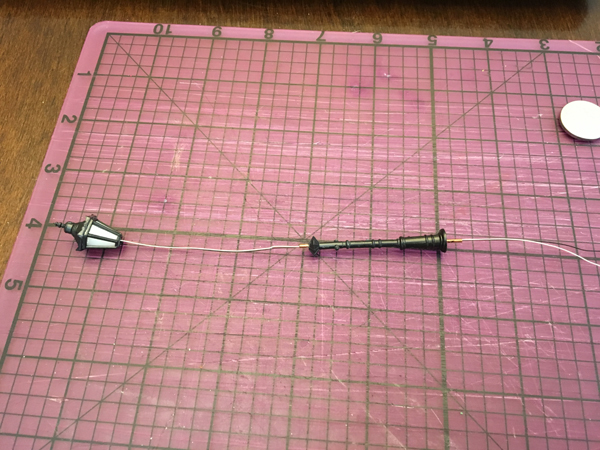
The biggest issue with these model railroad lamps is the long copper post they have running out the bottom. I pulled the top lamp piece off and fed some extra wire through so that when I trim down the copper post and fed the wire back through, I’d have enough to play with for the final assembly.
Shearing this off with a wire-cutter was pretty simple but pinched the whole shut so I used a sewing pin and some needle-nose pliers to open it back up.

Later I would find that cutting the wires first, inserting the steel sewing pin into the hole and slowly cutting around the copper post was a much cleaner system.

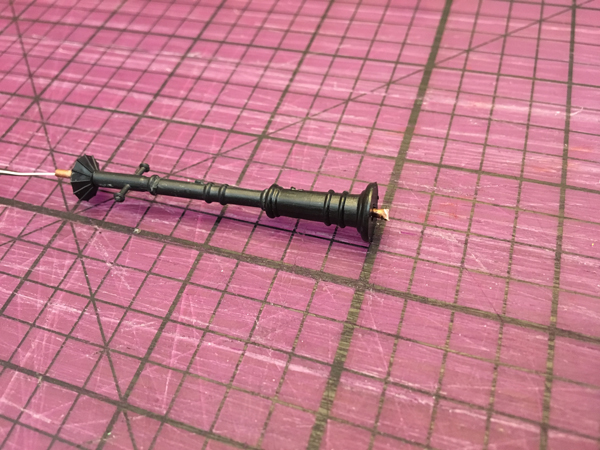
Pulling the wires back through and re-attaching the lamp head finished the lamp post part. The wires themselves are smaller than any wire stripper that I have so I put the sword of exact zero to use again and shaved it down until I could pull the wire casing off.
I drilled holes through the old LED post spots and fed the wires through. I’m not going to lie, feeding these small wires through small holes and trying to bend them around the main spring is an exercise in patience. Tweezers can be very helpful here. I used electrical tape to fashion the stripped wire to the positive section. For these lamps, the black wire is positive.

For the white (negative) wire, I fed it up and carefully wrapped it around the spring. These wires are so thin, they will break instead of bending if you go too far so it may take a try or two. I recommend putting a last piece of electrical tape on the top of the assembly to hold the wires steady and another on the top to fix it to the bottom of the case to keep the pieces together. I didn’t do this the first time and almost ruined the whole thing as the spinning on/off of the lamp also twisted the thin, fragile wires to almost their breaking point.

This process involved only what you saw here but if you know how or have access to a soldering iron, the process is a little simpler and a lot more stable. I had to finish up five more of these and was lucky to have some friends that knew how to solder so we redid the one you see in this write up and quickly soldered the other five I made. As you can see, you don’t necessarily need to solder but the lamp will last longer and will be less finicky.