
I’ve been painting Infinity for about 18 months now and I recently ran across an interesting site on some new techniques. The LazyPainter has a nice quick guide on painting the skin tones with face painting. I recently adopted the technique and I’m liking the results as I work out my own kinks. I thought I’d explore the results a little to see where I’ve come from and where I’m going.
When I started up Infinity, I was using just a full strength wash to cheat the crevasses of the eyes and major features. A lot of the following pics are going to be uncomfortably close as I show the errors of my techniques. Nothing here though looks bad (in my opinion) when on the table. At that distance, none of this really matters.
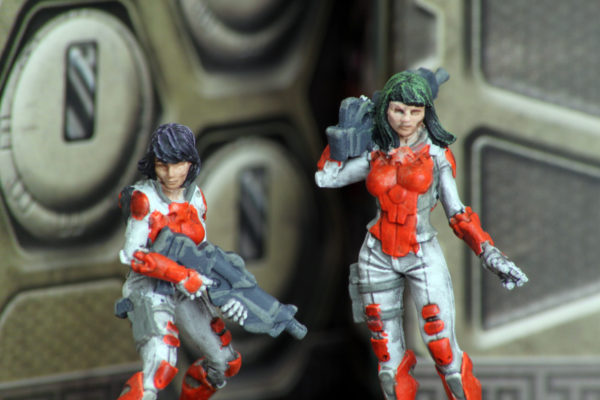
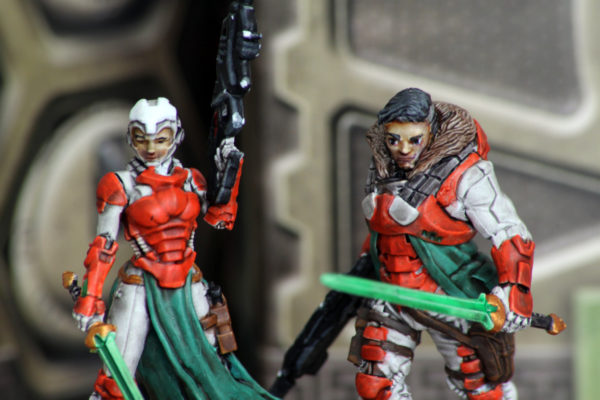
These two Zanshi general infantry ladies are just using a base coating of a light craft store skin tone and simple wash of full strength Agrax Earthshade. I might have done a very light dry brushing of skin tone as a final clean up but definitely nothing more. Again, these are fine on the table. From a distance, the major features are picked out to know there is a face somewhere over there.
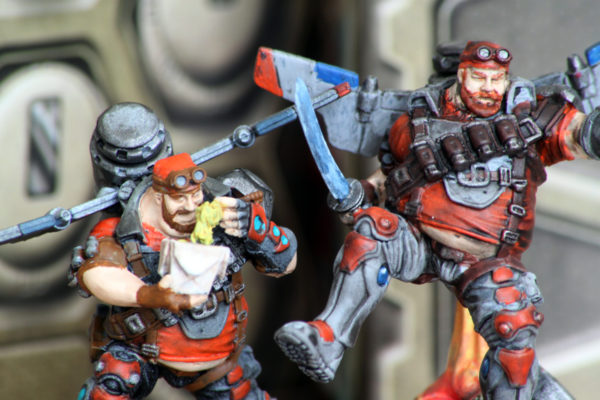
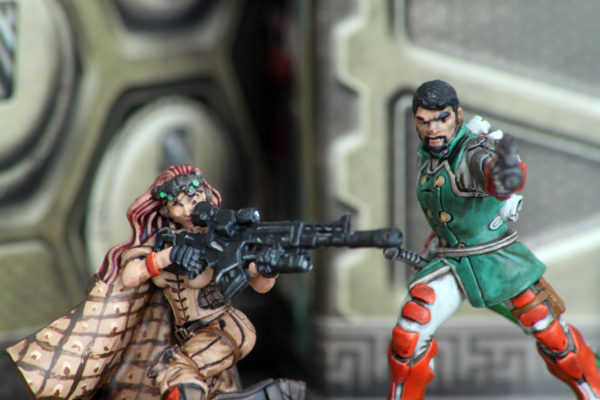
Early this year during my first Pandemic painting challenge, I started incorporating hair. Some hair is mandatory as these Yuan Yuan’s beard but I also started doing eyebrows and found that to be a pretty decent way to add a bit more texture at a distance. A heavy-handed wash still rules the day.
Near the end of my April sessions, I started adding in some “eye dotting” and a red shade carefully to the lips of the female troopers. Dotting these eyes can be pretty annoying and combining it with the eyebrows can lead to a lot of disasters that require rework but as long as I remember to do it before the wash step, can clean up the stray marks before finalizing things.
The washing tends to make the faces pretty dirty. I go back and forth on using a lot or trying to control the flow but laziness usually rules the day and I go a little heavy-handed. Sometimes, I’ll try to clean up with some watered down skin tone. Usually this never really fixes things and feels more like a car that keeps overcorrecting until it spins out into a ditch.
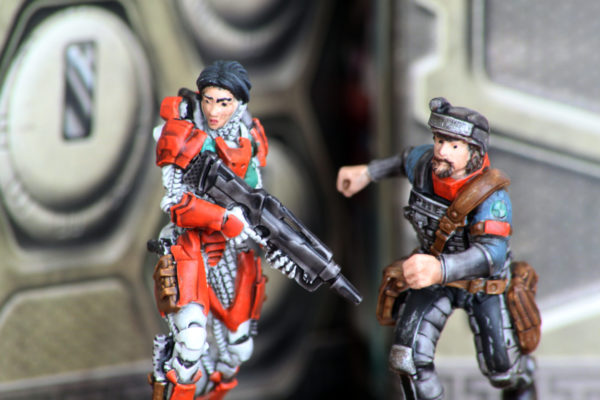
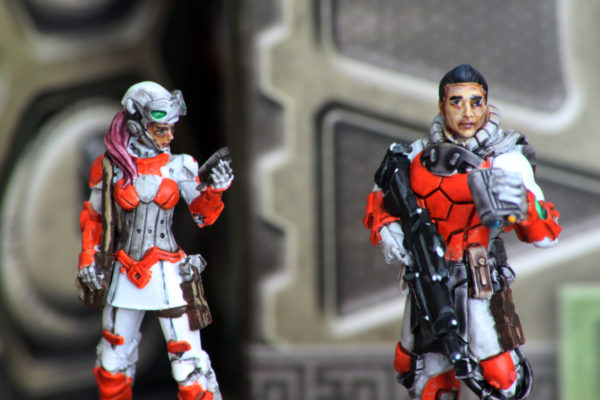
Even though I’d read through the LazyPainter style of face painting, didn’t really incorporate it until the latest run of painting sessions. On the left, Liu Kiang is still getting a swatch of Agrax Earthshade over a skin tone base. Xi Huang on the right is getting layers of different shades over white. I still have to work on the eyes but I’m going for a black overall base and then adding two “hints” of white on the corners of the black so that I can control the pupil direction. This hopefully makes it easier to avoid the cross-eyed or goofy eyes problem that I’ve had in the past.
Disregarding the eyes, even though it is hard, I like the blending that happens with the skin tone and find it much more effective than my previous methods. I can control things a lot more and get the tones I want.
One of the challenges I’ve found is that I will tend to go too far in the layering so the faces end up a lot darker than intended. But I’m not really going back to the old method as there seems to be too many benefits moving forward.
I’m also finding that the technique doesn’t take that long and when you factor in that you are shading over white (usually the primer for me), it actually takes less time overall. The skin tone base takes a while to build up and can make the texture come out chalky. Admittedly, I’m using a crappy acrylic paint for that and if you primed in a fleshtone then it wouldn’t be the same effort at all.
Using the shades (I use the ones LazyPainter recommends from GW since I already had several), it is easy to control things and there isn’t really any drying time to worry about since you are using very little on the brush.
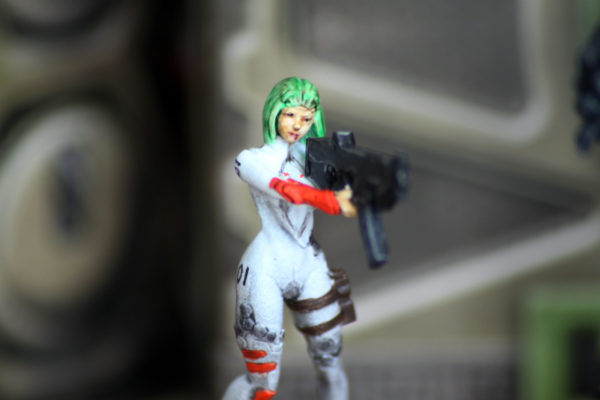
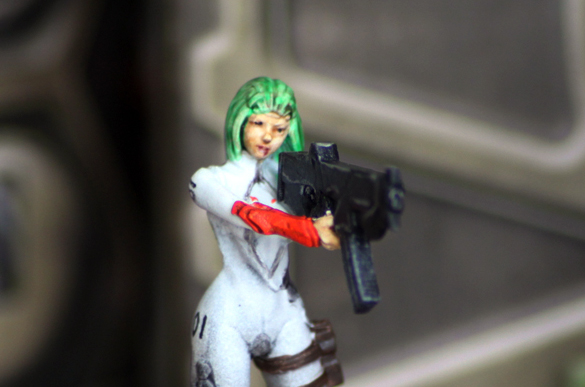
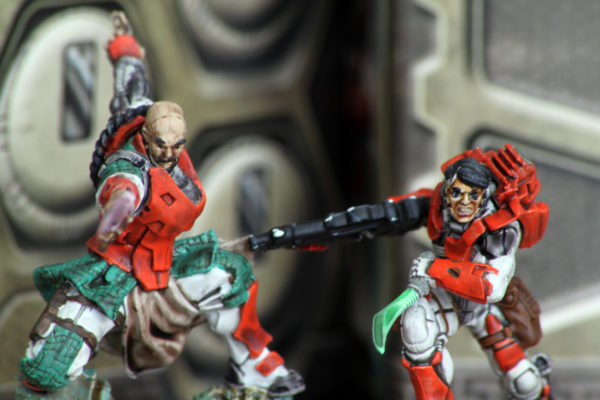
And that leads us to “Travesti,” our customized TAG Pilot. She started out in a pretty terrible pose for combat but I was able to modify her a bit to give her an active stance. Since then, N4 came out and ditched her little pistol and upgraded her to a submachine gun. I had an accident when trying to do her lips and the clean up left this blood mark running down her chin. I decided to keep it since I would have to assume if she was jumping out of her big armored mecha, things were pretty bad and she’d be a bit worse for wear.
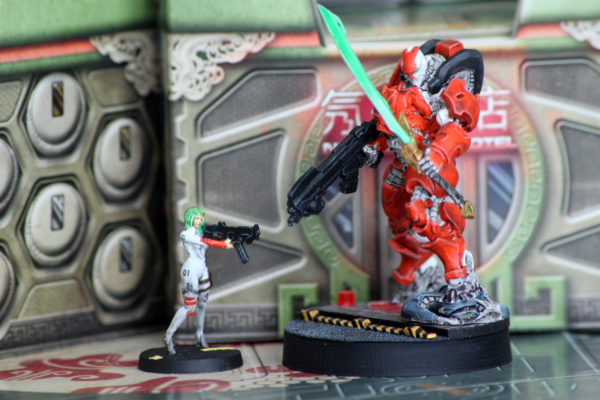
I picked up a 3D printed SMG from Monstrous Makings. It is a little oversized but it kind of suits Travesti as an overcompensating piece of hardware. I few cuts and snips easily removed her old pee-shooter and now she can hop out of her TAG and spray anyone foolish enough to think her out of action.
From here, I’ll be working on tapping the breaks when it comes to adding in my layers to keep things light enough (when wanted). I’ll be working more on my eye technique as well to try to get that to a stable situation on my future faces. Luckily (or not), my next models in rotation are all full helmet heavy infantry figures so I won’t need to jump back into this technique for a while.
Tyler Provick
How long is it taking you to paint a face with the lazypainter technique? If you are painting one or two miniatures at a time it sounds like you need to spend a lot of time waiting for successive washes to dry and you don’t end up with much control.
Christian
Good question, Tyler. I decided to post a bit more on this shortly but I found that I still had another face to paint a I’ll walk through it. The short answer is, with pausing for photos it took about 15 minutes to do the facial tones.
One thing to note is that this isn’t blending, it applying successive glaze-like highlights. Maybe this was understood but control is all in the brush work and light loads of the wash (except the initial full wash). Since the area you are painting with a wash is so small, it dries very quickly (at least here in Colorado). This shouldn’t be a case where GW says you need to wait 30 minutes for the model to dry since you aren’t using that much. It takes very little to get the tones to come through. I hope the next post helps.