
Before I jumped into my Paint Challenge, I was talking about solo X-wing and the experiences I was having. I did have a report in the works and I figured I should get it out before the details turn to mush.
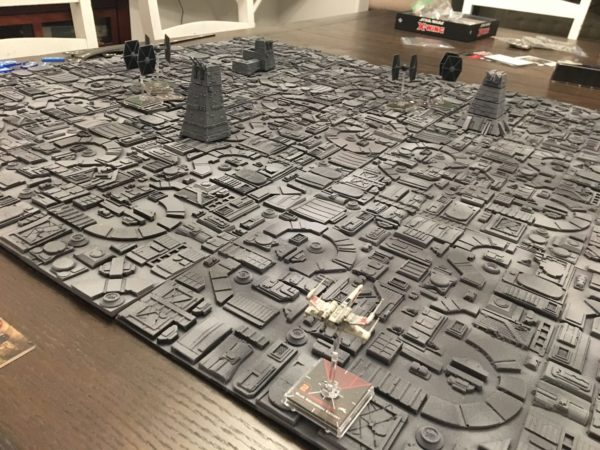
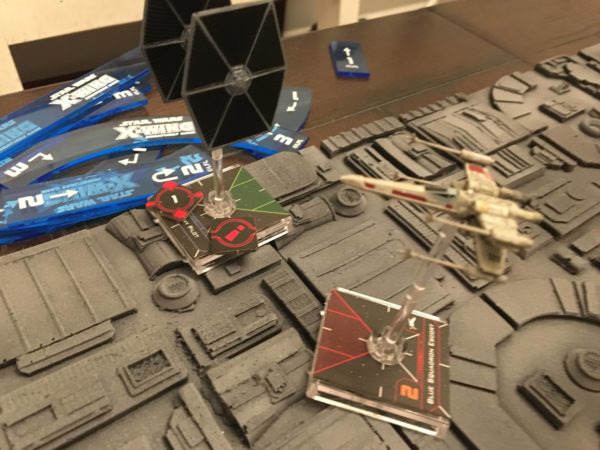
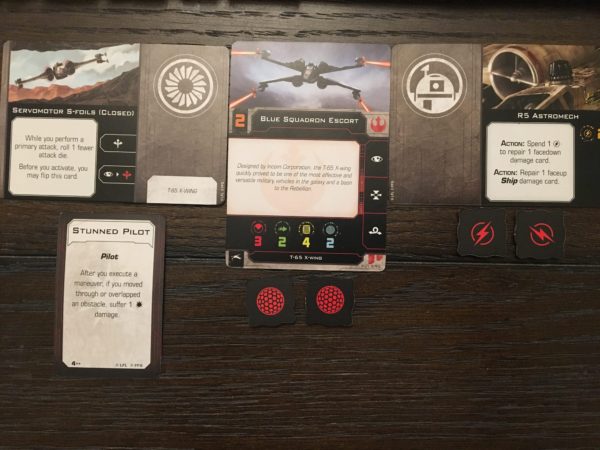
In this simulation, my lone Blue Squadron X-wing Pilot with his trusty R5 Astromech will take on four TIE Fighters defending the Death Star. Two Academy Pilots and Two Black Squadron Aces will be my main competition but the Turbolaser towers will also be in effect under the current rules: Non-destructible, work like Asteroids if you overlap, one weapon system: Range 3 (unmodified) 2 dice attack against any rebel ship that executes a speed one or less maneuver. They all activate at initiative zero.
With my enemies in place, we were able to start off. I was not using the “solo ships out of range three should always default aggressive”. I made that modification after this game as I saw pilots doing too many defensive runaways when they were already on the other side of the board.
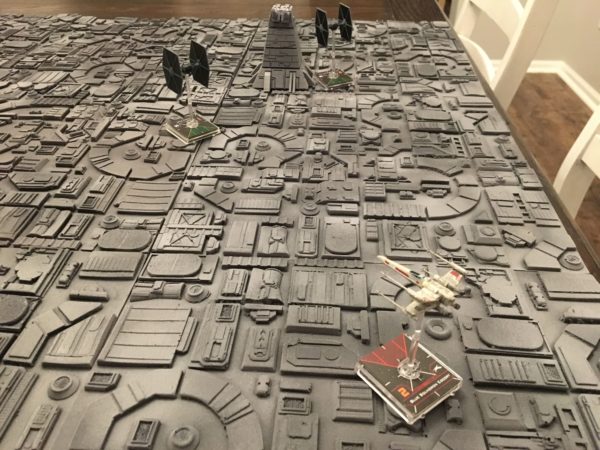
I start off going straight in for the Academy and Black Squadron pilots on the right side of the board.
They came in straight and aggressive but I fooled them with a Talon Roll to the outside to get a nice arc on the first Academy Pilot. I get in two damage but he’s still up and threatening.
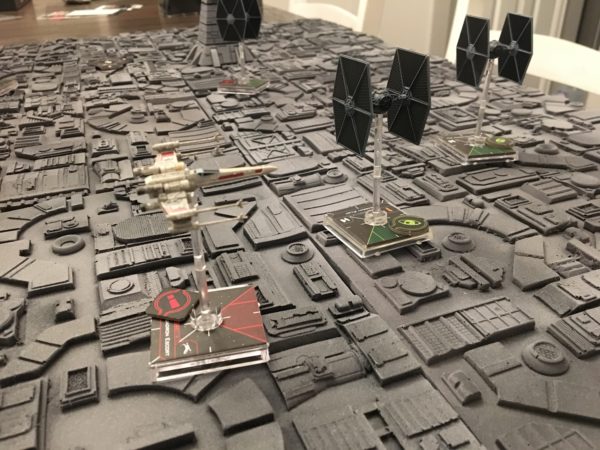
That nice set up would end up being my last for a long time until about 5 turns later, I line up an exploit on a Black Squadron pilot and ace him. I finished of the lone Academy pilot earlier but had a dismal 4:1 shot ratio in the meantime where I struggled to line up shots but kept getting pinged by errant other fighters.
After taking down this Black Squadron, we were pretty even where I was down the three hull (half health) and still had two TIEs to deal with. I found an exploit where, if I could get right behind a higher skill TIE, I could jump in front of him and his AI chart usually meant he would try to “chase” me and blow past me, putting me in a nice range 1 arc. I found I could keep this up until he was dead as long as I had enough straight room on the board.
I actually don’t mind this exploit as I think there should be some in the game and you would increase the difficulty by adding more enemies or hazards. Solo games are more “puzzle” with randomness than non-solo games so figuring out maneuver exploits is actually a fun aspect of the game.

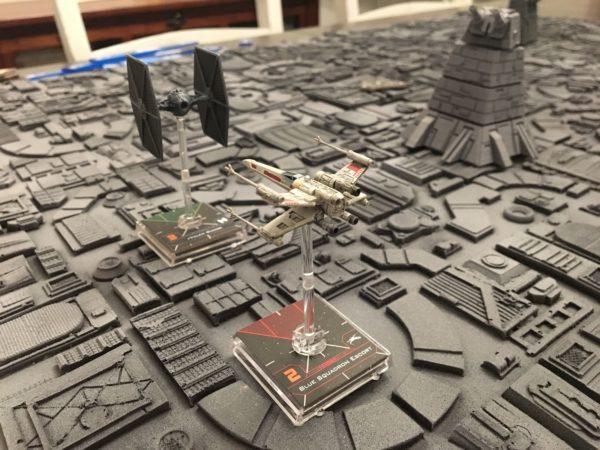
With two ships remaining, I take a terrible line, anticipating the Academy to head at me. Instead he slows and banks in at the Turbolaser tower and I take a bad shot from my flank. To make matters worse, I was going slow enough for the Turbolaser to track me and it takes its cut.
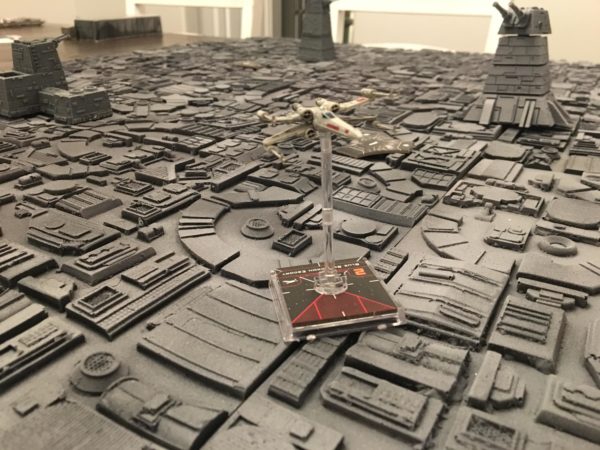
After the exchange, I’m down to one hull after taking a crit and a hit (stunning my pilot). I decide to get out of there and I’m chased by the two pilots for several rounds. I eventually shake them and R5 starts getting to work repairing my ship.
I take down the Black Squadron pilot that got himself out of the position and then hunt down the lone Academy pilot to seal the victory.
Blue Squadron Pilot passes the simulation and can now join the advanced squadron.
The simulation was not without some tense moments but it was victorious and quite fun. With the changes I made earlier, I think it will be even better and I hope to see more of the ships actively hunting me. I’ll run another test with the changes to see if this starts to hit the sweet spot of easy to execute but challenging enough to be fun.