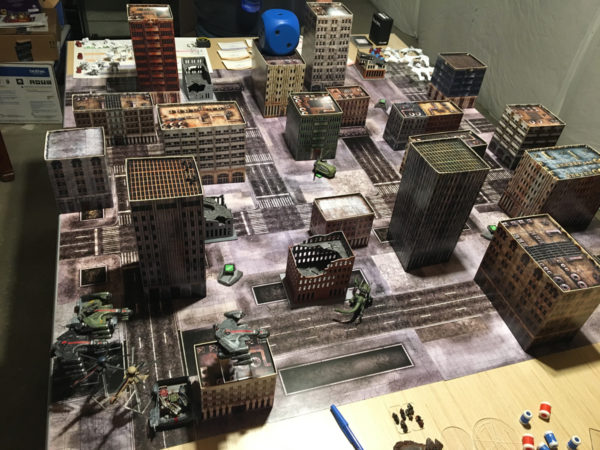
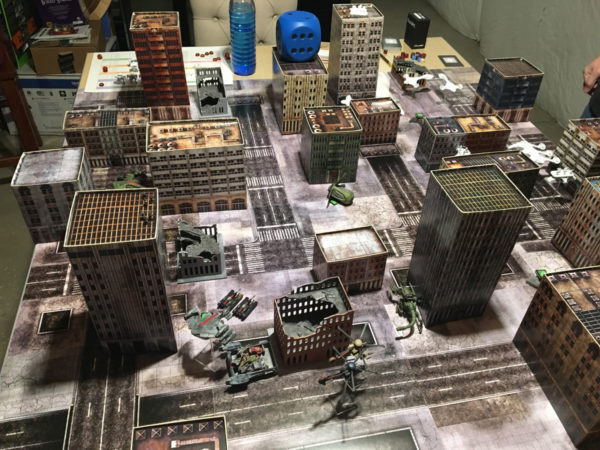
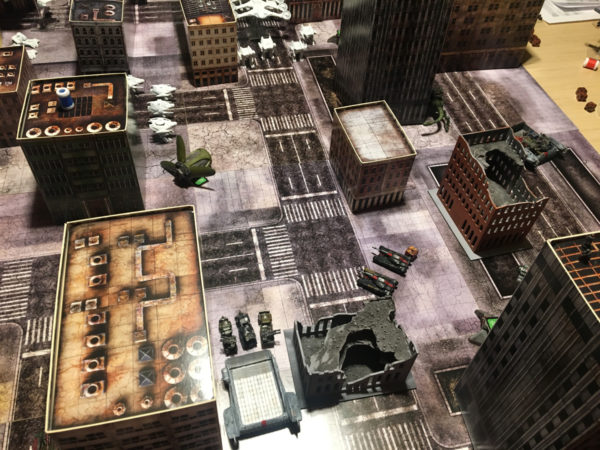
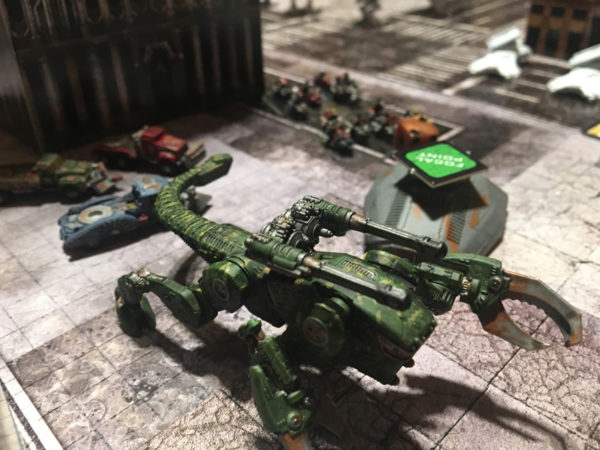
I was able to get another game of Dropzone Commander 2e in over the weekend. This time it was just two of us running 1,500 point builds. Our resident PHR player and I decided to get some different scenario rules in play so we decided to hit “Battle for the Olympus Shipyards – Clear the Cargo Bays.” This scenario features confined caverns and storms. Confined caverns require all aircraft to make a “to the deck” roll at the start of their activation (aircraft destroyed on a 2d6 roll of 2). Also any structures, when destroyed, destroy adjacent units within 3″ instead of 1″. Storms will force the aircraft to fail on a roll of 4 or less instead of 2.
My list was a variation of my previous game. This time I drop the Attack ATVs for Freeriders, add a drill, and bring in some armor with some Hannibals.
- Battle Group 1: HQ: M3 Alexander (CV4) + Lifthawk transport (w/AA)
- Battle Group 2: Armor: Gun Wagon (3) + Kraken transport; Hannibals (2) + Lifthawk transport
- Battle Group 3: Armor: Gun Wagon (3) + Kraken transport; Pizarro-Class Walker
- Battle Group 4: Infantry: Resistance Fighter squads (3) in Jackson transports (3) + Lifthawk transport
- Battle Group 5: Special: Typhoons (2); Freeriders squad (1)
- Battle Group 6: Special: Sappers squad (1); Freeriders squad (2)
- Airstrike: Hellhog (1)
The game started with each of us in our respective corners and no storms started up.
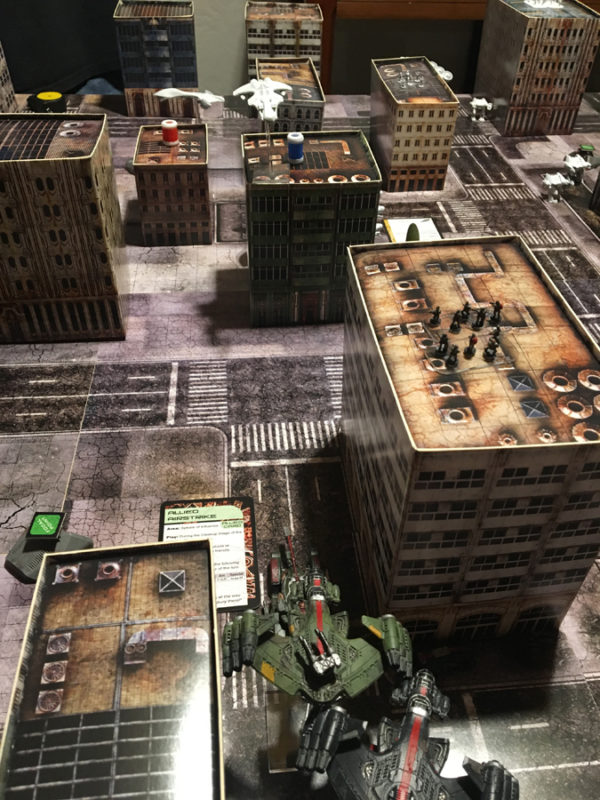
I infiltrated the Pizarro walker up and then over to hide behind one of the large buildings. I advanced my armor and gun wagons down along my right side. My other gun wagons, infantry, and commander start heading left. PHR splits forces as well with most of its armor coming to my right side and some infantry sticking towards his deployment corner.
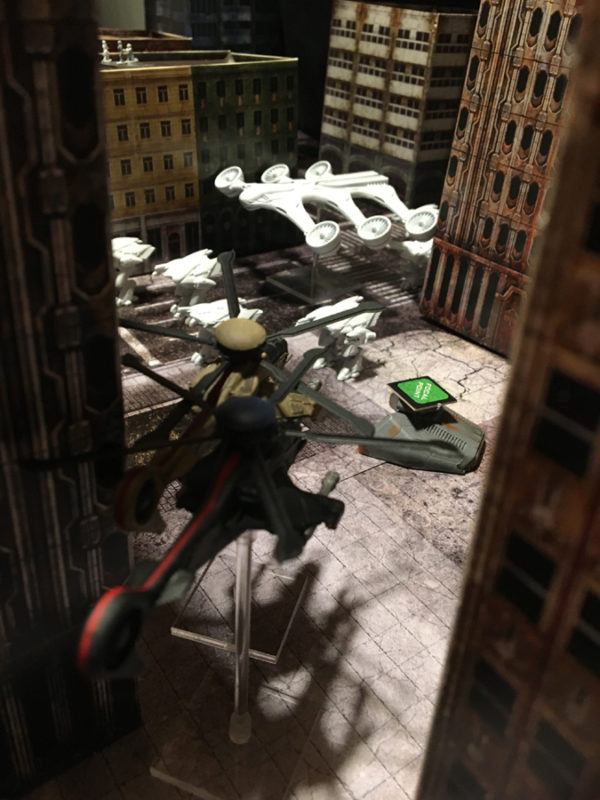
Even though the storms were calm, the PHR started having some trouble with the confined spaces and the Siren’s transport clipped a building and went down. Luckily, the pilot controlled the descent and the Sirens landed unscathed.
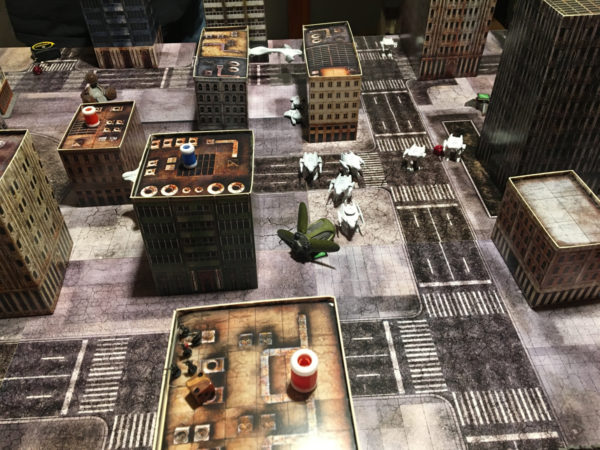
PHR White Death lands their armor on the opposing side and open fire on my exposed Gun Wagons. Luckily, the landing was rocky and they didn’t land a shot.
My Typhoons rush around the cover of the large building to take down one of the AA walkers but only get one damage in.
White Death lands their command group of Type II walkers and open fire on my MBTs. I luck out and the drop/fire shakes them up enough to only put a single damage on one tank.
I take the opportunity to move my MBTs out a little farther and open fire on the Type Is that just landed. The Hannibals are on target and take down two walkers.
Even with the storms now raging, PHR sends in their Athena. I attempts to bring down my Infantry transport but only brings it to half health. The bombing run does quite a bit of damage to the building with my first squad of infantry, bring them down a stand and 4 guys left in their last unit.
While the Athena came through the storms unscathed, PHR did lose two Neptune transports. Luckily, they were empty. My Resistance flyers know their way around the confines and storms don’t bother them so they stay airborne.
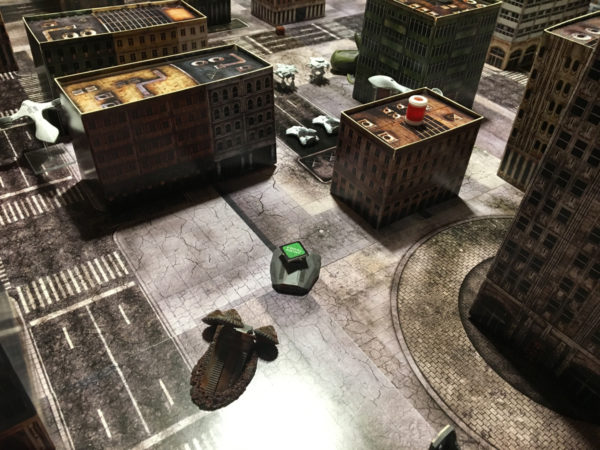
By turn four, it was time to deploy my drill. It came up in a good spot near the focal point closest to the PHR deployment zone. With a number of his dropships destroyed (including his massive Poseidon heavy dropship), PHR was going to have trouble getting forces back to this focal point. I would soon have Freeriders popping out and my last set of infantry were on their way as well.
I start focusing on a stand of PHR Immortals in the building nearest my drill and bring them down with collateral damage. PHR’s command walkers firmly control the central focus point but I’m threatening all four of the peripheral points.
My Pizarro Walker keeps sneaking around the corner but is never in striking range to claw attack his walkers so decides to just plink at them with his chainguns. I finally did lose a Typhoon helicopter to the storms and the remaining AA walker gunned down the other. I had a massive group of freeriders lying in wait ready to swarm something but decided that this late in the game, they would be better served to act as a contesting block to capture the nearby focal point. If PHR wasn’t going to outright assault them, they had no reason to expose themselves.
The end of turn four saw me consolidating my resources to hide and wait for my moment to dash at the focal points. Since PHR had lost most of its transports by this point, they did not have enough movement to get to the two focal points on my side of the board. I was feeling confident that I had this game in the bag by the end of round four. My commander near the central building would soon start blasting threatening buildings and I’d call in my Hellhog airstrike at the end to take down any critical focal point that I might lose.
Turn five started off with PHR winning initiative. He activated his HQ and decided to bring in his second airstrike, an Athena. I was torn for a moment as I thought of interrupting his activation with a command card to have my commander go. I thought PHR was being sneaky and wanted to destroy the building next to him but I decided against it. It would be the biggest mistake of the game.
The Athena rolled in, did some useless shots to my transport and commander but slammed the building with four damage, wiping out the infantry inside. The HQ squad then started up and focused everything on it, getting just enough damage to bring it down. I then realized in horror that buildings destroy anything within 3″ not their normal 1″ and since this was a large building, which normally expands the range to 2″, we also expanded it to 4″ which just included my commander. Since the M3 Alexander is a 5 DP vehicle, it is just shy of being “large” so it is just destroyed on a roll of 2+, which the PHR easily achieved. Poof! There went my CV4 advantage, extra cards, and my airstrike capability. It felt crippling.
Round 6 started up and we started all dashing to our focal points. PHR was able to get his Sirens back over to his nearby focal point and protected inside the nearby large building. He had ground transports nearby as well to completely own that point. I stupidly put my Jackson full of infantry behind the focal point bunker but the HQ walkers were still able to draw a bead on them and blow them up. The destroyed Jackson trapped the infantry inside and I lost all of them. I could have easily put them inside the building with the Sirens and wouldn’t have to worry about CQB and be safe from the flamer transports stalking around outside but just wasn’t thinking. Luckily my drill was still over there so I would gain a VP from the focal point, offsetting the loss of troops.
PHR’s Commander easily controlled the central focal point and I couldn’t get anyone in there to even poach a VP off it.
With all my freeriders, my Pizarro, and my Gun Wagons, I controlled the far objective as well. A group of Helios would poach a VP from it as well.
The game would draw down and even though the storms stopped, I managed to off one of my Lifthawks in confined spaces. It was a useless lost as it didn’t change the board state. I controlled 3 focal points to PHR’s 2 and we each contested another to have the final point tally at Resistance 7 VP, PHR 5 VP.
While PHR dominated the field wherever they were at, they couldn’t be everywhere at once and, after losing all their dropships, they just couldn’t move units fast enough to get to the other focal points. My forces were in smaller groups and could therefore spread out more and since my Aircraft stayed airborne, I was able to jet squads off to where they needed to be. The confines also made it hard on the PHR as it limited their range advantage but the central area was open enough that it gave them a commanding presence there that I chose to just avoid.
All-in-all, it was a good game nice to see full armies battling it out. It was a little awkward in that there was no reason to ever engage in CQB since there were no objectives but the focus on positioning and holding ground made up for it. I tend to not like Focal Point missions as it tends to make everything more cautious as players plot for the end round and this was no exception. I think changing it to a central critical location would have forced a lot more combat and turned the center into a meat grinder (likely with PHR leading the way the whole game).
