
Back with more on Dropzone Commander and fleshing out my Ruined City. This time, I’m looking at scatter terrain, namely making dozens of tiny cars work in my torn up city. EBay has 10mm (N scale) toy cars in bulk and Colton and I split a pack years ago for Dropzone Commander. Unfortunately, they look too clean to be in my city so I took a page out of friend Brian’s play book at dirtied them up.
Brian first talked to me about how he made his cars below by using a weathering technique called Salt Chipping.
Brian’s instructions were easy enough so I took a stab at the technique.
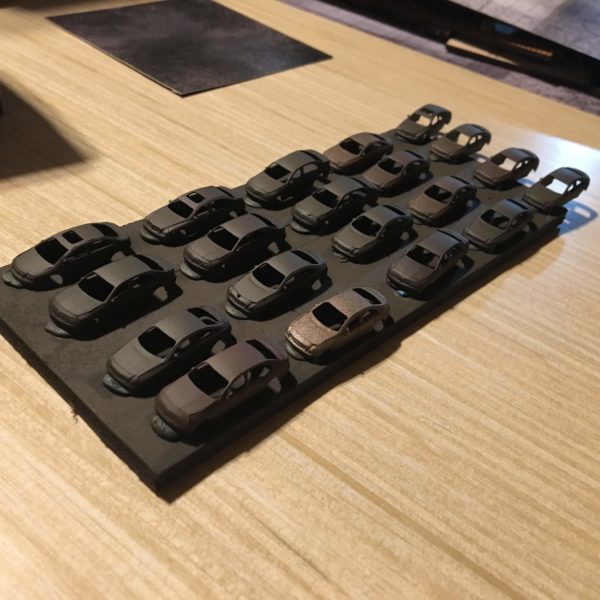
First off, you need to lay down the rust layer on your cars. I just used dark brown primer to cover the insides and out. You see more rust coloring on Brian’s models because he spent more time on varying those colors. I didn’t have the patience for that so a single inconsistent coat was all I did.
After you get your rust underlayer settled, you’ll need to seal the cars. I used my regular matte acrylic to give the cars a good toothy coat.

Once the sealant is dry, it is time to salt these suckers. The whole concept here is to put on the salt and them spray the cars again with color. When you remove the salt, the rust shows up underneath giving a fantastic weathered effect.
There are two methods I found when researching the technique: water or hairspray. I opted for water so I took a mist sprayer and put down a fine layer of water on all the cars. Next I grabbed some table salt and sprinkled it on the wet cars. The water will have the salt stick so that you can spray them with the desired colors.
You can also use hairspray and the salt will stick better. When everything is dry, you can move on to the coloring phase.
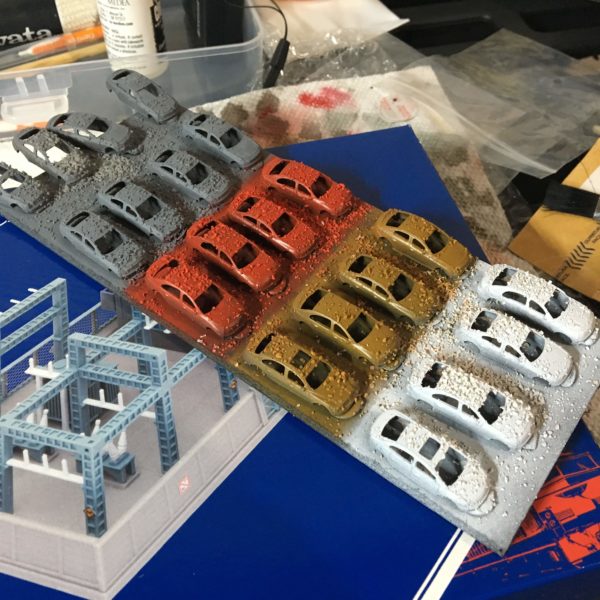
I used my airbrush to throw down some generic car colors. You can also use spray paint, you just need some type of aerosol paint that won’t knock the salt off too easily.
When all the paint is dry, you can brush off the salt with your finger or old toothbrush. If you used hairspray, you’ll need to use warm water to help dissolve the hairspray and get the salt off the model. The fact that I needed to buy hairspray and work with a messy water-based clean up really turned me off trying that technique.
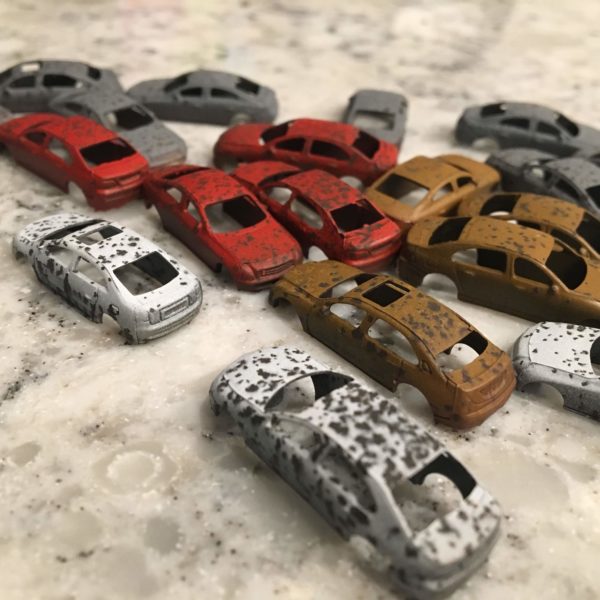
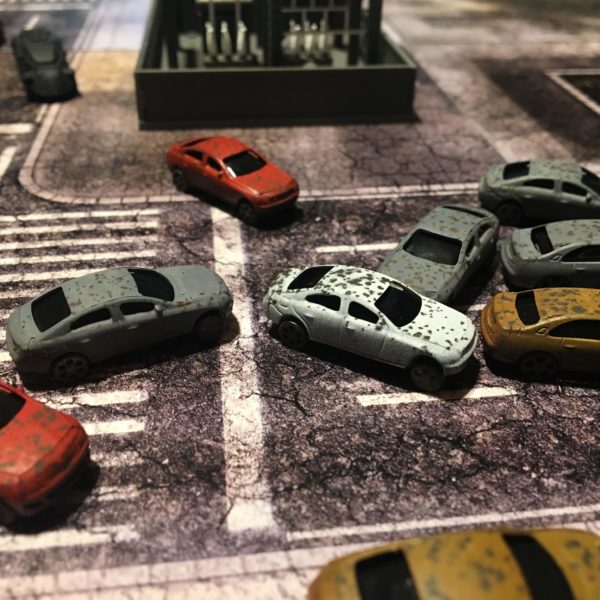
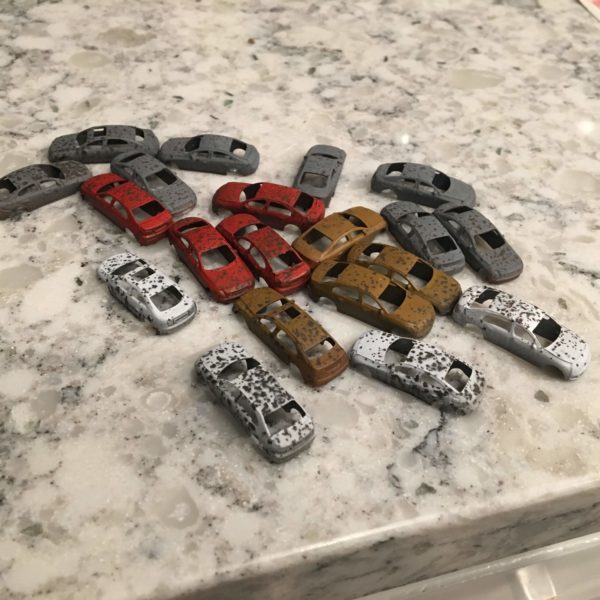
The salt blocked the primary colors very well and left me with several nice corroded car bodies. You can also use rock salt to crush down into less regular pieces and control how large the chips are. I didn’t have any on hand so this is what I got. I like the results and for this scale, I don’t thing it would matter to get larger salt chunks. The use of more salt in general may have been a better approach.
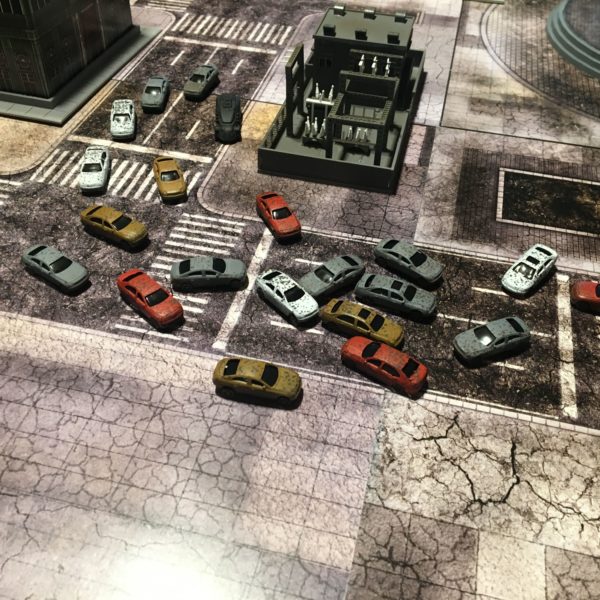
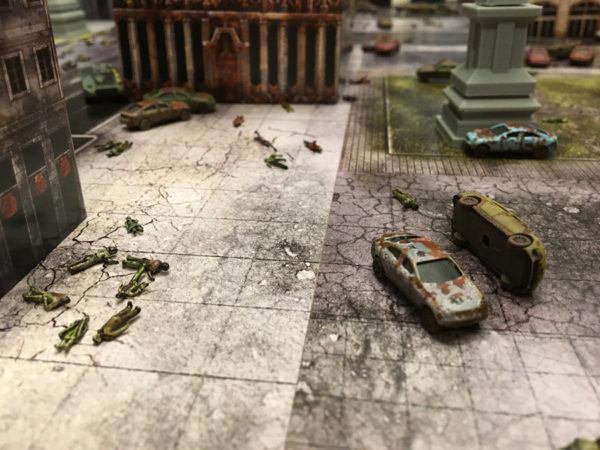
I dirtied up the wheels (sprayed again with a light coat of dark brown primer) and finished the assembly. These cars will be used for random light scatter and effect on my ruined city board. In the background, you may notice another new item.
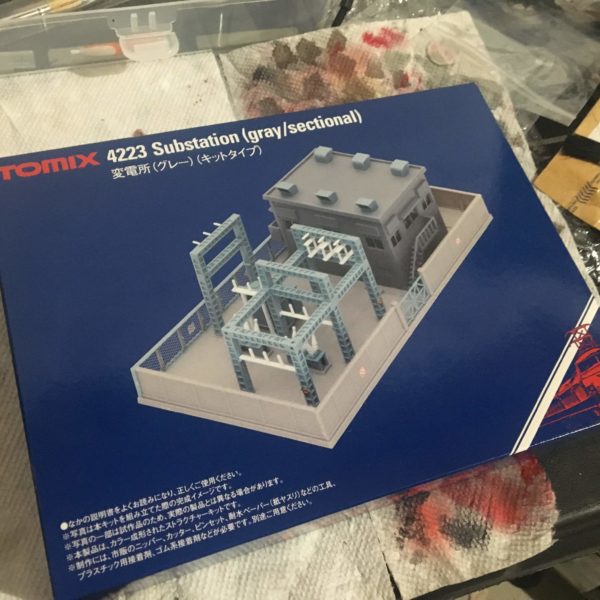
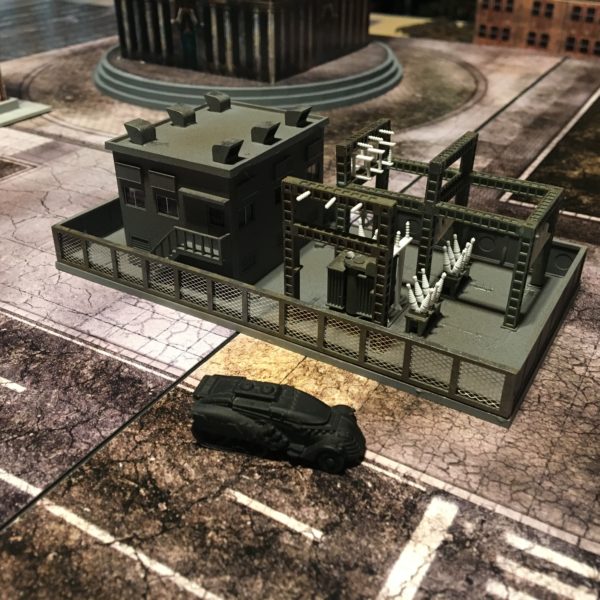
Tomix makes a fantastic line of N-scale buildings for dioramas and I saw one of these power substations for cheap and couldn’t resist putting it in my set.
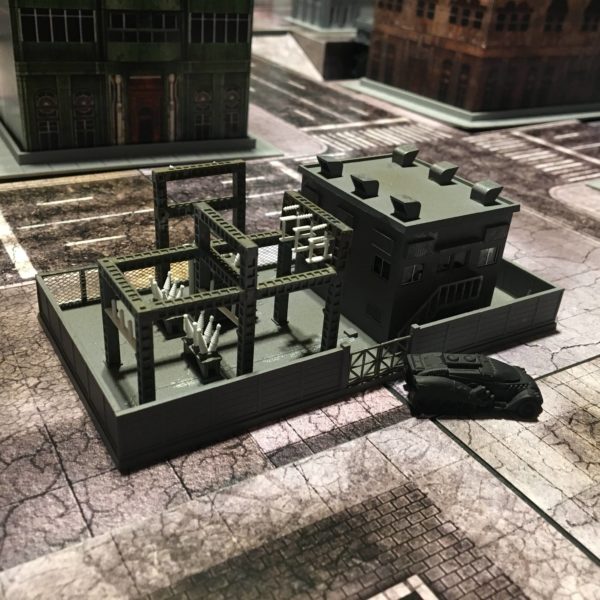
The pieces are extremely small and assembly was a bit touchy. I primed/painted a lot of the pieces before assembly as the power scaffolding is pretty fragile but made the mistake of not touching up the white pieces first. I may mess with them later but the substation still works and on the table, it is hardly noticeable.
The completion of my Ruined City marches ever forward with abandoned cars and an old substation to mix up the buildings a bit more. Next time, I’ll show off the rest of my cars and what I’m doing with them. I may have time to see what those recently de-Scourged Vampires are doing now that they are free to roam.