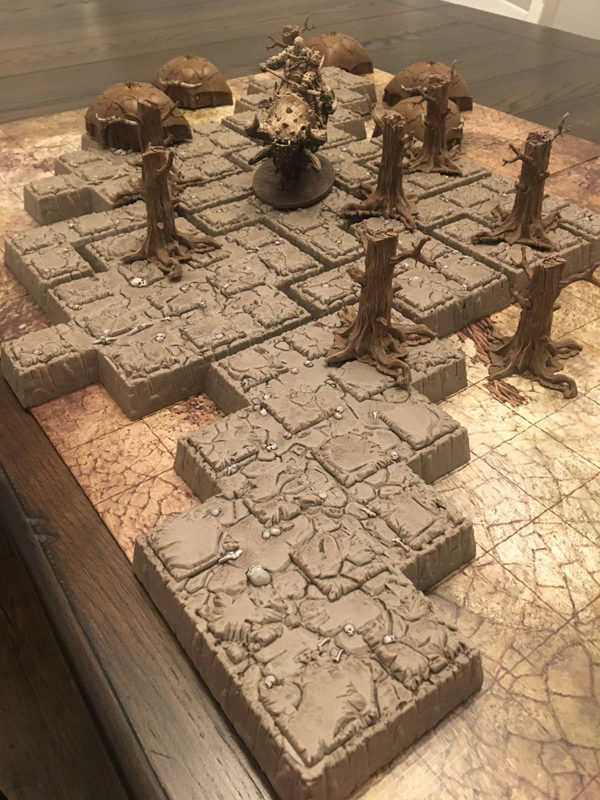
Hating to let a project linger, I moved back to my HATE terrain to finish it up. I knew I wasn’t going to spend a lot of time on each individual piece so after the wash work I did earlier, I decided to pick out a few highlight details and work those in. Due to the dark nature of the game, I decided to pick out the skull and bone work on each of the terrain pieces. I under-estimated just how many of those details were around.

First up is my trees. They were quite easy as they only had a few skulls each a little femur bone in there to break things up. A quick slap of white paint followed by a wash of Agrax Earthshade and they were complete.
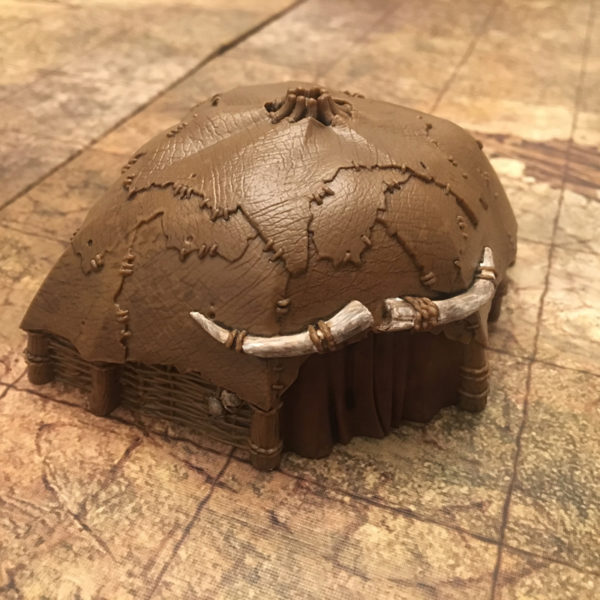
There are a lot of details you can mess with on the hut pieces but after all the wash work, I just stuck to the skulls and the massive entry tusks. I did darken up the entry curtain as well to put a little more effort in there but it didn’t add much time. Again, white and Earthshade done hastily with plenty of slop made the huts come out quick.
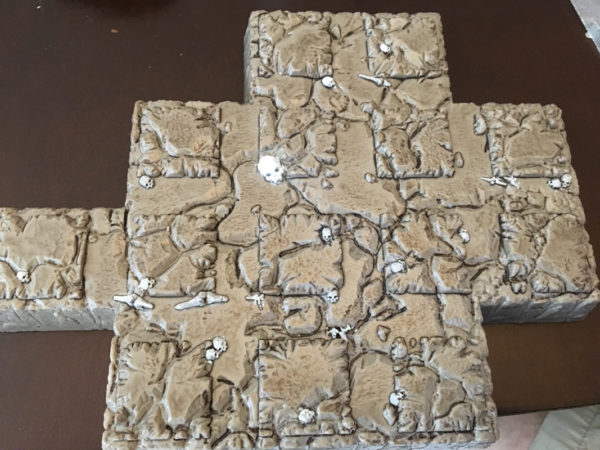
Last, I had the hill terrain. These had a ton of skulls and bones on each piece and it took some false starts to get things going. I first tried the same method as the previous pieces but the combination ended with the bone pieces coming out the same shade as the terrain so it looked like nothing was done.
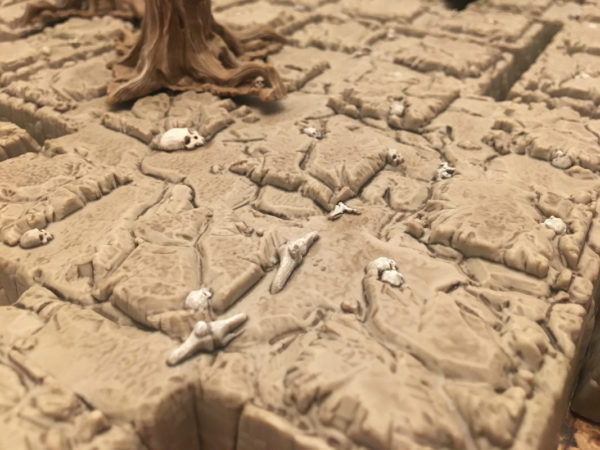
I then switched to doing a heavy dry brushing with white. This was basically where I loaded paint on a small, spent brush, took 70% of the paint off the brush with a paper towel and then sloppily applied it to the bone pieces. Unlike a normal dry brushing, there was still a good bit of paint on the brush (I usually keep working the brush on the paper towel until 95% or more of the paint is off).
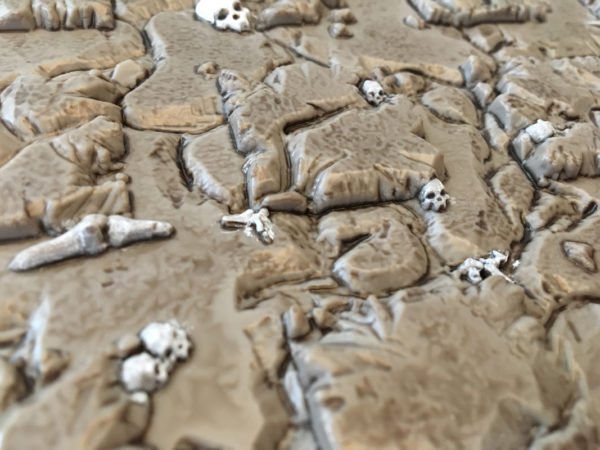
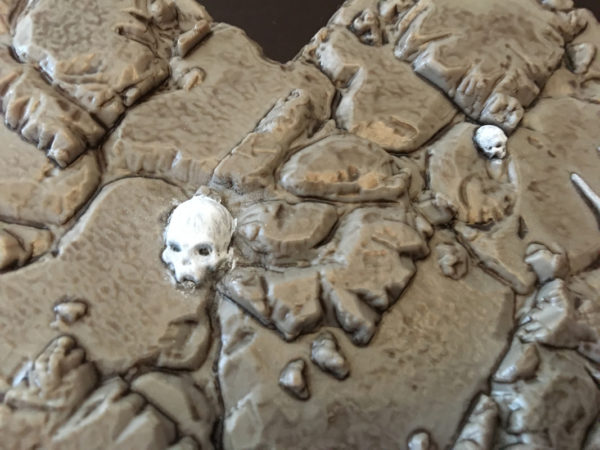
You can see here and in the previous image there is a bit of sloppy excess white showing on the terrain. Here, in the little bones left of center, you can see where I couldn’t really dry brush very well without getting some on the rest of the terrain. This is easily fixed.
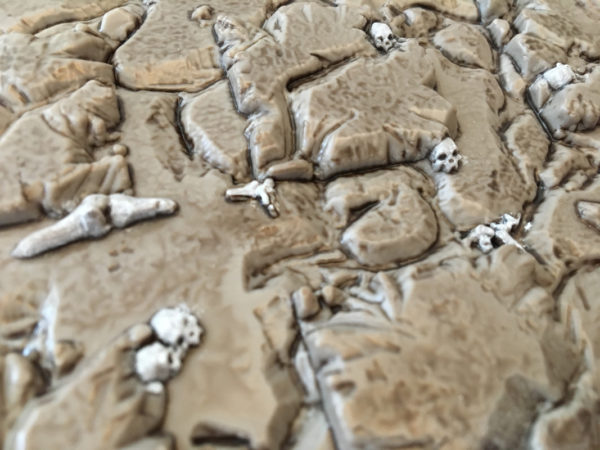
Outlining the pieces in Earthshade wash cleans up most of the errant marks. You can go over another time to remove even more but I didn’t find it necessary most of the time. The key here was to just use the wash to outline each piece (done very quickly). This lets the white still come out and provides a contrasting outline. Occasionally, a skull would need some extra wash in the eye sockets but otherwise I left them alone.
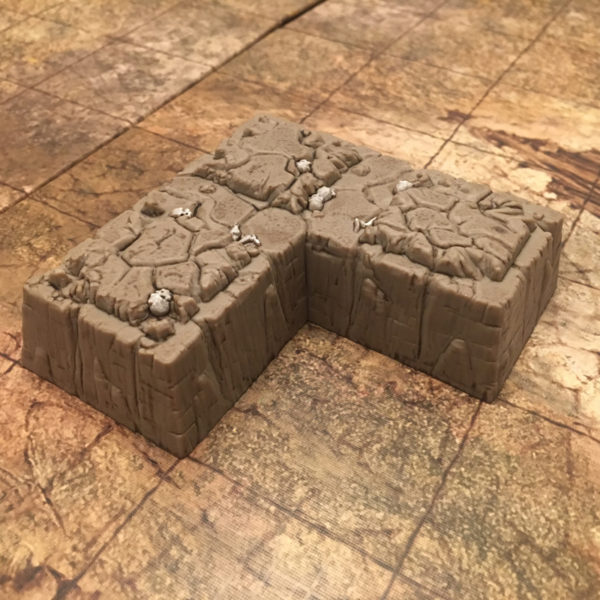
After sealing them in a matte spray to take down the “magic wash” shine, then ended up coming out very well.
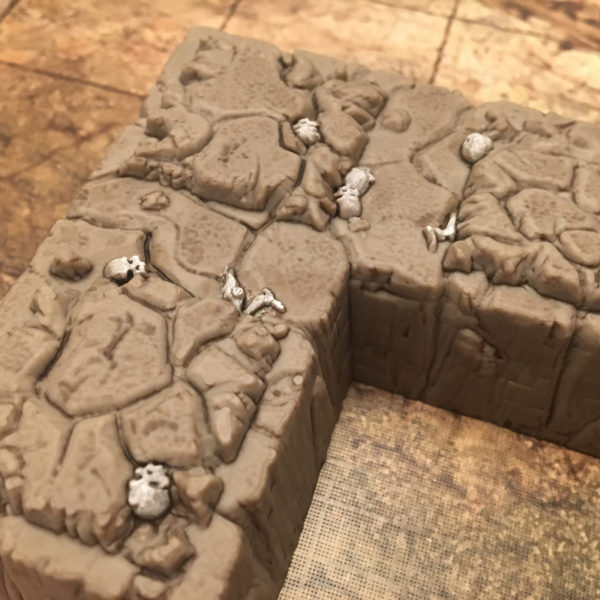
It was a bit of work but it was definitely worth it. The pieces were otherwise pretty drab and lifeless. With the skulls and bones, they come out a lot more without overwhelming the overall piece.
Just look at the bones! Seriously. A lot of bones were on this terrain. I was beginning to wonder if this is what 40k painters deal with.