
Switching gears from Dropzone for a bit, I went back to HATE. Last I left this project, I had completed a sample painting of an extra miniature. Ready to jump back in and work some more of the game, I started with the terrain. I always like to start with terrain as it is one of the few things that will be used in almost every game.

I know it doesn’t look like much but the terrain was your standard solid colored plastic. A simple way to make their texture come out is to add a wash but my standard GW washes won’t really work on bare plastic and I didn’t want to take more time priming everything. I decided to try something I’ve been meaning to try for a while.
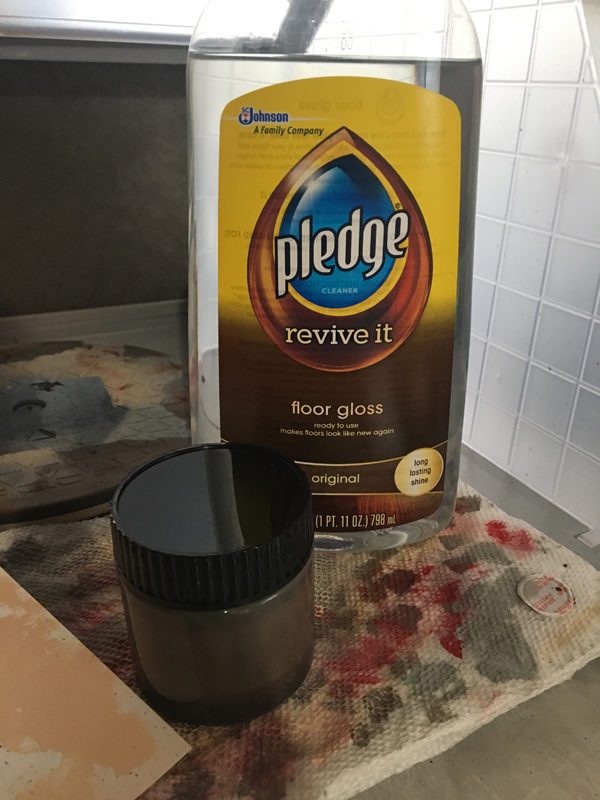
“Magic Wash”! This stuff has been around for ages and adored by many a wargamer and modeler. It uses a gloss acrylic (now found as Pledge Revive It) to mix in with a color of your choice to create a wash + sealer. Some just use the gloss to seal their minis and then apply their favorite ink or wash to get the texture to show but I decided to mix it altogether and expedite the process.
I first heard of this technique years ago in the Heroscape community. The publisher created a castle terrain set but didn’t apply any finishing to highlight the texture and give the product more volume like many of the other terrain pieces. The community quickly found a way to get the terrain to better match the exist product line using a watered down version of the Magic Wash recipe. In fact, it was none other than Jerry Hawthorne, famed Stuffed Fables and Mice and Mystics designer that popularized the technique on the castle pieces.
I followed the same recipe but used a “Dark Brown” from Folkart. The result came out too red and light so I experimented with add black and the dark flesh color from my airbrush primers. Probably not the best approach but I mixed until I got what I wanted and then experimented on the plateau terrain.
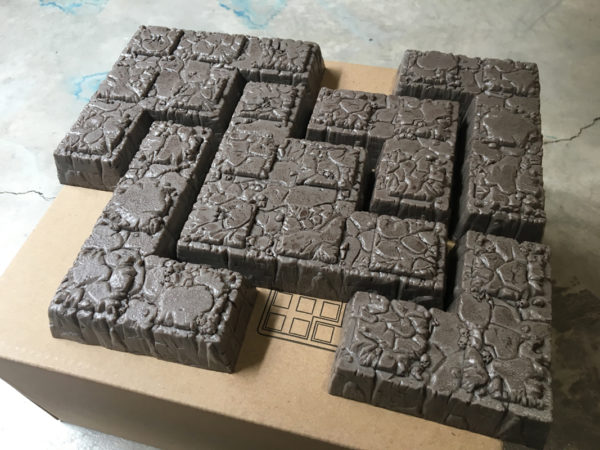
The plateau terrain was originally almost grey in color and had no depth. With the wash, I darkened the tone and gave the pieces some character by emphasizing the recesses. Since the wash seals as well as coats, this was done without applying a primer. I’m deciding if I want to go back and pick out details like the skulls. That will be a pretty monotonous task but may end up being just enough detail to hide the monotone effect this gives. Of course the whole reason I’m going this route is to experiment in a sepia monochromatic palette.
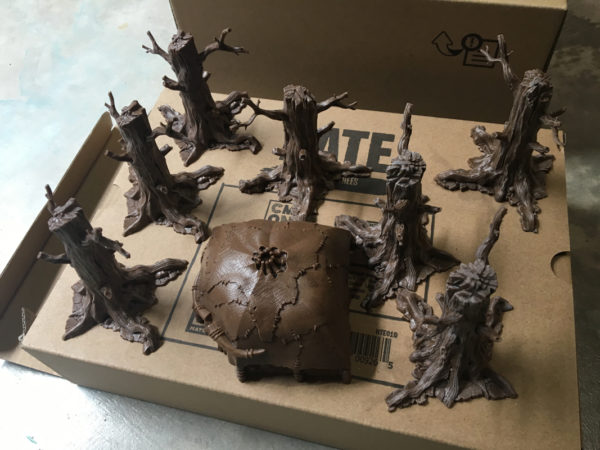
The same wash was applied to the hut and tree miniatures as well. Being naturally darker, the wash was not as successful but it still produced acceptable results.
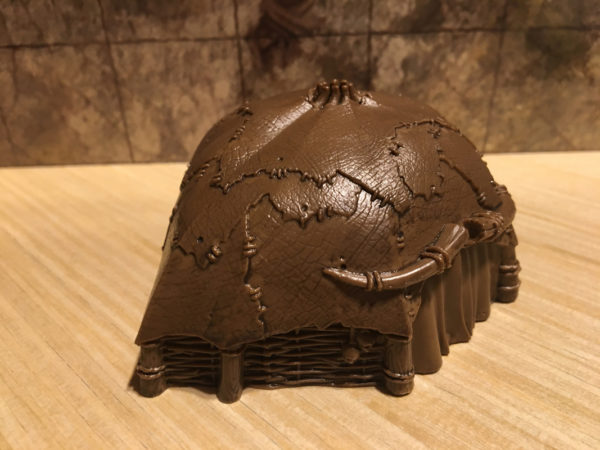
The hut piece came out the least affected. I’ll likely do some detail work on these to bring them up to par with how I want the rest of the game to look.
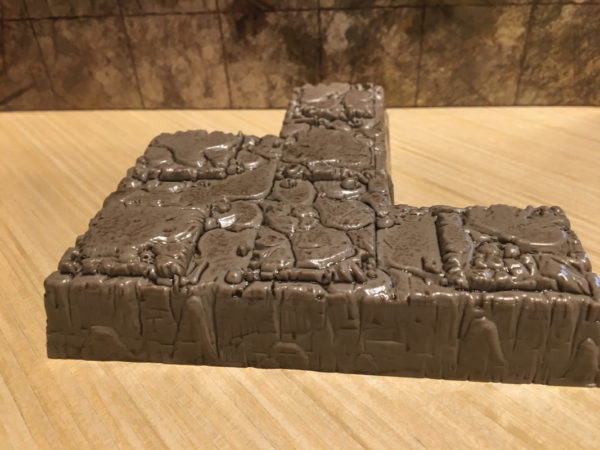
The plateau pieces showed the best change as they were a bit lighter in their natural plastic color. There are some minor details I want to pick out but this is a good start.
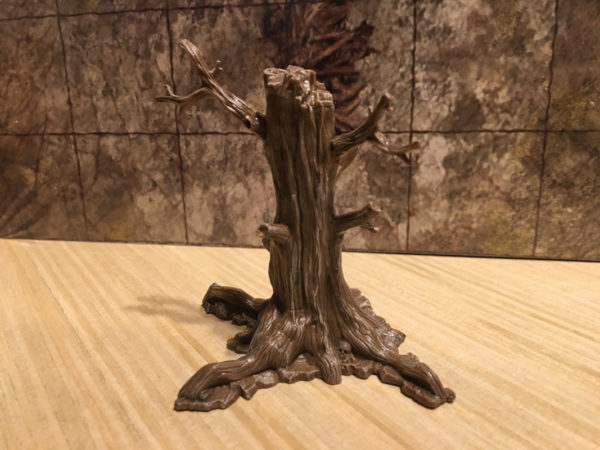
The last item is the tree model. It had the same issue as the hut with not much occurring in the contrast of the base color and wash. I decided to highlight them with a light flesh color to give them a dried/old look. Again, there are some minor details I want finish up as well but knocking all of these out in one quick go without needing to prime was quite nice.
Given that the wash is based on an acrylic gloss, the pieces come out quite glossy. A quick covering of matte sealer after I get the details finished will wrap them up and complete all the terrain for HATE.