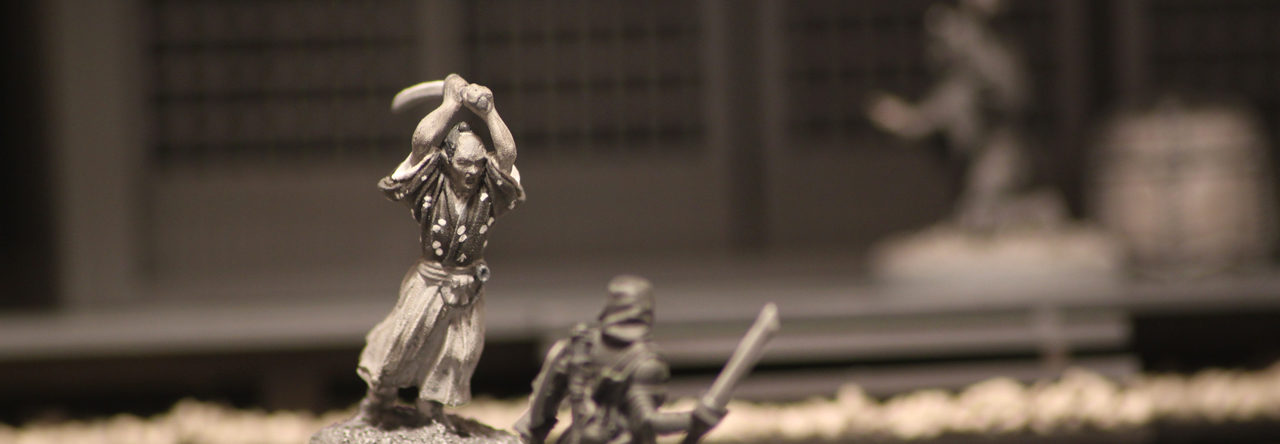
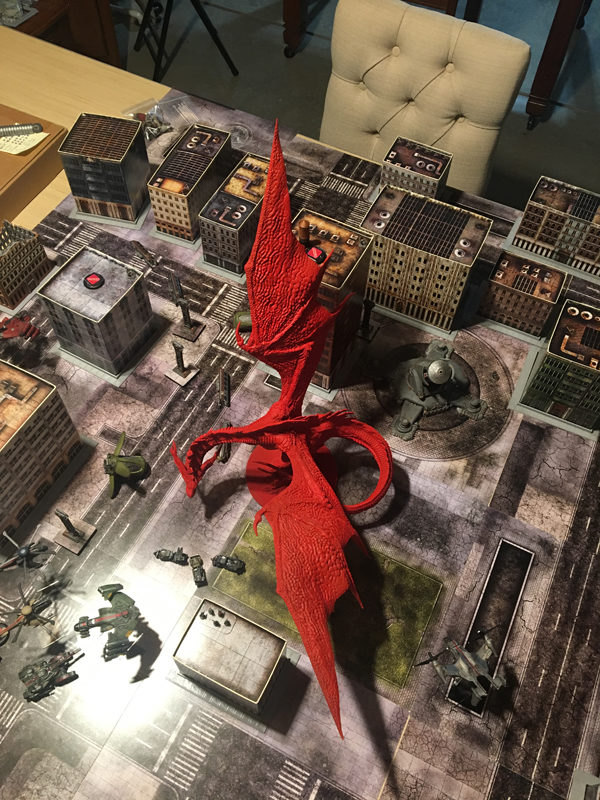
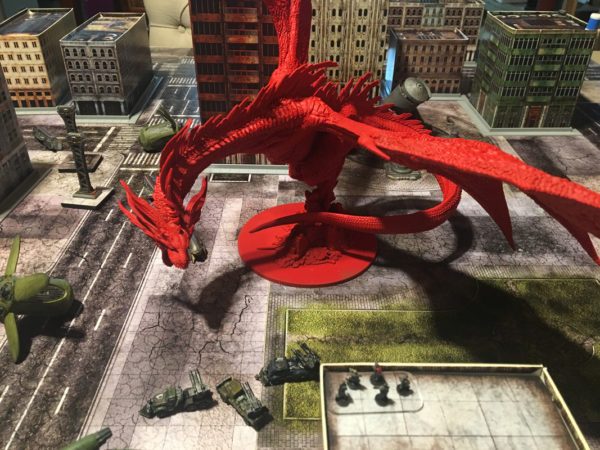
Switching gears once again, I jumped over to Joan of Arc to mess with the biggest “miniature” I’ve ever owned, the legendary Dragon. This mini almost single-handedly sold me on the game before I had a chance to play it, as I imagine it did for many other folks. I basically saw it in the display case at Gen Con, turned around immediately and ran off to find my friend. I then hauled him over to look at it as well and we switched up a lot of our plans to make sure we demoed the game.
Having the dragon mini in hand, it is quite an amazing piece and equally challenging to prep.

The piece is massive. It is over two feet in span (wing tip to wing tip). Its upper wing tip rises 18.5 inches up off the table. At its widest, it is over 20 inches across and approximately 12 inches deep. All told, it is glorious and I didn’t want to just post the wings in and take it apart to store in some box. I knew early on that I would have it in a display case and it would be out all the time. This meant I had to get to work.
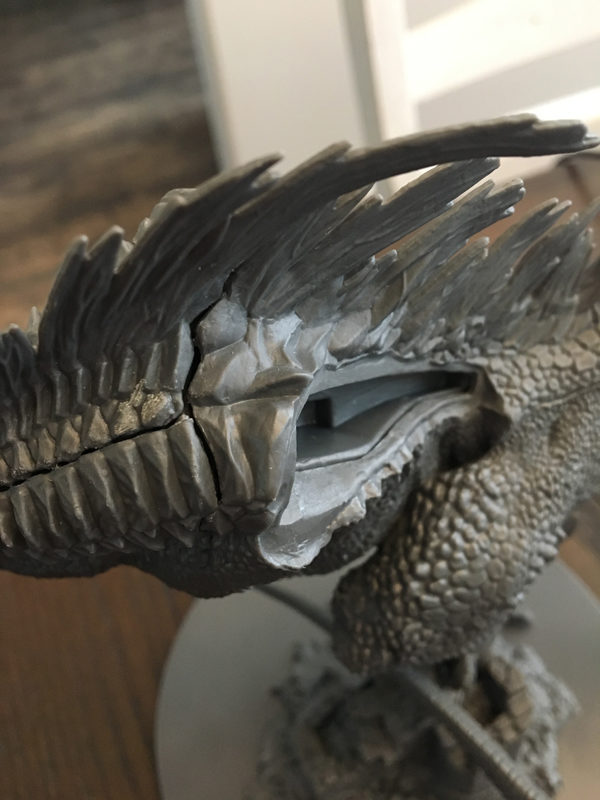
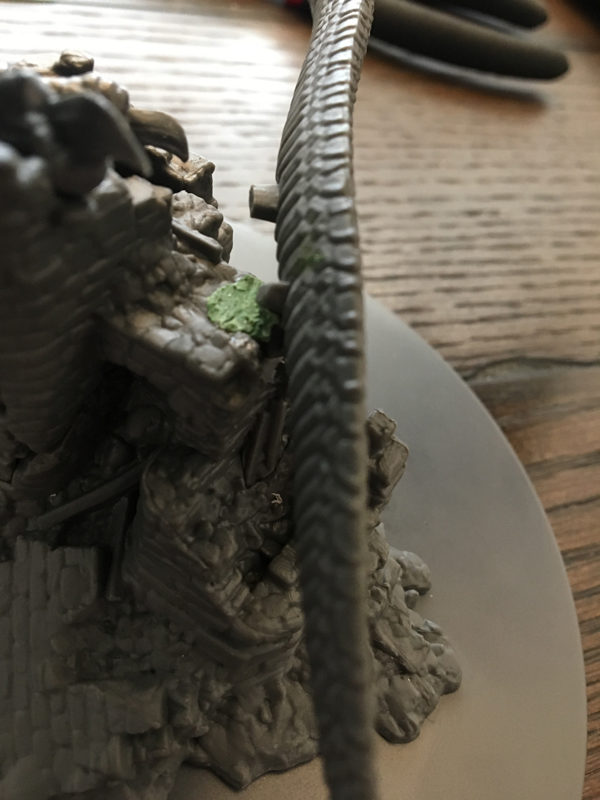
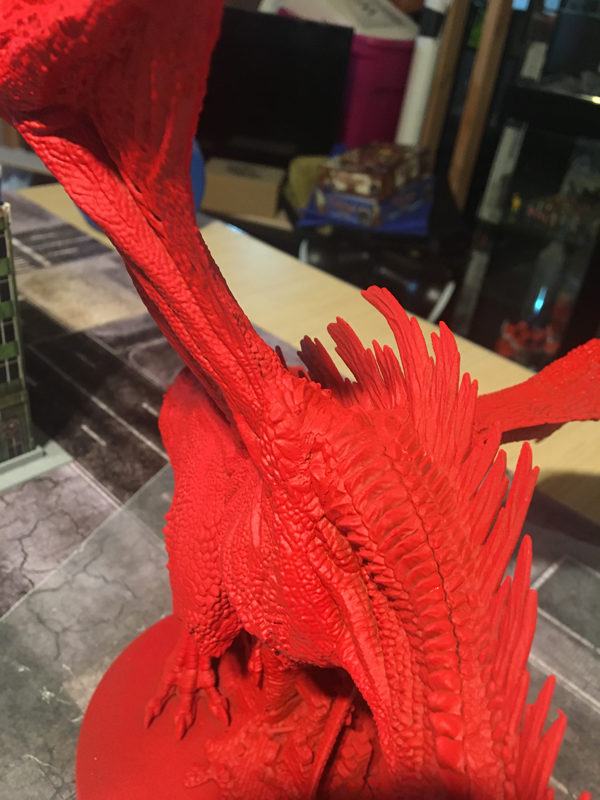
With almost any model this large that comes pre-assembled, there are bound to be issues and this guy has some. Being so big, it also has big gaps and since I plan on painting the dragon, I’ll want to close those up.
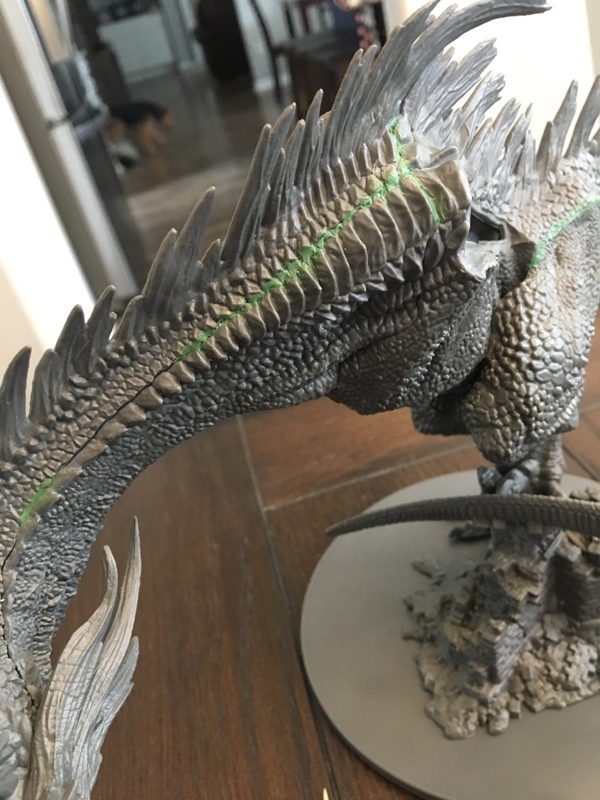
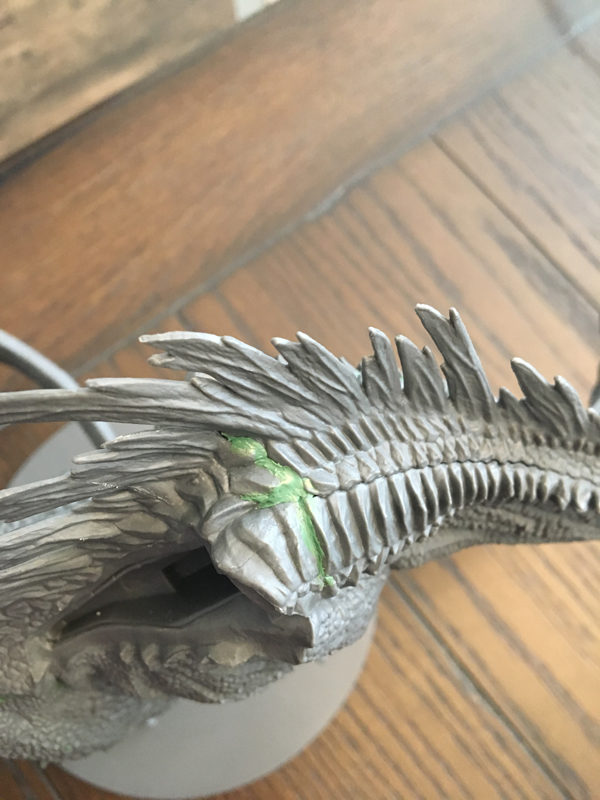
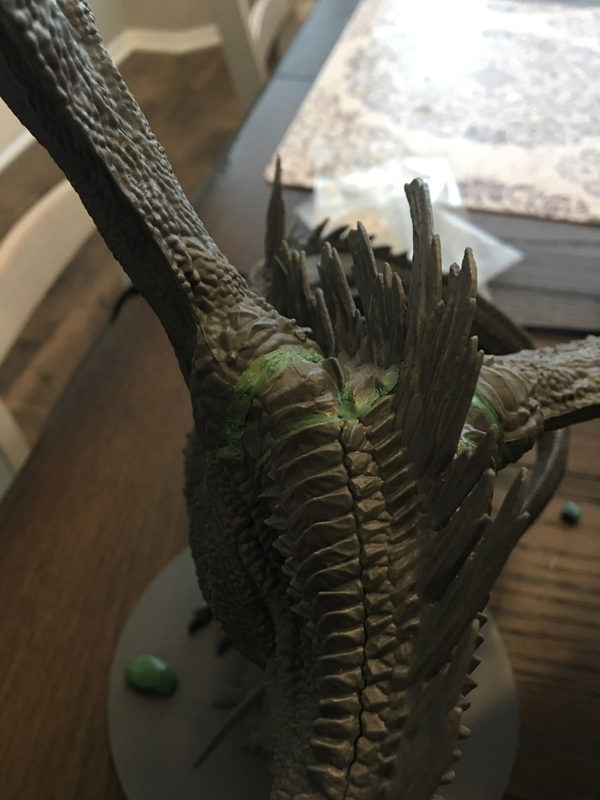
Green stuff is my main go-to for this type of work and I found that I usually went with too much. I think I thought that the cracks were so big that I’d need a lot to work with but I found small amounts were the way to go.
Working up little rolls of green stuff “worms,” I would lay them across the crack and press in. I’d work things with my finger until I smoothed out the in-fill and then take a toothpick to approximate the lost detail. For the bumpy scales, I’d just poke at the seam with a bunch of little random impressions to try and blend the gap. For the larger scales, I just tried to carve out and around the areas in something that felt logical.

I find that if I work with green stuff long enough, the material gets on my fingers eventually and starts to make it difficult to work with. It starts to stick more to my fingers than the model. You can fix this by getting a small amount of petroleum jelly (a very small amount) to grease up your finger so that it doesn’t stick. You can also put it on your tools if you’re working with them to fill in tight gaps. In a pinch, the oil on your skin can work as well (like the kind that is behind your ears where the skull meets the neck). This was an old photography trick I learned when finishing up silver gelatin prints. Don’t confuse oil on your skin with sweat as sweat won’t really help here.
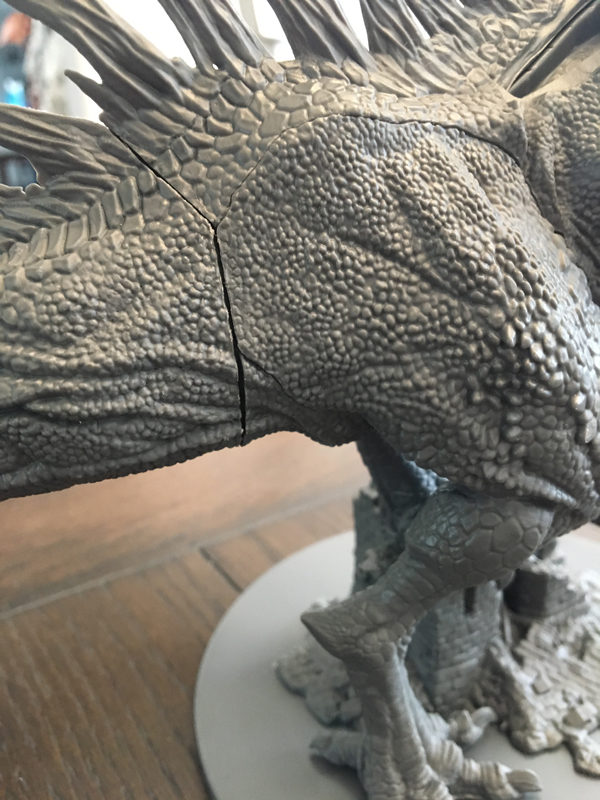
With the major gaps done, it was time to work on the wings. The wing pieces are big and heavy. They fit relatively well using the existing key holes but I was worried super glue alone wouldn’t do the job and since this is an important and awkwardly large model to me, I decided to pin the wings in. Trouble was, I didn’t have any wire that was thick enough to be of much use so I turn to brad nails.

I drilled my holes in the body and the wing and then did some test fittings.
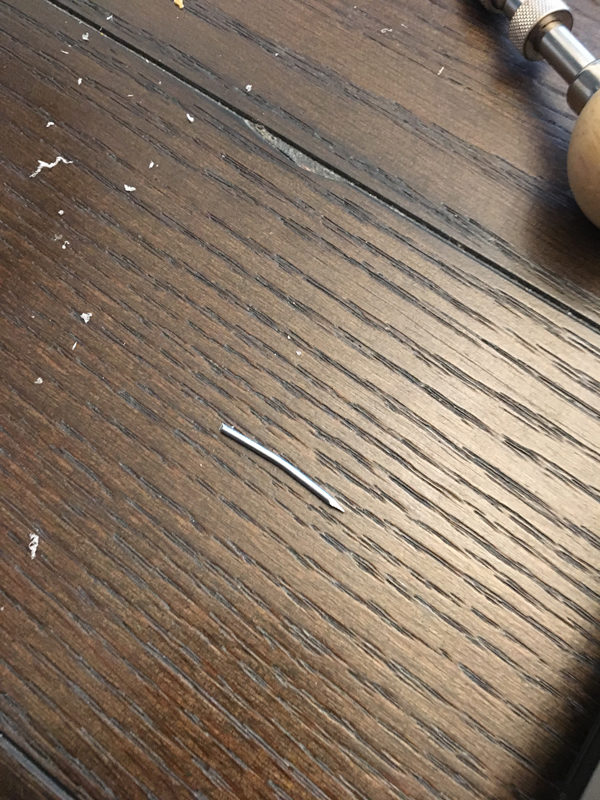
After a few satisfactory fittings, I pulled it all out to glue it in and found that the wings bent the nail! Just goes to show that you need something sturdy to pin these wings in with. The nail is still fine to use and likely bent because I didn’t have my pinning holes drilled straight.
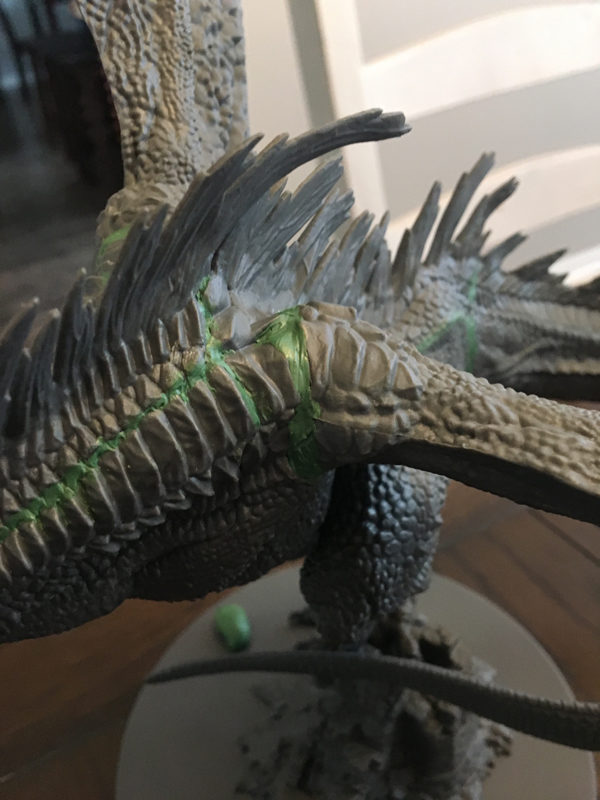
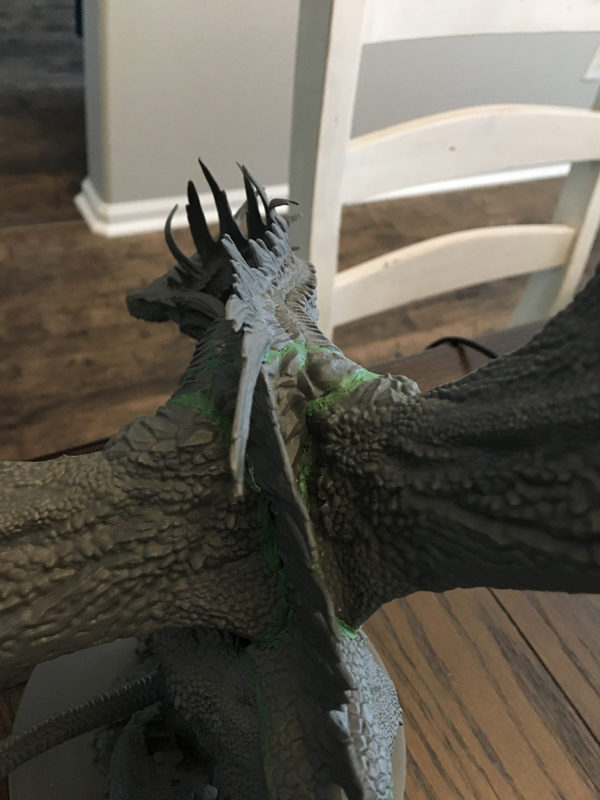
I ended up using the nails for pinning, superglue, and green stuff to make for a pretty great bond. The gaps created by the loose wings were particularly big so sealing them in is crucial to the stability of the joint, long term. The same detailing technique applies: poking holes for sections near the small, bumpy scales and large cuts across areas of large uniform scales.
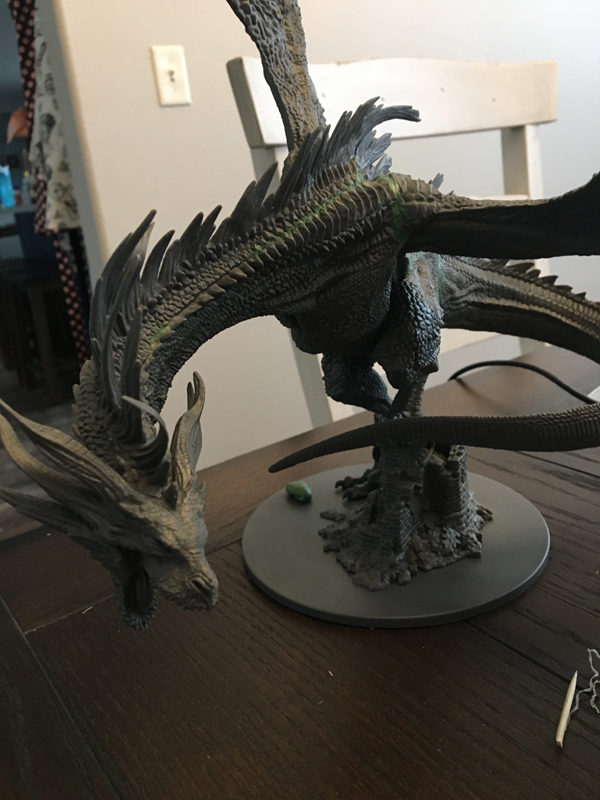
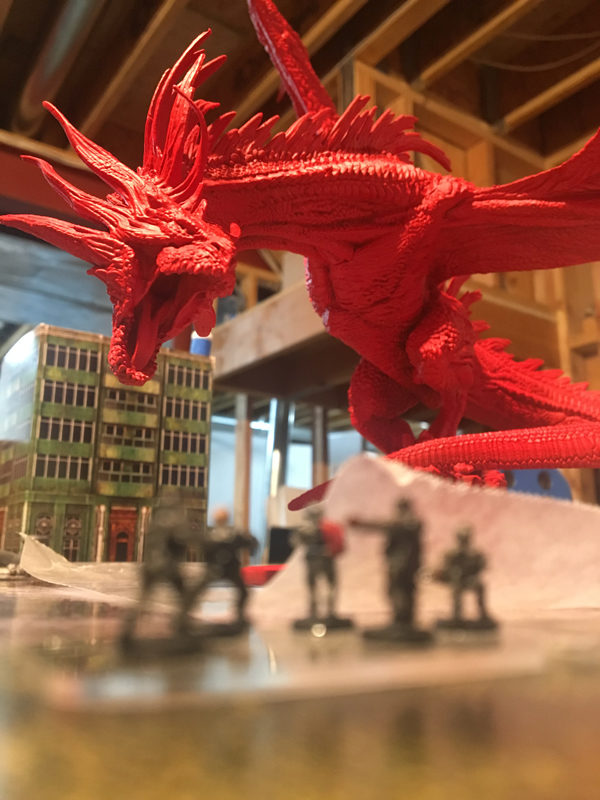
I decided I wasn’t done there though. I had invested a considerable amount of time just prepping the model this far and didn’t like the way the tail was place up so high. It has molded chunks of building attached to the model and they looked weird to me just floating in air so I decided to attach it to the base of the ruined structure below.
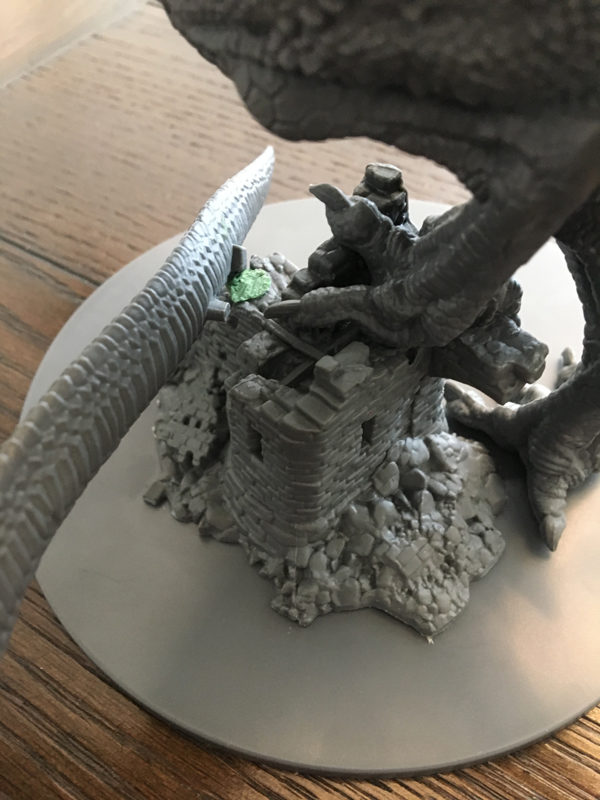
It’s hard to see but I had to actually pin the tail down as it was very stiff and super glue alone didn’t seem like it would hold. Another brad nail into the structure and to the tail, a lot of super glue, and some green stuff did the trick and held it down where I wanted it.
It’s a subtle difference but I like that you can see the foot easier and the pieces molded onto the tail look more natural.
With the dragon model complete, I took it in to prime.
I used Army Painter’s Pure Red primer as I want that classic D&D ancient red dragon look. The red coloring will eventually tone down as I work the paint details in but this bright base really makes the model stand out on the table, showing just how big it is.
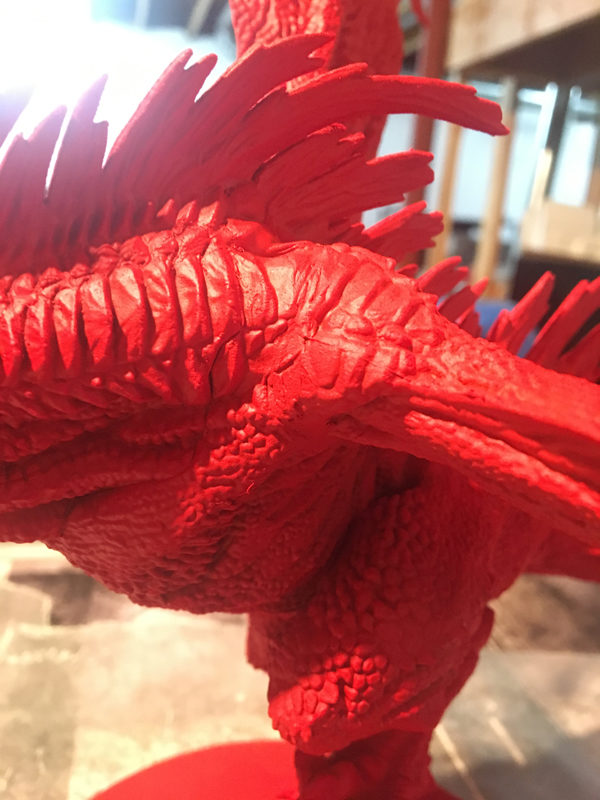
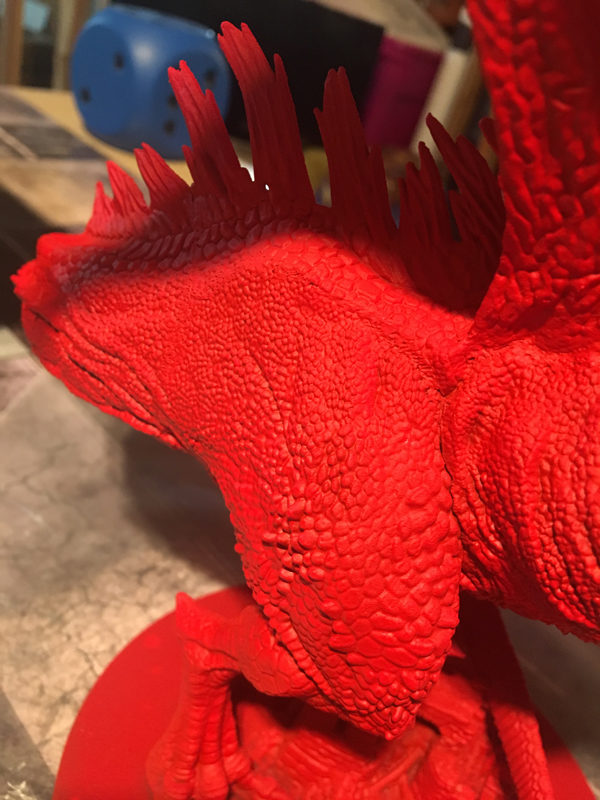
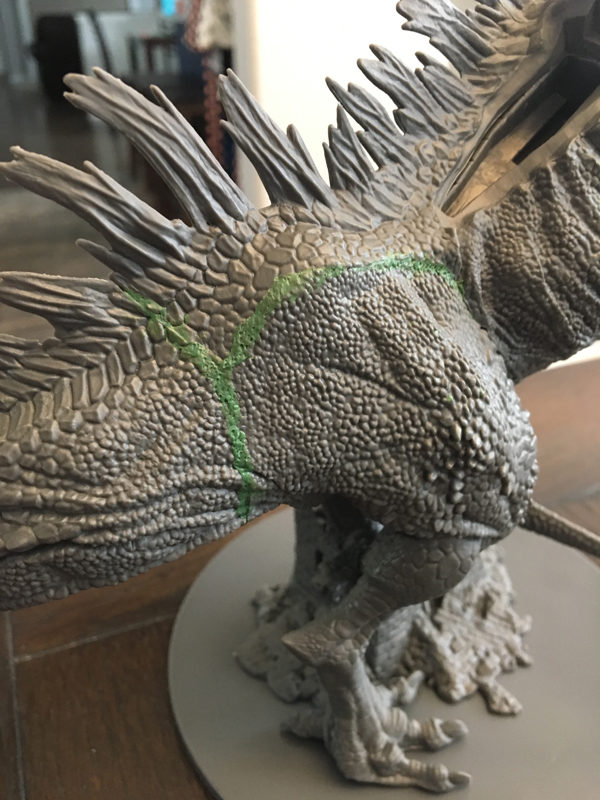
While not 100% hidden, the gaps are barely noticeable now. When the details get on the model, they’ll be even less obvious. I’m really happy with how the model is turning out and can’t wait to start working up the details.
I might have to make a custom Reign of Fire scenario for Dropzone Commander as well as using the model for Joan of Arc.
While it’s been a lot of work just to get this far, it has been a lot of fun and I’m looking forward to the challenge of painting the rest of the model up.