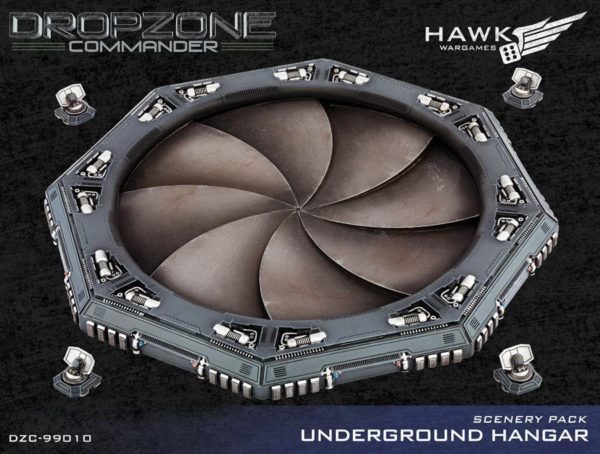
In my pursuit of the old Dropzone Commander terrain pieces, I found the Underground Hangar on clearance locally and picked it up to add to the collection.
I’ve been on the fence on this piece for a long time. It doesn’t have the raw sexiness of the Orbital Laser or the game-spanning fun of the Monorail but the concept is cool. For the price, it is really high for something you can likely scratch build a decent copy of but I’m a little worried TTCombat will scrap the idea of creating molds for these and reprinting them so I figured I should grab the terrain before it gets stupid expensive on the secondary market (even if that isn’t going to happen for months or another year).
The kit itself is really simple and requires almost no cleanup and absolutely no assembly. You could go from sealed box to priming in just a little longer than what it would take to unwrap the model. After holding the model, I realized it is hefty. It’s like the size of small dinner plate and weighs like stoneware. I can see now why it is pricey since it is a big chunk of resin.
The kit being simple was a little bit of a let down. Where’s the fun in that? So I decided to make things difficult. Deep down, when I saw the model, I knew I had a plan for it and all of that solidified when I stumbled upon Green Stuff Industries.
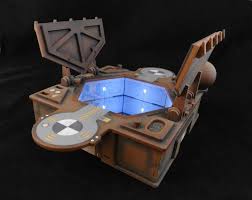
GSI did something insanely creative by making an underground terrain piece in MDF and adding an infinity mirror trick. I looked up how to do it and it seemed simple enough so I picked up the materials (LED strip light, two way acrylic sheet, and small glass mirror) and started the initial planning steps.
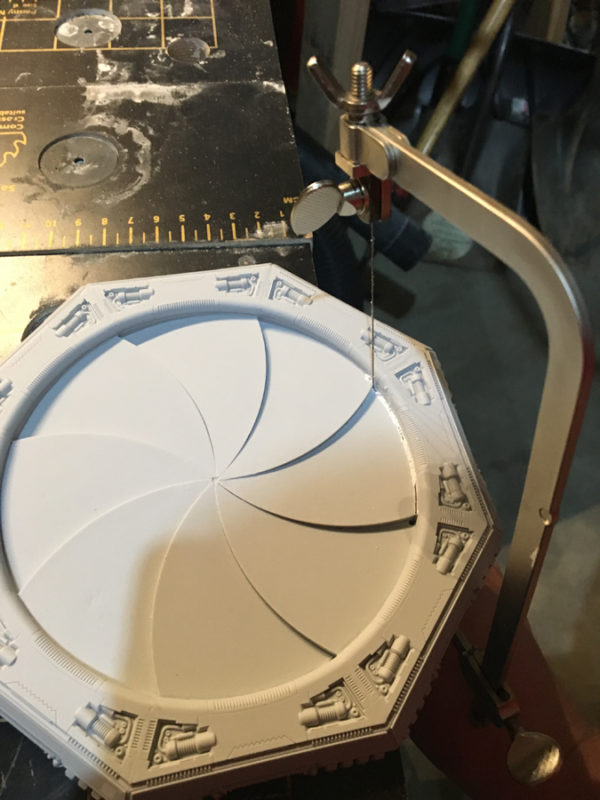
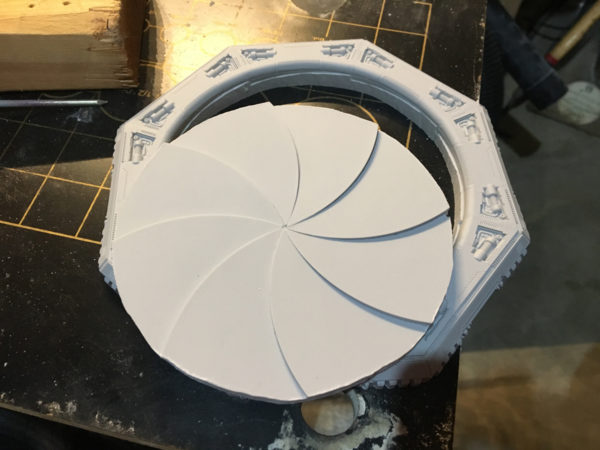
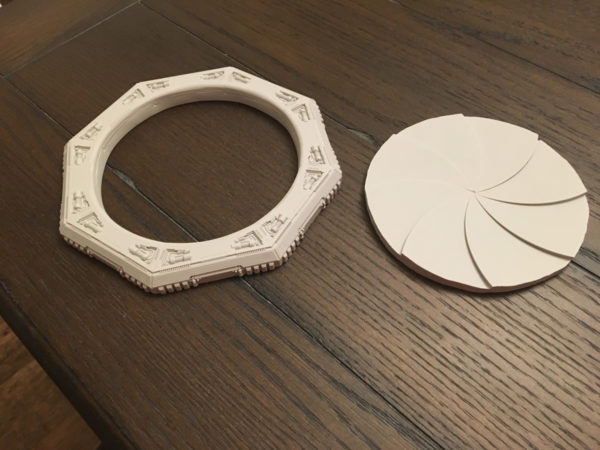
First thing was to cause a mess. Eventually that center piece was going to have to go so I drilled a small hole on the side and threaded my jeweler saw blade through and got to cuttin’.
It took about 15 minutes of careful cutting to get around the center. It wasn’t hard but you’ll want to go slow just to keep close to that edge without gouging into the actual walls.
Next, I sanded the insides smooth using 60 grit sandpaper to pull the excess off and then finishing with 200 grit to smooth it back out. I got a fun new blister on my finger for the trouble but it was worth it.
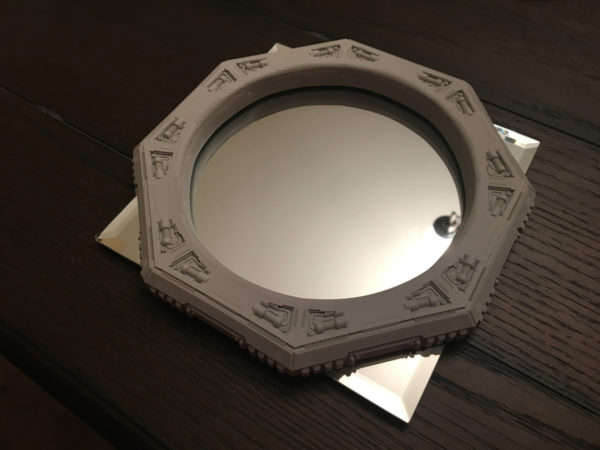
The base mirror is a cheap craft mirror from Michaels. The inside diameter is 4 7/8ths inch so the 5.8 inch square mirror works well. They also had a round option but I don’t recall the dimensions and I was worried it’d be too small. I might need to go back and see if that option will work given the size.
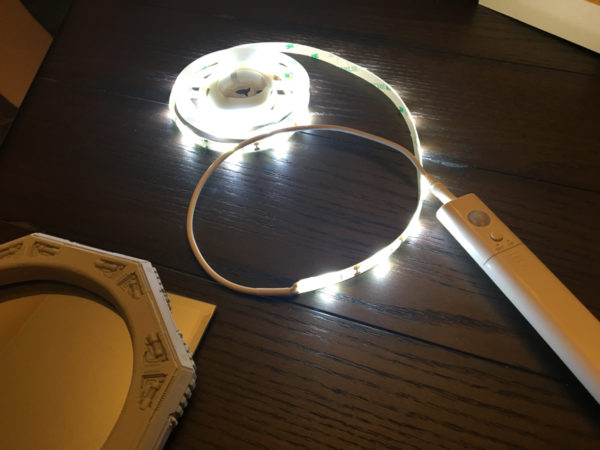
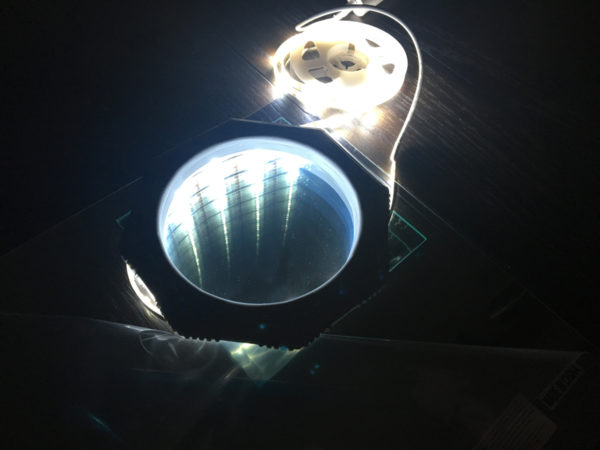
Testing the LEDs, they seem bright enough and are thin, helping to create that illusion of depth.
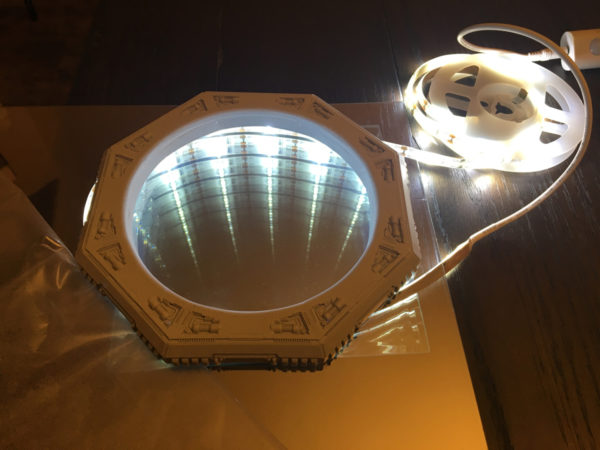
And the first test looks like it works well. There is a lot of work still to be had as I cut all the components down and figure out how to house it all but I’m happy with these initial first tests.

Russ Spears
This is going to be my new favorite thing, I can tell. Negan’s bat, moon lamp, now this. I know it’s not done yet, but you’re going to knock it out of the park.
What kind of saw (is it a saw?) did you use to cut the center out? I’m trying to expand my tools that I suddenly discover I can’t live without, and anything “powered” was taught to instill great fear since I was but a wee trailer park redneck and I don’t even know what to Google. Plus, most power tools seem geared toward building bit, bulky things and not the fine and exact things that you’re always noodling with.
Christian
HA! I will try to knock it out! The saw is a “jeweler’s saw” which is a little more precise than a coping saw (which you usually see at your local home depot). I had to order mine from Amazon and went with about the cheapest I could find. It promptly broke on it’s first use (so buyer beware or you get what you pay for or whatever). Luckily it didn’t break in a way that made it unusable but a little sketchy. Can’t complain as it did the job but maybe opt for second tier cheapness and not third.
After you pick it up, do a search on how to use one as it was not immediately obvious to me. Or you can click here: https://www.instructables.com/id/How-to-use-a-jewelry-saw/
Russ Spears
Saw, blades, clamp, wax. Gotcha. Looks like the Amazon price on saws is either $14 or $100.
This is one of those times I wish you’d had a video of starting – I keep looking for a pilot hole or something for where you put the blade through but you’ve done an excellent job hiding it.
Shame the CNC couldn’t do the cutting on this one 🙂
Christian
Oh yeah, I’d go $14 😀 I knew I wouldn’t use it enough to warrant the professional model.
I should do a video sometime but I’m usually doing this on the fly and haven’t really set up a “studio” for filming. I could have done a better job showing the how-to. I’ll correct that in the follow-up as I work on the rest this weekend.
Last night I was really considering the CNC. Even set up some CAD models to do the cutting but the issue is the “circle” for the center of the of model is not a precise circle and my CNC will likely not cut the same imprecise circle as well. Also, if things are off in the slightest, it will ruin the model. Lastly, the thinnest I can go currently with my bit is 1/16th of an inch but the Jewelry saw goes into the “aught” range (I used a 1/0 size blade). I will be using the CNC this weekend for the base part though 😉