
I cranked up the CNC machine this weekend for the first time in a few months. Back in the summer, I was really in a groove with the machine and things seemed to go well. Having not messed with anything for a while, it seems that familiarity has left and I need to retrain myself a bit.
I was going to start up on my Dropzone Commander building bases project but before I get that underway, I needed to finish off one last pending project: my Pitchcar regular-to-mini converter.
I’ve been working on this project for awhile, even starting before I thought about getting a CNC machine. For all my effort though, I only had one working prototype and since Pitchcar tracks make a loop, I had a way to convert down to the mini-sized tracks but didn’t have another piece to convert back up.
This project ended up being a bit more complicated than I anticipated. I initially thought I could use or modify an existing file but that ended up being more trouble than it was worth. I was beginning to feel like the tolerances needed to make these puzzle pieces fit correctly would be beyond me but little by little, I made progress.

My crude hand cut attempt at the top of the picture was before I thought of getting a CNC machine. In many ways, this project led me to seek out a CNC machine and so it was good to get back to this and see if my latest version worked. I got bold at first and was cutting full pieces but soon realized that I needed to conserve material so then I went to just fixing the specific puzzle connector that I needed. The second piece from the bottom was the first successful piece (though it wasn’t perfect and needed a little sanding to completely fit). The changes I made manually to that penultimate piece made the final modifications in the file for the last piece.
Right before my hiatus, I set up the latest file based on the working prototype and some tweaks I needed to make. Then I had the machine all set up and ready to start but had to leave and then never made it back to start the milling. I didn’t want to tear that all down to start my DZC project (finish what you start!) so I would make sure I could test out this latest attempt and see what happens.
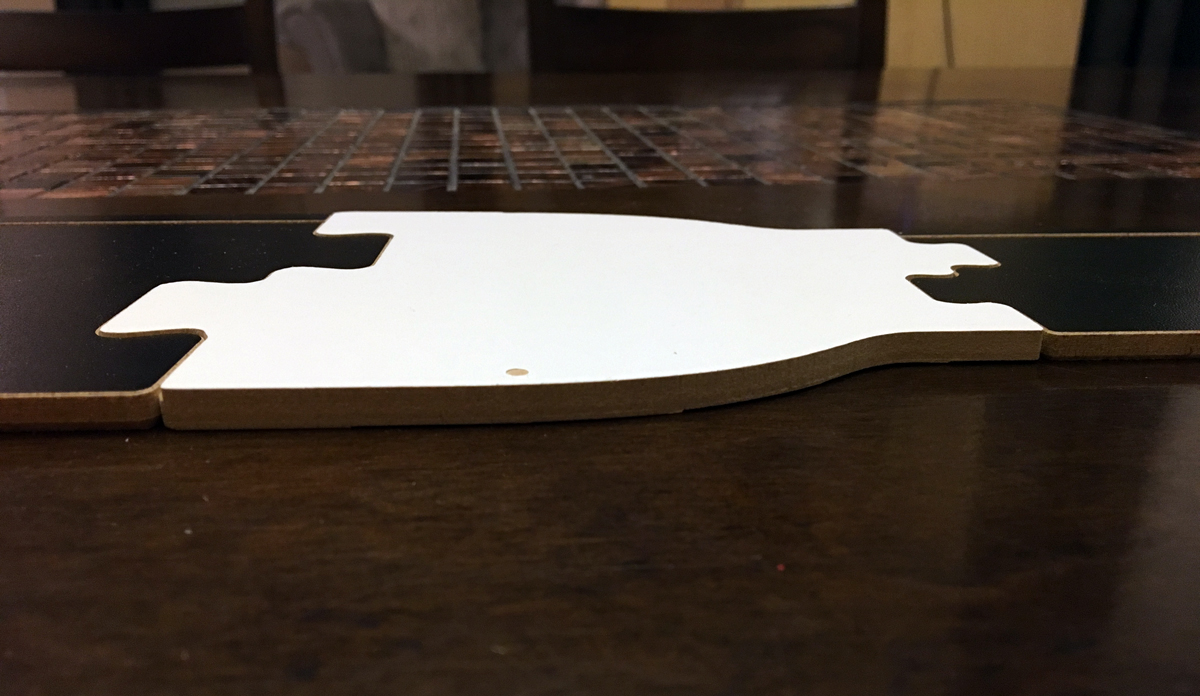
All-in-all, the piece worked out great. It fit perfect and the modifications meant for no post-processing to finalize the piece. Well almost. This piece is complicated for another reason as well. Not only did I need to match the puzzle-piece connector of the regular-sized track and the mini-sized (which turned out to not be as simple as scaling down the connector), but the two track pieces are not the same height.
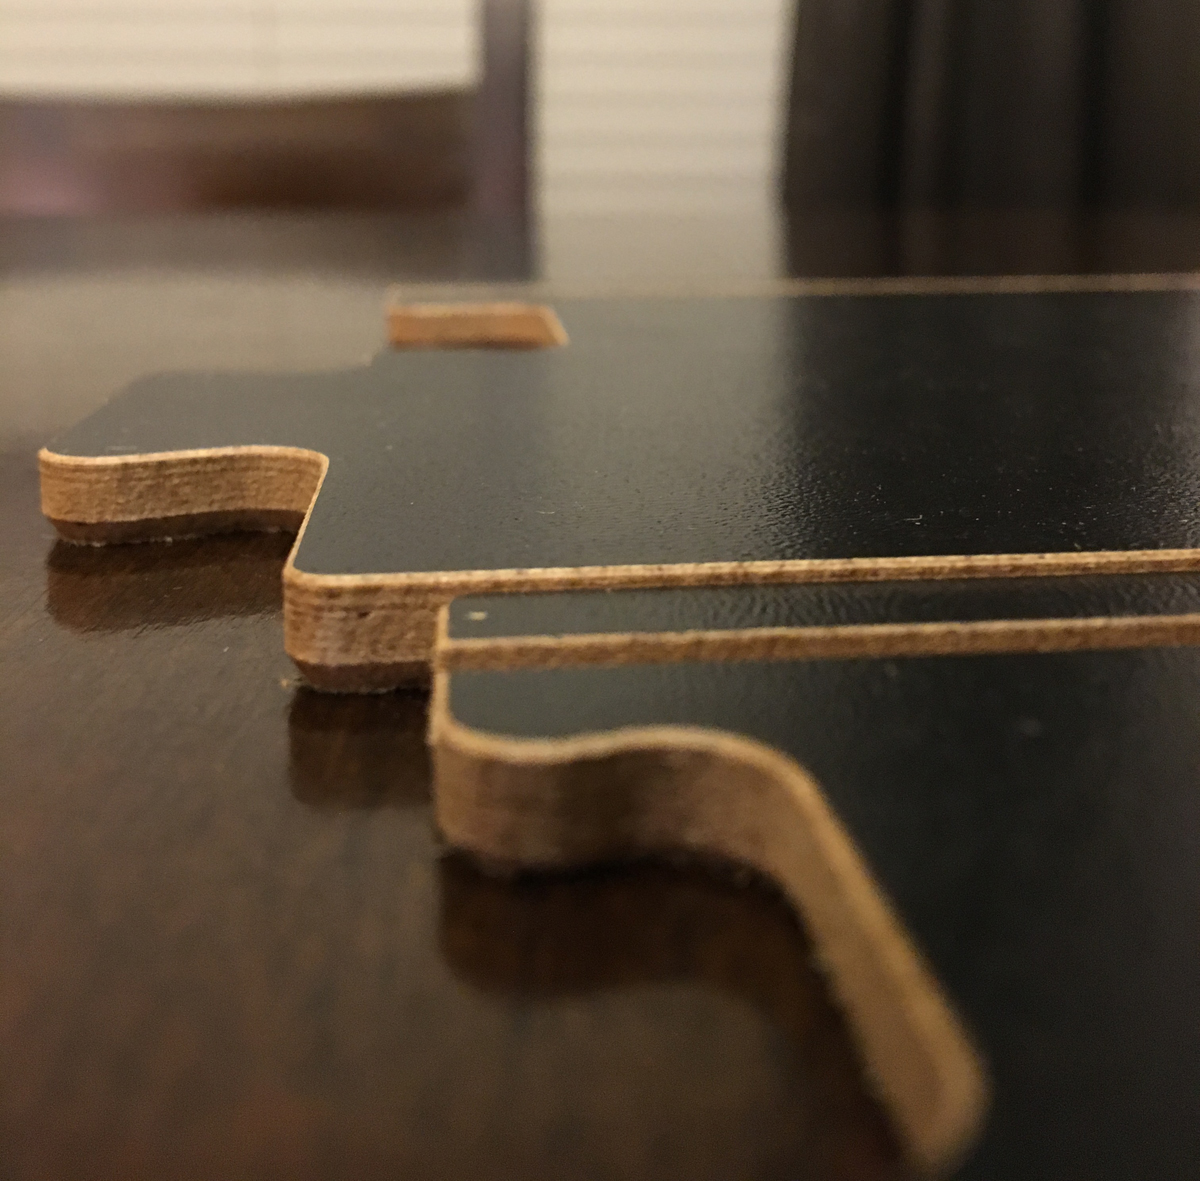
It’s very slight but there is a noticeable difference between the regular and mini-sided track pieces. This being a dexterity flicking game, even this small height difference can catch the sliding discs and ricochet them backwards, ruining a shot. Now I had to work the puzzle connectors and work out a method of planing the piece at a sleight angle so that it was shorter on the mini side than the regular side. Since the track pieces aren’t the same size as any stock piece I can find, I knew I’d have to plane the pieces a little bit but I didn’t count on having to plane it at an angle.
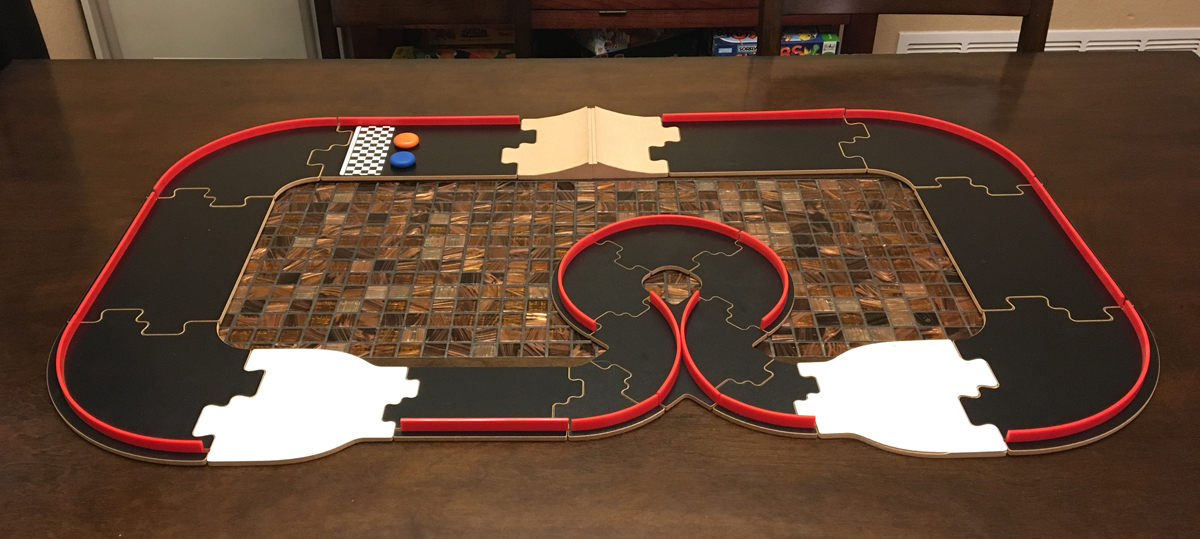
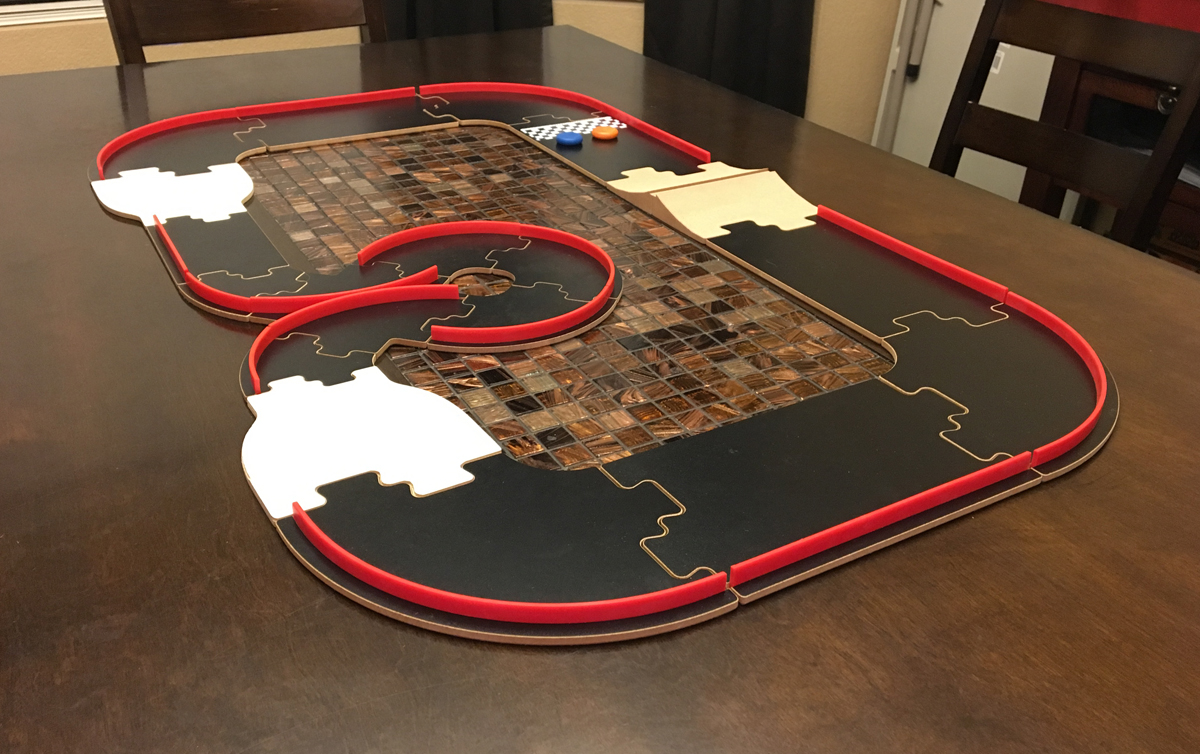
After messing with measurements over and over, I was able to shim up to the correct size and create the connectors. A quick little map set and I can call this project done. I can now combine both of my Pitchcar sets to make for some interesting options. Having these connectors correct and planing of the piece sizes locked in, I can really start making some wacky pieces now. The last little addition will be to cut the red wall guides into the piece so I can add walls when I want.
Russ Spears
Glad you got the scaling from the prototype worked out Christian 🙂 Those connectors look really nice.
Would adding some padding underneath the mini-track sections be worth the effort to keep from planing the connectors? Granted, it’s not as cool, but it looked like perhaps some felt on the bottom of the mini track sections might boost it all to the same height?
Still a genius idea overall – and going the CNC route instead of 3D printing ups the coolness factor.
Christian
Thanks Russ! I actually overplaned the first connector and used packing tape on the back side to bring it back up to the right height. I know people use playing cards to shim up the track pieces when playing normally due to slight size differences or non-flat tables. I think you could do the same here so that you don’t permanently mess with the track pieces. In either case, I’d have to fix all the mini track pieces and with the stock piece not being thin enough for the regular game, I have to plane it down anyway.