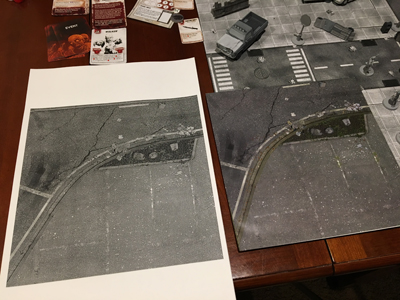
When I first set out to create my initial boards, I decided to use some 8″x8″ tiles from Fat Dragon’s Capital City papercraft pdfs. Looking through the campaign in Mantic‘s Days Gone Bye expansion for Walking Dead: All Out War, I noticed a few non-city themed play areas and the expansion came with a field-looking paper mat. Since I don’t have any open field paper terrain, I will need to make something else. I would just use that paper mat but it’s all in color and will clash with my theme so I decided to scan the mats and reprint them in black and white.


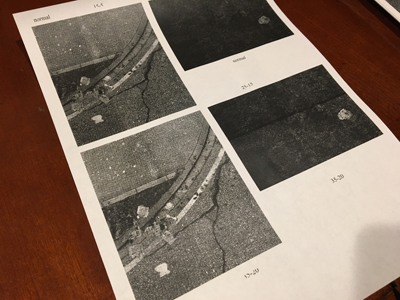
Since I knew the scan and reprinting would weaken the fidelity of the original, I wasn’t too concerned with printing at the highest quality. First I scanned the mats in piecemeal, converted them to grayscale and then manipulated that brightness/contrast to varying levels just like my original boards.

When I found the right contrast, I did one more print of a larger section to make sure it was where I wanted.

With the other boards, this would be the end. Just print, spray adhesive on some foamcore, cut them down, and be done. Unfortunately, these squares could either cut down to 7″ x 7″ squares or the fold lines are on 10″ x 10″ squares and will be less fiddly. I chose to stay at the larger size but that means going to a print shop as I need a minimum tabloid (11″ x 17″) sized paper and my home printer just can’t do that.

I went to FedEx Office and had them print out the sheets I needed. I then went home to check and they looked fine. I’m pleased with the brightness level of the prints as they seem to match the originals pretty well.

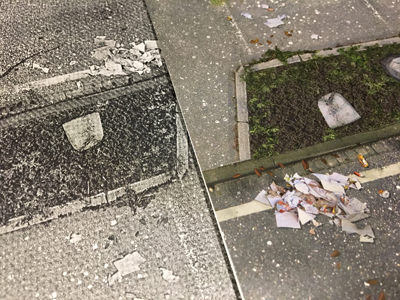
When you compare them closely though, you can really see the print quality suffered.

I’m not too concerned about it though as they are just the main mats and are pretty non-descript. The effect is almost like when people print game mats on vinyl banner material.
All I need to do now is spray them onto foamcore and cut them down and I’ll have the regular mat images in my preferred black and white color scheme.

