With the rule concepts in place, it is time to test this sucker out. For this test mission, I simulated a “find and extract” scenario. In the bottom six cards of the 24 card event deck was the mission objective. When a squad searches and find that card, it has an objective and the final goal is to get it off the map where the army initially entered.
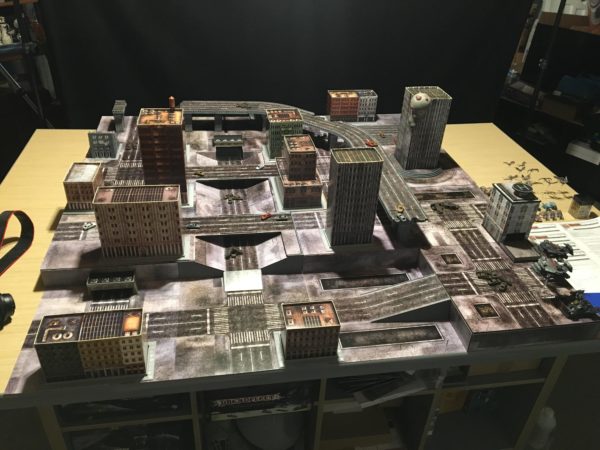
The map had 4 large buildings, 4 medium buildings, and 4 small buildings. Large buildings could be searched up to 3 times in the game while medium buildings twice and small buildings only once. I spread the buildings out on a 4×4 map with the large buildings clustered near the center.

With the event deck built and the board set up, I used the old 1st edition Resistance starter set to create my army:
- Armor Group: 3 Gun Wagons in a Kraken, 2 Hannibals in a Lifthawk with AA
- Frontline Group: 3 two-unit squads of Resistance Fighters each in Jackson APCs all carried by a Lifthawk with AA
- 525 points
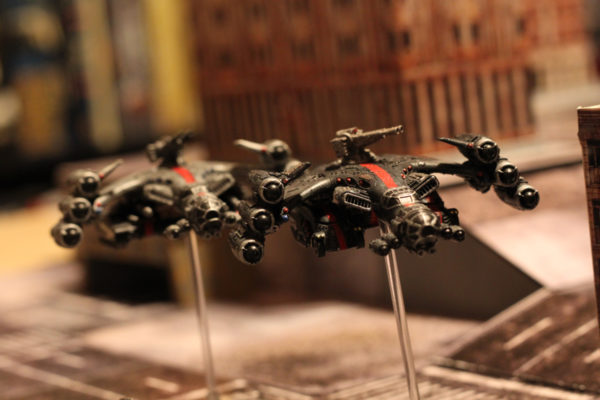
All set, the scenario began with the transports moving to the board. A quick note: you’ll likely see typos and other mistakes on the testing cards I used since I was trying to prototype quickly to get the game on the board.
I dropped off all my APCs and had my infantry make it into the two close buildings. The Kraken with the Gun Wagons wandered off to the right flank because that was the only way up to the main city level. The Hannibals were flown in and hung out near the APC dropship as they didn’t have anything else to do.

I had two building option, one small and one medium. With three separate squads, I should be able to clear out these initial buildings in the first turn. My first infantry, Alpha squad, checks out the small building and immediately decides we need reinforcements.

Thinking that having more dropships might be best, I call in for an additional Lifthawk with AA. Hope he’s useful.

My second squad Beta makes it into building 2 and is ambushed by Abandoned Razorworms. These guys are brutal and shred my infantry of 10 down to four soldiers.

My third Infantry squad Charlie rushes in to help and takes down a unit of Razorworms. They then search the building to clear it out.

They find more Razorworms but it isn’t an ambush so they just activate at the end of the round. Charlie squad can’t do anything but watch as the rest of Beta squad is eaten alive in front of them. I instantly regret my request for another Lifthawk reinforcement…
Round one ends with me down a full squad of infantry, the only unit in the game that can search these buildings. This may be a rough game. One note on fauna squads- if they are infantry and more are added, I just add them to any existing squad to make things simple. Since this gives an advantage to fleeing a building, I will rule that to do so always requires a fortitude roll and failure deals damage equal to the difference in the result per normal rules.

Round two sees Alpha and Charlie squads pack up and get in their APCs and take off to new buildings. My Armor Group doesn’t have much to do so they keep truckin’. Round three sees Charlie get into a large building.

And trigger an unexploded shell. The shrapnel takes down a few soldiers.
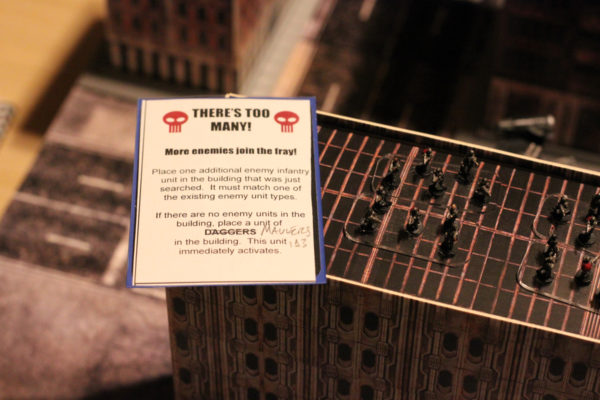
Alpha squad comes in to join them and help clear the building faster. Nothing was in the building so no new enemy infantry join but a full group of Maulers bust on the scene.

I roll for random deployment and they saunter out of one of the abandoned car tunnels.

Right in range to run around and munch on two of my APCs.

With Maulers out, I deploy my Hannibals. Combining fire with my Lifthawks and Kraken, I take one Mauler down.

Charlie squad does another search a round later to clear the building but ends running into the business end of a group of Daggers. They bring Charlie squad down to three soldiers. The building is clear and we abandon it.

I leave Charlie squad to take the street and hoof it over to a nearby building.

The Hannibals clear out the Maulers with some expert shots.

Alpha squad jets over to another building in the comfort of the remaining Jackson APC.

All this commotion has gained the attention of the Apex!

Random roll has it coming out of the same tunnel. Must have been following those Maulers.
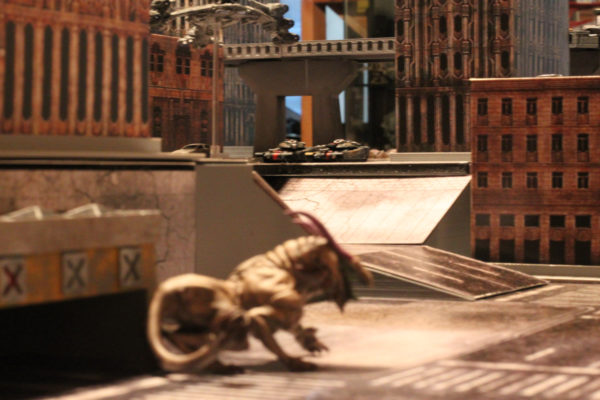
From it’s vantage point, it spies my Hannibals. The Apex table gives me the strongest one with Armor 15 and E12 claws. I think this foe is beyond those little Hannibals.

The Apex ends up tearing through one Hannibal but luckily leaving the last one intact in time for me to ferry it off to safety.

A round later, Charlie squad makes it to their small building and finds nothing (but they are still alive, so I’ll take it).

Meanwhile, Alpha uncovers more Razorworms and takes minimal losses.

The Kraken tried to hide but the Apex wandered in the right direction and spotted it.
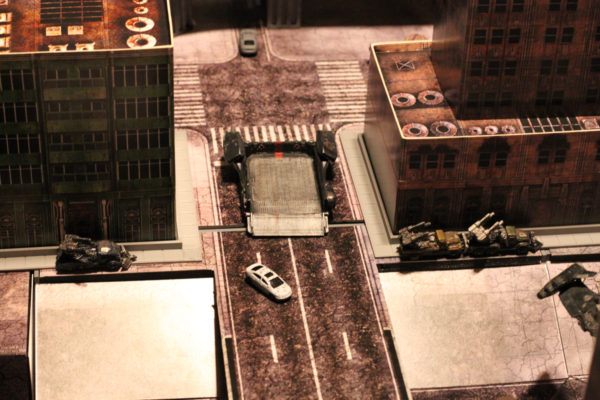
The Kraken knows it won’t outrun the Apex so the Gun Wagons jump out and hide.

The Kraken makes a run for the overpass but the Apex finds it and easily takes it down.

My remaining Hannibal parks on the overpass and reins down fire, scoring a lucky double hit on the Apex, bringing it down to 1 health.

All the firing has brought out some vampires.

But the Gun Wagons easily take care of them.

Unfortunately, it draws the attention of the Apex.
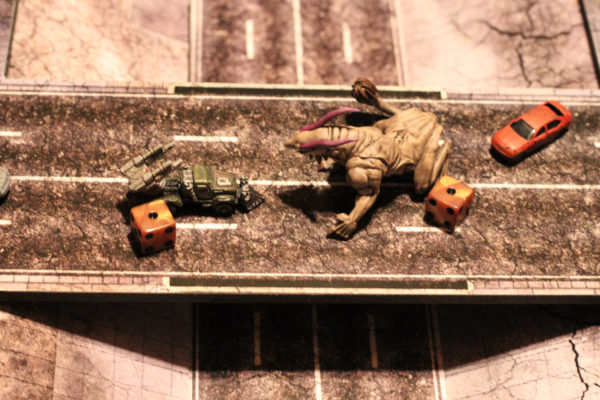
Which starts to rip them apart.

Alpha squad makes it to another building but an explosion takes down a few more soldiers.

And brings another Mauler into play from the other tunnel.

Charlie squad has hit the mean streets again and is slowly making it to another building desperately trying to clear out more of that event deck.

I focus everything I have on the Apex and a lucky shot from a Lifthawk takes down the mighty beast.
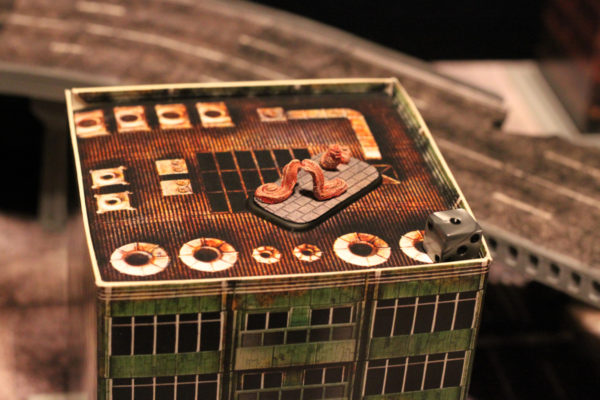
Charlie squad finally makes it to a new building and finds Razorworms waiting. They wipe out the squad leaving it up to Alpha squad to find the objective and get out of town.

Unfortunately, they find Daggers waiting and kill them down to one last soldier. The last remaining soldier of the company is the last hope.

He searches again and more Daggers join the group and slaughter the hopelessly outnumbered soldier.
MISSION FAIL

I flip the deck over and find that the mission objective card was the very last. I likely never stood a chance.
The game lasted 14 rounds and was a bit brutal. Some of the immediate changes will be to have the Round Up Phase activate only Fauna that haven’t activated in the turn. Also, to save on how many Fauna Infantry I needed, I had them removed from the building if they had no one to attack but that meant squads could just leave for a turn and wait out the enemy so I’ll keep fauna in play until they die or have to be pulled in elsewhere.
14 rounds was a little long so I think I’ll up the Army Points to 800 to see if I can get more infantry on board to speed up the searches. I didn’t like that the Apex couldn’t do anything against the flyers so I’ll likely give it an AA option as well. Likely also the ability to “leap” up to 3 inches so that it can’t be sniped from the overpass either.
I neglected the transport Scan action in the game as I don’t have any real rule for it but maybe I can use it to have the searching squad draw two cards, choose one, and put the other back on top.
In any case, I liked the overall feel and will give it another go to see if I can improve it.
