Happy New Year! It has taken me a little longer to get going this year but there are some exciting things brewing. First up is a new hobby toy fresh from the holiday, an Anycubic i3 Mega 3D Printer.

I stayed out of it long enough but the price of these machines and the draw of what they can do forced my hand. I decided it was easiest to pick up what Colton and Reese had and the prices over the holiday were getting stupid cheap. This 3D printer cost less than my home paper printer so I decided to finally pick one up.

The device was simple to set up and I had hardly any issues getting to my first print (the stock “owl pairs” that come with the machine). It might seem like overkill to pick one up when Colton and Reese also have one but my kids are also being taught some CAD at school so it’ll be nice to show them the process of printing their creations as well instead of relying on the school printer to get through its workload.
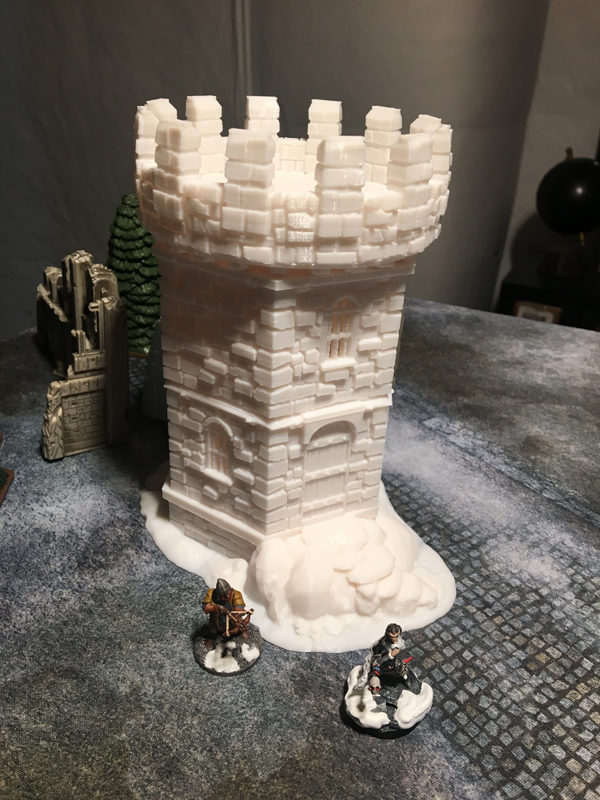
It hasn’t been all owls and school projects though. I’ve been busy cranking out some terrain to fill out more Frostgrave as well.

The 3D printer is an interesting tool and I’ll do a write up comparing my CNC experience with my 3D experience but for now, I’ll just show off some finished terrain bits.


Russ Spears
Welcome not just to 3D PrinterLand, but Anycubic I3 MegaLand! I started with a Monoprice Mini Delta and wanted/needed a larger print area, and the I3 was the right price for me, too. It looks like you’ve got the settings dialed in for terrain (which you’ll now feel obligated to share, right?).
On my weekend experiment list, I’ve got a batch of various sizes of Gaslands car accessories to print. I have no idea how well the details on anything that small are going to work out, which of course brings up way too many searches on Resin printers.
Christian
Oh nice! I’m actually using the stock settings from Cura and things are turning out fine. After printing a few pieces of this terrain, I think 25% standard infill is overkill so I’ve dropped it to 10%. None of these needed supports in my opinion so I went without those as well. Last, to conserve material and shorten the print time, that print in progress shot also went to 2 layers (at 0.2mm per layer resolution) for the bottom of the model. The base is so big on that and it took over 3 hours just to do the base at 6 layers (1.2mm height). Cutting it down saved about 100 minutes of printing time and a lot of material.
That will be my go to from now on for terrain: 10% infill and the weakest bottom I can get away with. It’ll be interesting to see how small detailed items come out I bet those will be tough on this style of printing but I might try it soon enough. Colton has looked into Resin printers but their is a lot screw up and the chemistry can be quite bad if not respected.