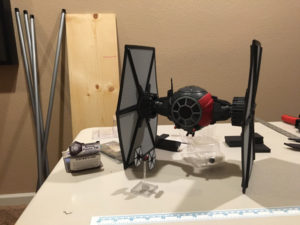
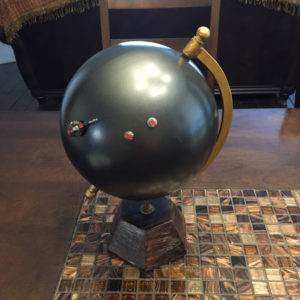
No, not “doyns,” “do-INZ.” Big stuff is brewing. I teased this photo back when I was exploring The Cave:
And now it’s time get started on this project. I’ve talked about Big Pimpin’ before and even made my own giant-sized Sails of Glory but now it’s time to giant growth a game I’ve wanted to since I first saw WizKids do it to Star Trek Attack Wing, it’s time to super-size Fantasy Flight’s X-wing Miniatures Game.
As you can see, this super-sizing is going to increase all the components by a pretty big margin. Running my calculations, the size difference between the two models is about 50x. 50x yields a giant base size of 10.85″ x 10.85″. I didn’t really want to deal with a bunch fractional inches in my construction so I rounded up the bases to 11″ square which brings the enlargement factor to the nice round 51.366x. I’m sure that won’t get me into trouble later…
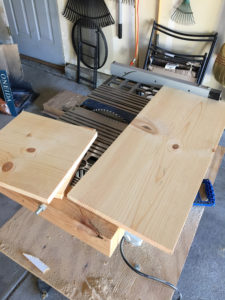
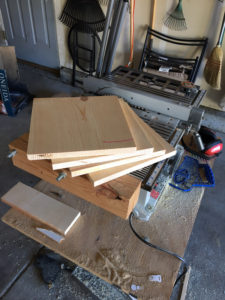
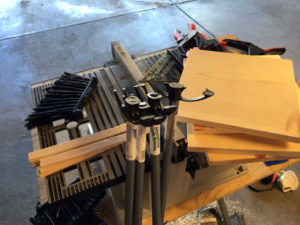
To get started on the base, I grabbed a 4 foot 12×1 board and cut it down to 11″ square base boards.
Table saws are great for this type of work but make sure you use all the necessary precautions. It will be hard to finish the project if you no longer have all your digits or limbs.
The excess wood scraps of cutting the 12″ side down to 11″ made for perfect base “rails” that will keep the X-wing ship token in place on the base.
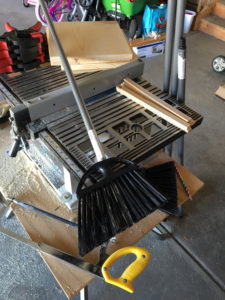
Walmart had cheap brooms for $1.59 each and these will make the post stand that holds the ship model.
First thing is to hack the broom bristle part off. These are at an angle which are great for broomin’ but not so much for making a straight pole.
These are now cut approximately straight and I’ll likely need to cut these down further but the main reason I grabbed cheap brooms was for the screw-in handles so I could disassemble the pieces later (storage space will definitely be an issue with this project).
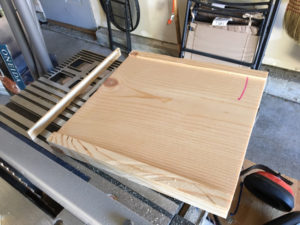
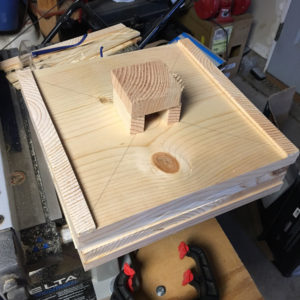
I grabbed some scrap wood to make a support piece that will go over the pole center to help keep it straight. After I had all the wood pieces cut, I tested all the fitting to make sure the concept was coming together.
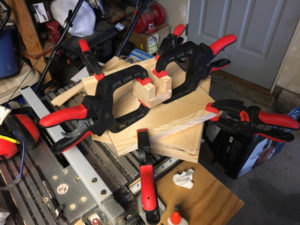
Before assembling, I made some markings on the base to make sure I knew where the center point was. Then it was time to glue.
That’s all the time I had for this project this week. It’s a good start but with the weather starting to turn, I’ll need to move quickly to finish this project up before the end of the year.
To compound issues, I also found this great clearance piece at Target:
It’s a metal 10″ globe which is perfect for another project I’ve had my eye on for a long time. The little black and red pieces are from Dropzone Commander just to test if the metal globe was ferrous enough to handle magnetic pieces. I’m really excited about this soon to be announced project as well.
