
I’ve had the board game HATE for a while and I knew I’d want to paint it up but the game has a ton of minis. They are all pretty fantastic with a ton of detail so they deserve to shine. Unfortunately, painting all those minis up would take longer than I have the patience for and the color schemes would likely be pretty muted anyway. Give all that, I decided to try out a very simple approach. I had a broken model (with a replacement on the way) so I decided to test my approach on it and get my process down before diving in.
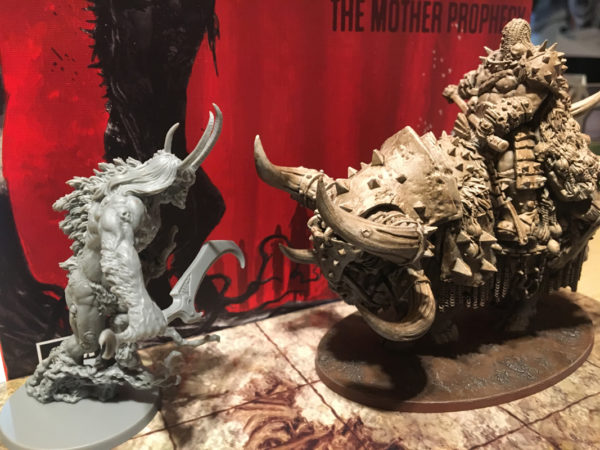
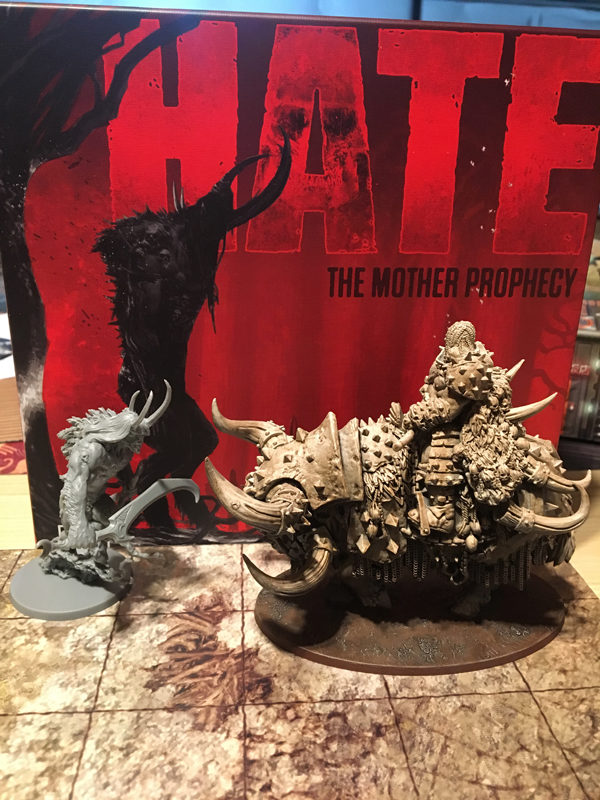
So the biggest model in the game, ironically, was the one that broke on me and I couldn’t find the missing weapon head for a long time as it was buried under a different model. The model on the right is the broken “Twins” mercenary and the one on the left is an unpainted stock figure.
I wanted to stay true to the comic idea (like my Walking Dead painting scheme) so I decided to go monochromatic again, this time in a Sepia tone to match all the board art and brown tones of the scenery. I don’t think I could even attempt this option effectively without an airbrush so it’s nice to be able to try something new.
I’m taking these progression shots all under the same glaring light to try to reduce the natural shadows and show off what the effect is doing. the lighting and setup is the same for each shot.
First up, I prime the model in dark brown (dark flesh tone from Stynylrez, a Badger Airbrush paint product). This will set the base of my Sepia tone and allow the following steps to automatically accent the model’s shape.

Next I switched to my light flesh primer (still with Stynylrez) to start a zenithal shading/priming process. Zenithal priming is pretty new to me and while I’ve read a lot about it, I’ve never actually tried it. You can do this with spray paint primers but the effect is usually limited. Also, being weather dependent and expensive, prohibited me from considering spray cans an option for all the minis I want to get done.
I’m not sure how well I did on the first pass of the zenithal approach but the miniature was so big it felt like I needed to cover a lot of area. This was all done around the model at approximately 45 degrees. I basically plopped the model down on my rotating bed in the spray booth and sprayed and turned and sprayed and turned.

It might be hard to see but I went pure white (Stynylrez) for the last phase of the zenithal process. I thought I over did it but the white never went pure and was light enough to give the light flesh tone under some breath.

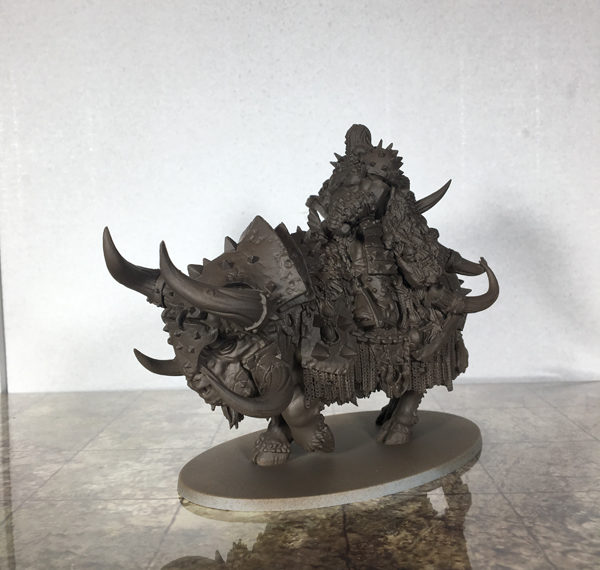
And then I go and ruin it all by throwing a thick wash (Agrax Earthshade) over it. I kid as I actually like the effect but I wan’t to make sure the model wasn’t too bright on the board and the wash still lets the details in the highest zenithal “zone” come out. It seemed like it almost made the last round of priming (white) useless but I think enough is there to still warrant the step. I will review again to see if it is truly worth it as cutting out a step can save considerable time when applied across 100+ miniatures.

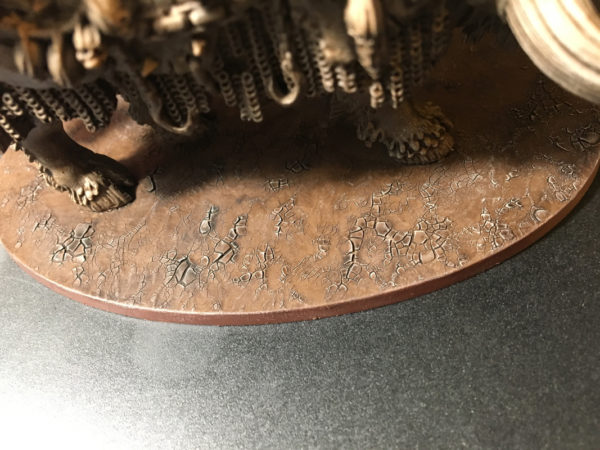
Now that the model is basically done, I started on the base. In another new technique to try out, I picked up some of the GW Technical paint Agrellan Earth. I applied the layer down as directed and then gave it an hour, the recommended wait time. Then gave it another hour. By hour four, I think it was finally done (and I live in an arid state).

After it was finally dry and cracked, it looked like it worked well. Except that they didn’t mention (or I missed it) that you need a dark base coat under the Agrellan Earth layer as the cracking will expose the color underneath. Not a big deal but just something to consider. To correct this, I first sealed the model in a matte spray (though maybe a gloss would have been better to allow a wash to flow).

I then go back to my wash (Agrax Earthshade again) and apply a healthy amount to fill in the cracks. Some times it takes multiple coats but eventually it fills in. Since I’m already washing the figure, I could just do the base after the zenithal steps then wash everything but I feel like the base is too dark with the wash tinting it down further. I’ll just paint the base before the technical paint is applied next time.
I dry brushing the base in a light dusting on light flesh. I don’t want to risk ruining things by dry brushing too heavy and the light flesh is a little to stark a contrast with the dark base. I hope painting under the technical paint with bring out the dark crevices like the wash does without darkening the whole project. Then the light dry brushing highlights won’t be too out of place.

That basically completes the mini (with a quick dark brown around the base edge). Each individual step doesn’t take long to apply but the dry times for the Agrellan Earth and sealant will eat up some time. That shouldn’t be an issue in an assembly-line situation since the drying can happen as I finish up the rest of the crew and then I can go back to start and apply the next step in the process.


For very little brush work and just some technical spraying (nothing difficult), this process really helps make the detail on the model stand out and fit the board color tones. It is hard to tell with this strong lighting but I didn’t want the normal lighting to hide things.

On the actual table in normal lighting, the effect comes off well (even if the base is too dark).
The final plan will be to do all the minis like this but actually paint up the big “major” figures to help them stand out more. The paint jobs will still be in the Sepia Monochrome style but will emphasize the actual objects on the model in their natural tones instead of spamming everything in the same tone based on artificial light sourcing.