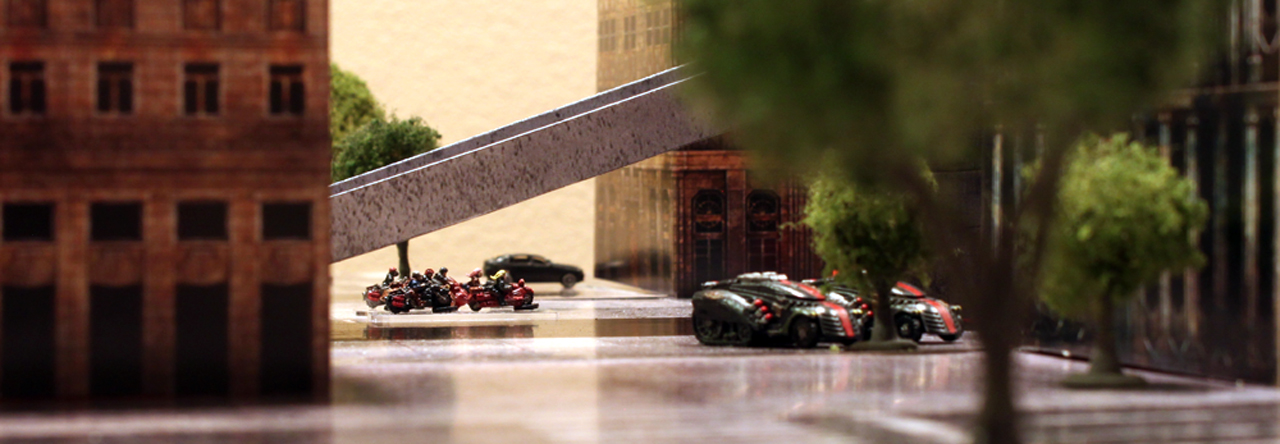
With the nicer weather this week, I was able to get a little bit more done on my Test of Honour board. First, I finished up the leveling I was doing for the dojo placement and then I laid everything out to see the progress.

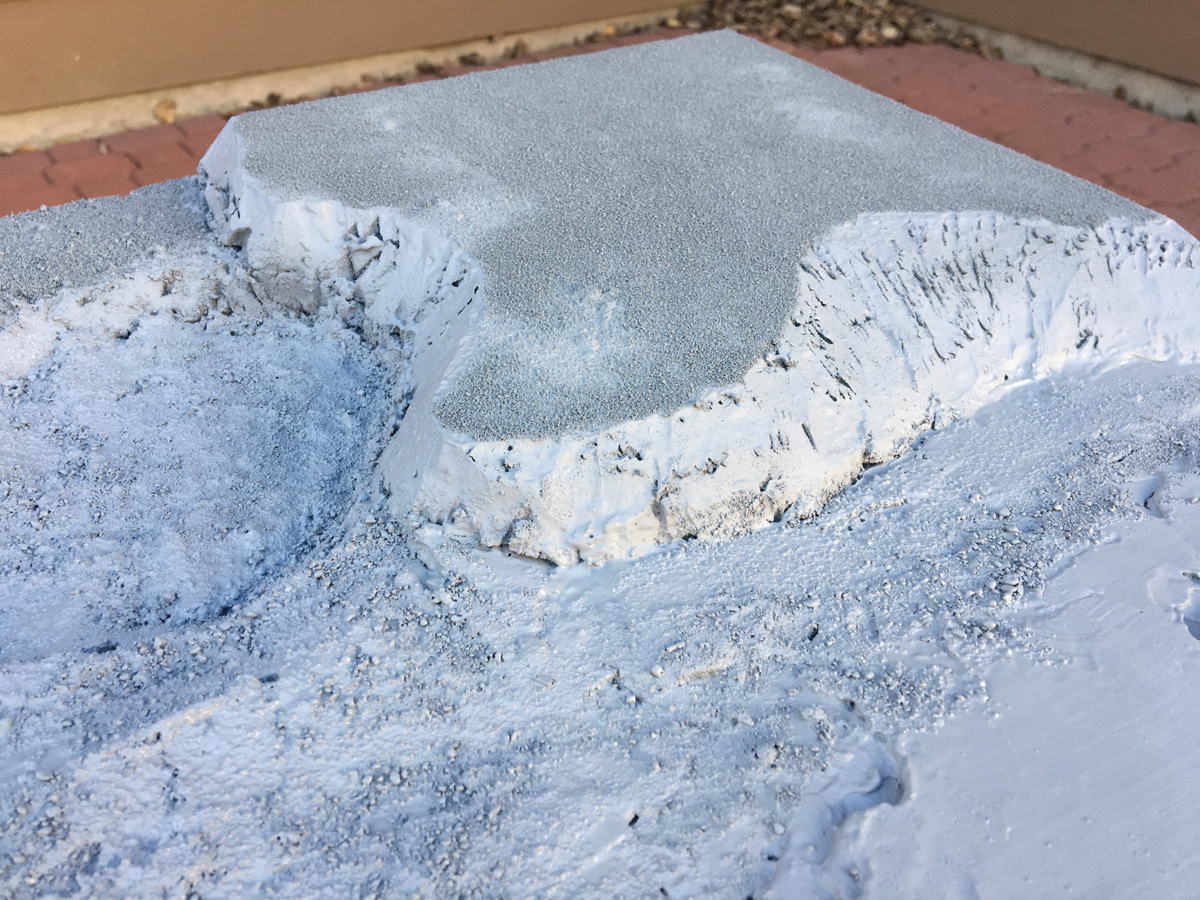
With the layout coming along, I needed to cover the board so I pulled out some leftover house paint I used on my custom table and covered it all in a single coat.
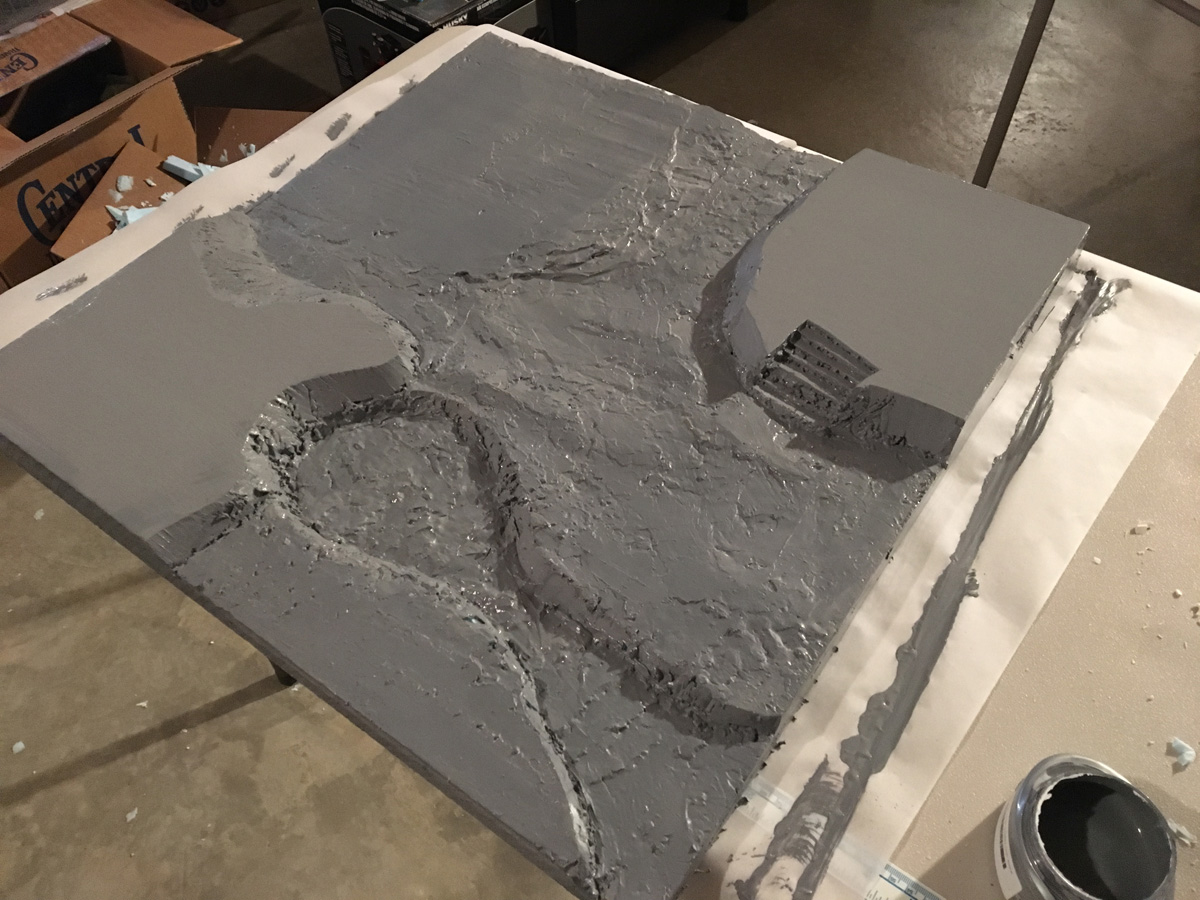
As I’ll come to find out later, I should probably run a second coat on the exposed foam areas that weren’t textured with spackle.

When that paint layer was dry, I used some white glue and spread a thin layer on the two raised sections and then covered them with fine turf.
I then diluted white glue and put it in a small spray bottle and wet the other sections down. This didn’t work very well as the spray bottle couldn’t handle the 50:50 mix of glue and water and instead shot it out like a squirt bottle. I used a foam brush to even out the spray and spread it to all the areas I would later texture with sand.

With a liberal application of play sand, I textured most of the rest of the board. The corner in the upper right will be more of a hard rock area so I left it out of the sand texture application.

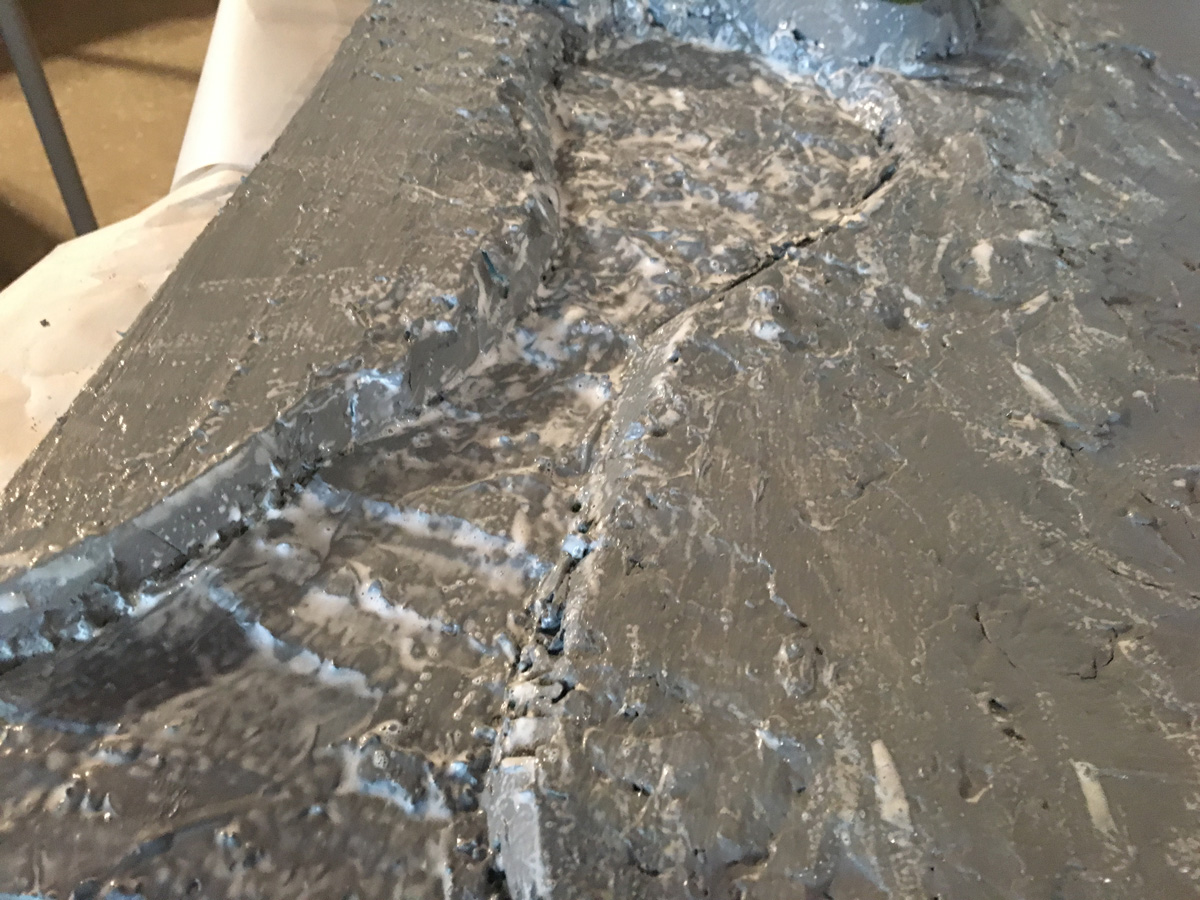
It wasn’t a very good bond or the brush thinned sections out too much but it will add enough to make for some terrain variety. After this set up a little longer, I diluted the glue/water mix again until I got the spray to come out in a mist. I then soaked the whole board (that had texture elements) again to help it seal up a little stronger.
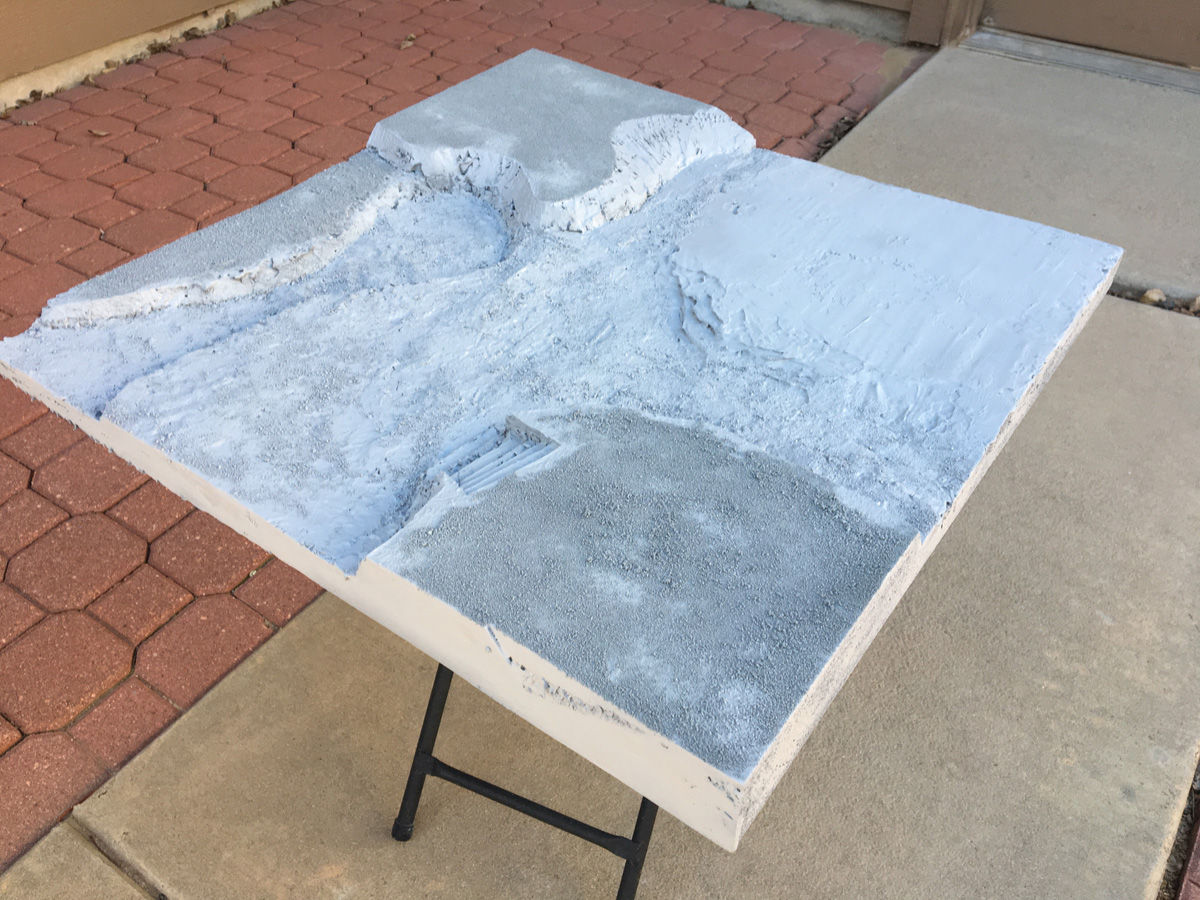
Of course all of this can’t be left in a mishmash of colors so after the 25:75 glue/water mix dried, I primed the whole thing in my standard grey auto primer.

The green turf really drank up the primer so it took a bit of spray to knock that dark tone down.
I noticed later that trying to soak that turf down also ended up eating a little of the foam as the aerosol chemicals mixed with the foam (even under the latex house paint coating, the white glue, the turf, and the final diluted white glue layers). Something else may have been going on but I’m not sure what else would have done that. It isn’t really noticeable and with the slight warping, it makes the hills look a little more real instead of being perfectly flat golf course plateaus.

Back inside after it dried, I re-setup the terrain again to see where I wanted to go next.
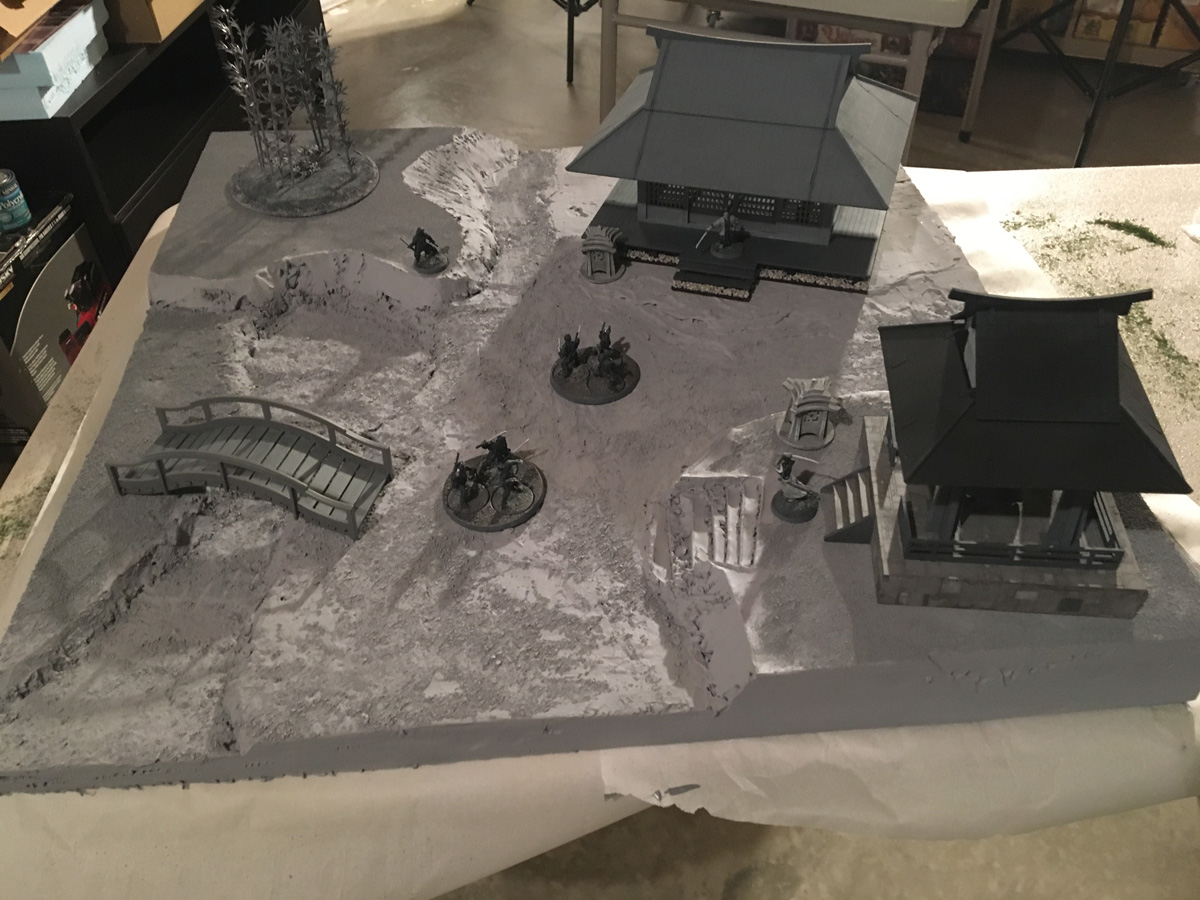
With the models down, I realized I need to darken the primer to better match my bases and give me somewhere to go when highlighting some of the features.
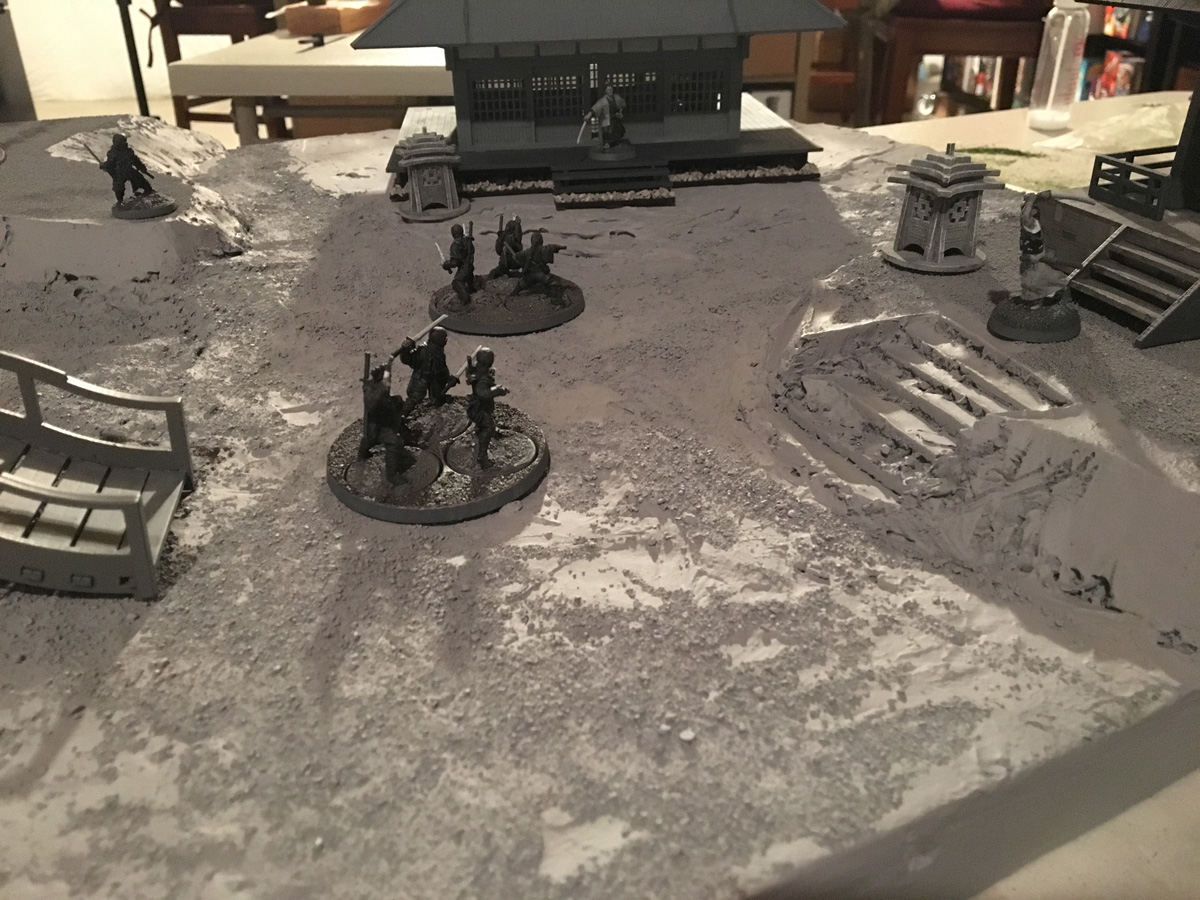
To darken things up, I’m going to use a wash. Normally, I’d use Nuln Oil from Games Workshop but I don’t really want to buy 30 pots of their Nuln Oil just for this terrain so I’ve been researching making my own washes on the cheap. I’ll explore that in a little more detail after I give it a try and see the results.

Overall, I’m liking the way it is turning out. While not as natural-looking as I’d like, it still seems to be working well and hitting pretty close to what I initially envisioned. Still on the to-do list will be washing the whole piece in a nuln oil-ish tone, highlighting areas, and creating a realistic color scheme in monochrome. After that will come sealing everything and then trying my hand at water effects to finish out the water “trench” I crudely carved out.