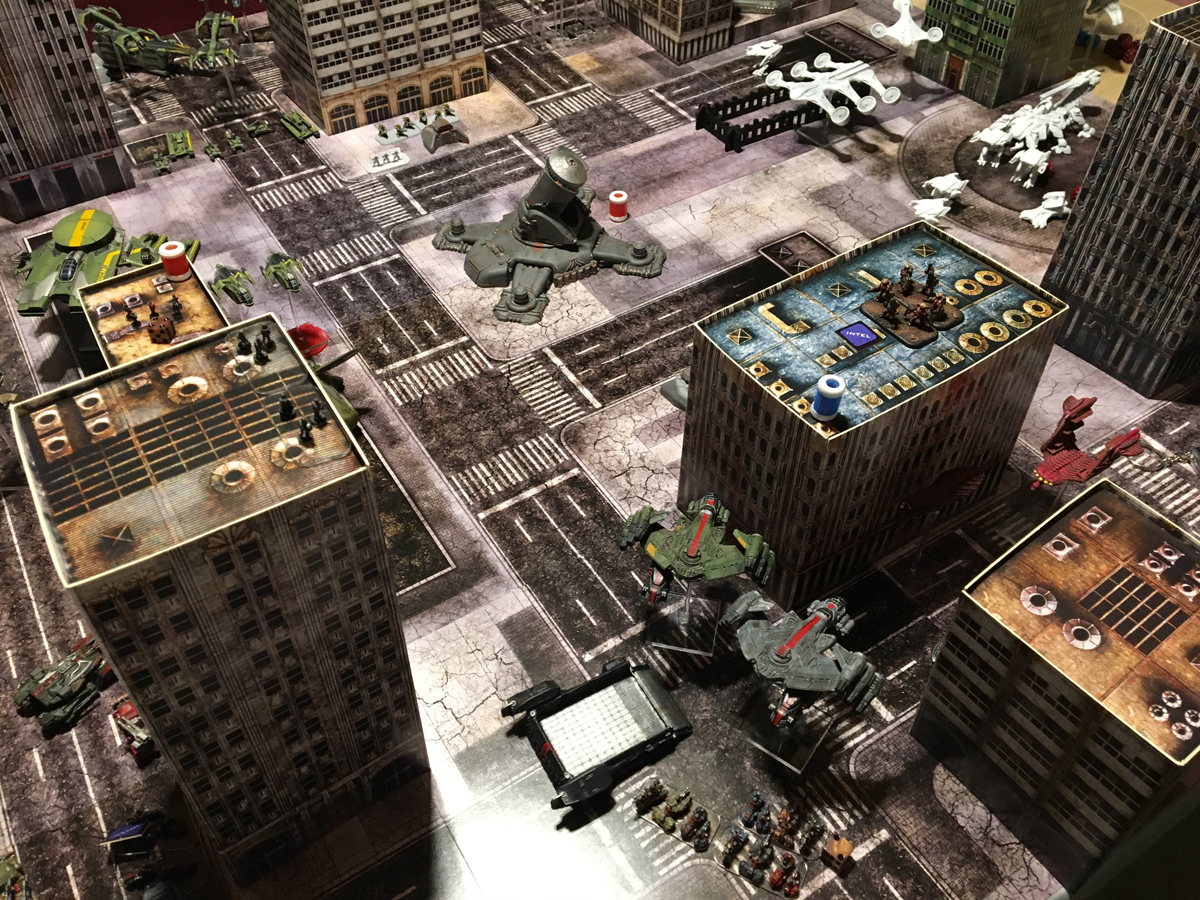
With the scenario set up and the lists made, the four of us started up our game of Dropzone Commander second edition. For some of us, it was the first time using the rules while others have dabbled in the beta system for a couple of games. We rolled off to pick sides and I won so I took the side aimed at the Orbital Laser entrance. Our UCM player was my left neighbor, PHR across from me, and Scourge was to my right. I was the only one with infiltrators so I set up my Sappers in the tallest building available to me. Having never used the Pizarro walker, I decided to play him safe and hide him behind a building near my player edge.
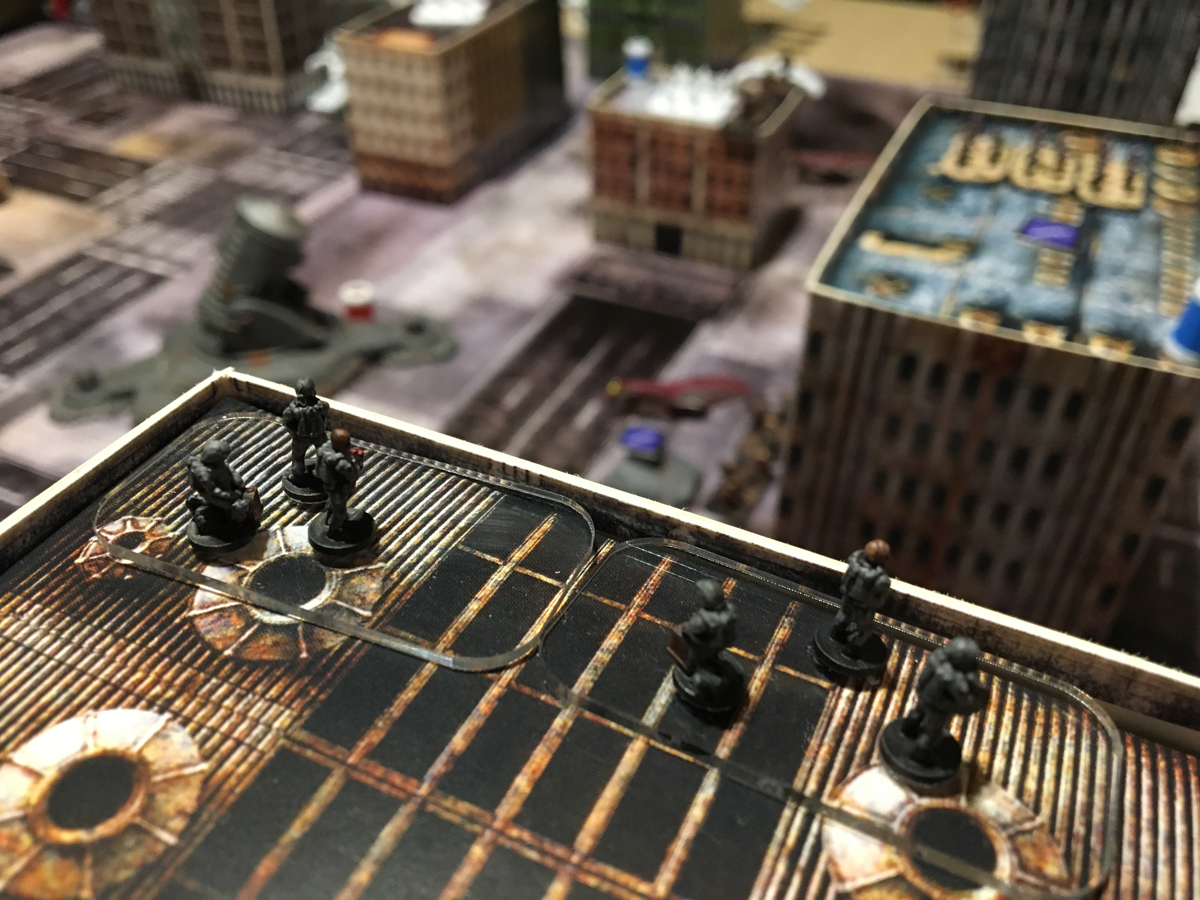
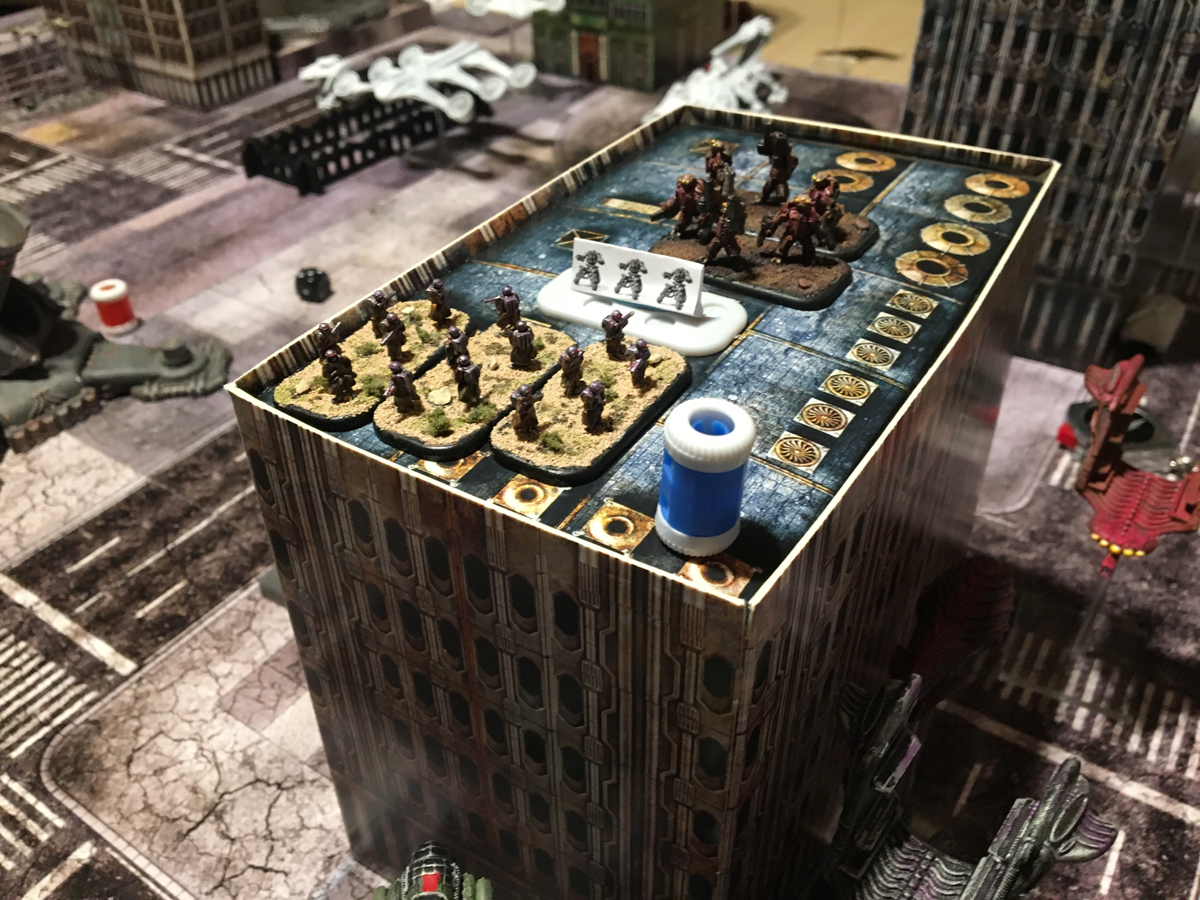
sappers are ready to ruin someone’s day from their perfect vantage point.

The UCM player frontloaded his HQ Battle Group and brought in a ton of firepower in early on, staking his claim to that corner of the board. PHR started arriving more or less on the other corner but quickly spread across his whole front. Scourge ended up staying more or less center to the opposite of my side while I controlled my right flank corner.
Pretty soon UCM was everywhere at once and had four different squads in four intel locations. I was focused on the UCM too much to notice that the Scourge player did the same. This left PHR and I to split the remaining four options or engage. Engagement on my side didn’t seem prudent as I had forces spread thinner than UCM (2 stands to his 3 stands) and since the rules only required one search per intel one time per building (not per player like normal), I’d have to win initiative to beat out anyone I was contesting. Who knows, maybe I shouldn’t have played it safe but it was still early in the game and I thought there was more time.
With most of the board Intel eaten up already, I decided to try to see what these Sappers could do. They double detonated on the far small building where PHR and Scourge decided to throw down only to whiff one attack completely and do minimal damage on the other. Sad to see that I apparently bought “duds.”
Meanwhile, the PHR and UCM figured they could win the game without the data keys inside the Orbital Laser so they started lighting it up, hoping to ensure no one else could use it by the end either. It is a tough old beast though so it would take some time.

Round two started up and (likely due to there nice paint job) the UCM scored a leadoff homer by finding an objective and rushing back off the map. UCM is on the board with 2 VPs.

Seeing how this game was going to play out, I roll for my intel as well and get… Sentry Bots! ugh. No points for me and one of my squads will be tied up with these jerks for at least a round. I have the other squad run and the remaining fighters rip through the Sentry Bots with great die rolls and little casualties.

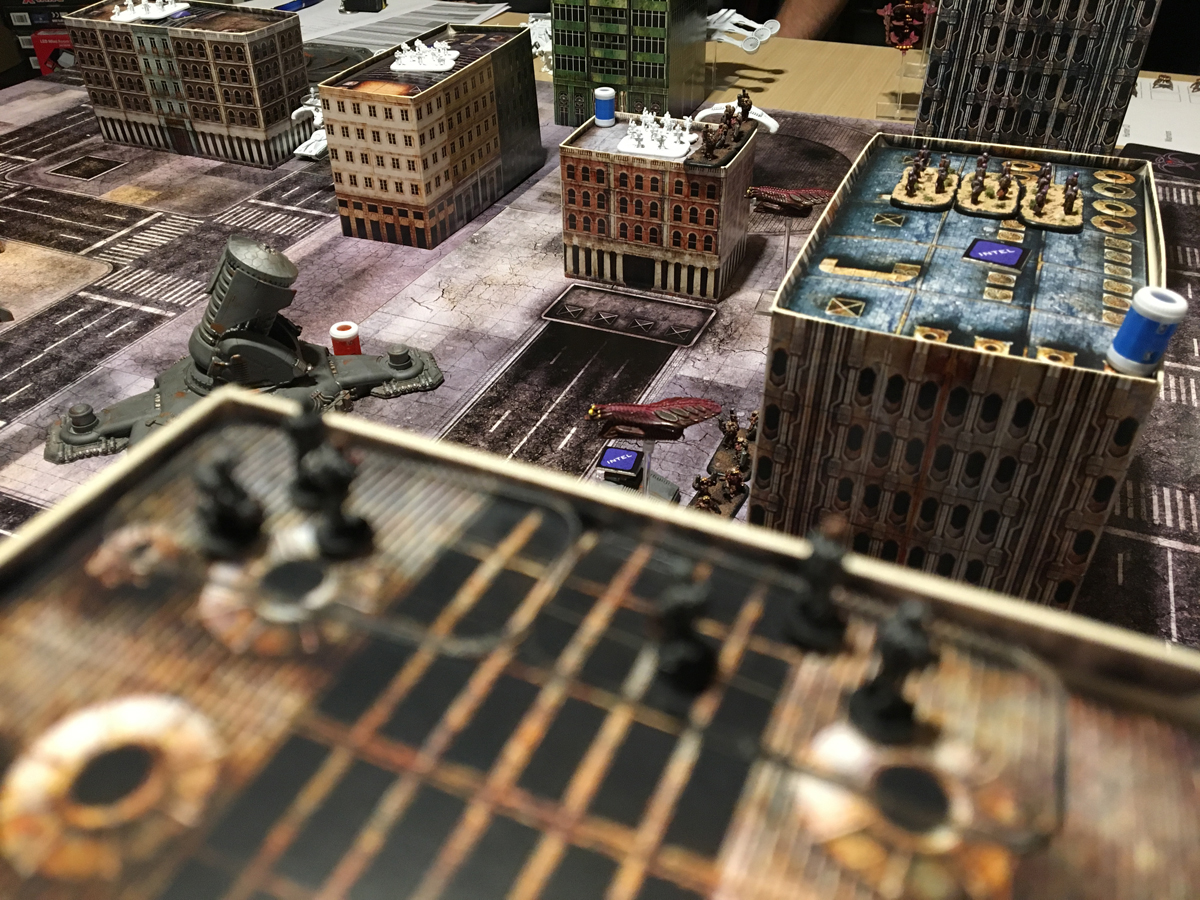
As the faux Apex watches over, PHR takes some brutal hits as they lose two infantry squads to building demo (and the intel that was inside). Scourge also lost out in that exchange while me and the UCM player focus down on their small building and level it. I unleash a torrent of firepower on the small building the UCM player was scouting and level it before any intel could be gained.
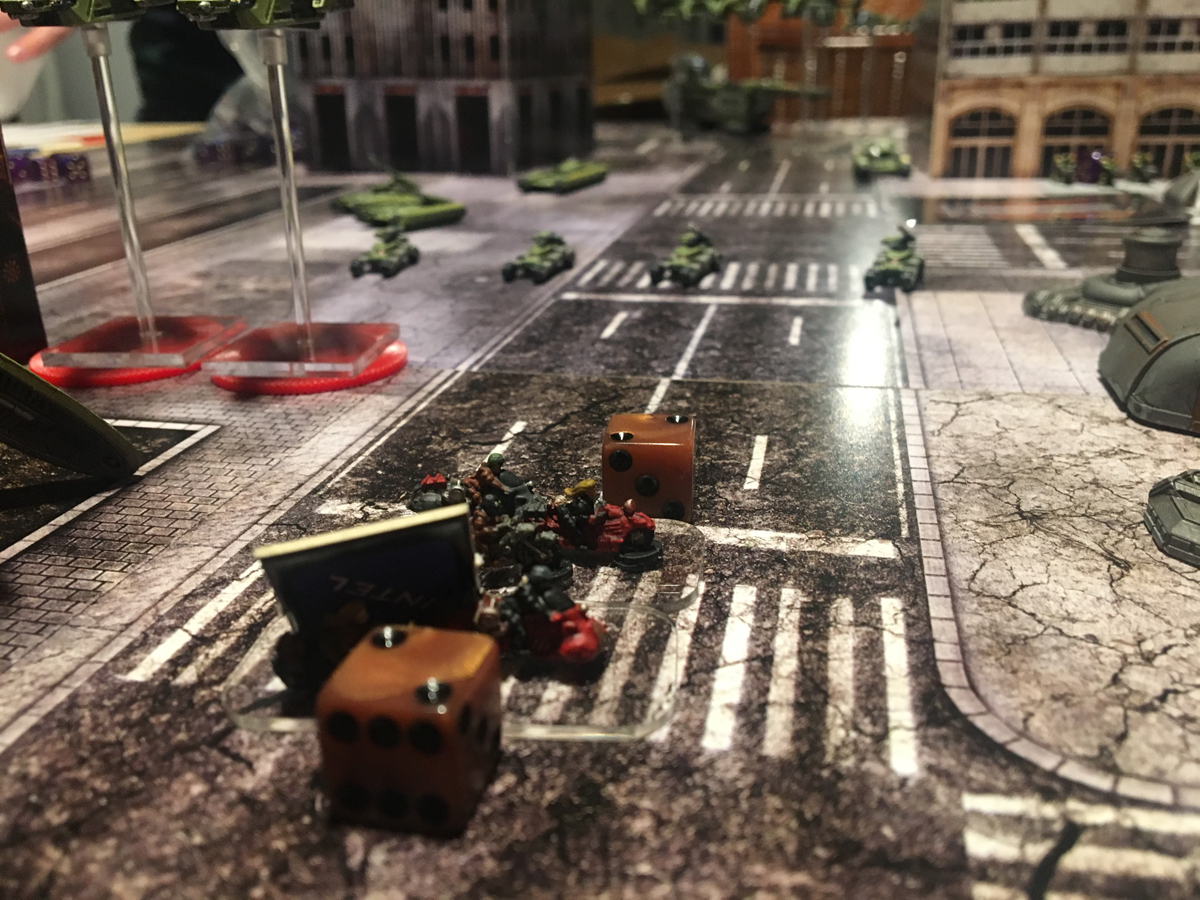
A group of Scourge Hunters starts coming my way to wreck my own building plans but my Sappers prove their worth and the secret IED they hid detonates wiping 2 of the 3 Hunters. I’m starting to come around to them. UCM and Scourge find more objectives (both players rush off the map and are sitting at 4 VP) while PHR and I both find one each. The rest of the searches yield Sentry Bots. PHR gets his objective off the map leaving me with a choice. At this point, there is one single intel piece sitting unrevealed and near me. I decide to hold my only objective since pulling it off the map will commit me to 2 VP and if I can’t secure the last one (or it comes up without an objective), I will have forfeited the game and it’s only round 2.
The battle over the last Intel piece heats up. The Scourge player makes a run for it and I realize I can’t get in there to contest anything for another round. I do have another option and I run my full Attack ATV squad up and launch a battery of chem grenades inside. This completely obliterates the Warriors inside, leaving the intel piece open again. Scourge then sends in his Destroyers to occupy the building, cutting off my access again as I won’t be able to get a squad in there and search before Scourge does.
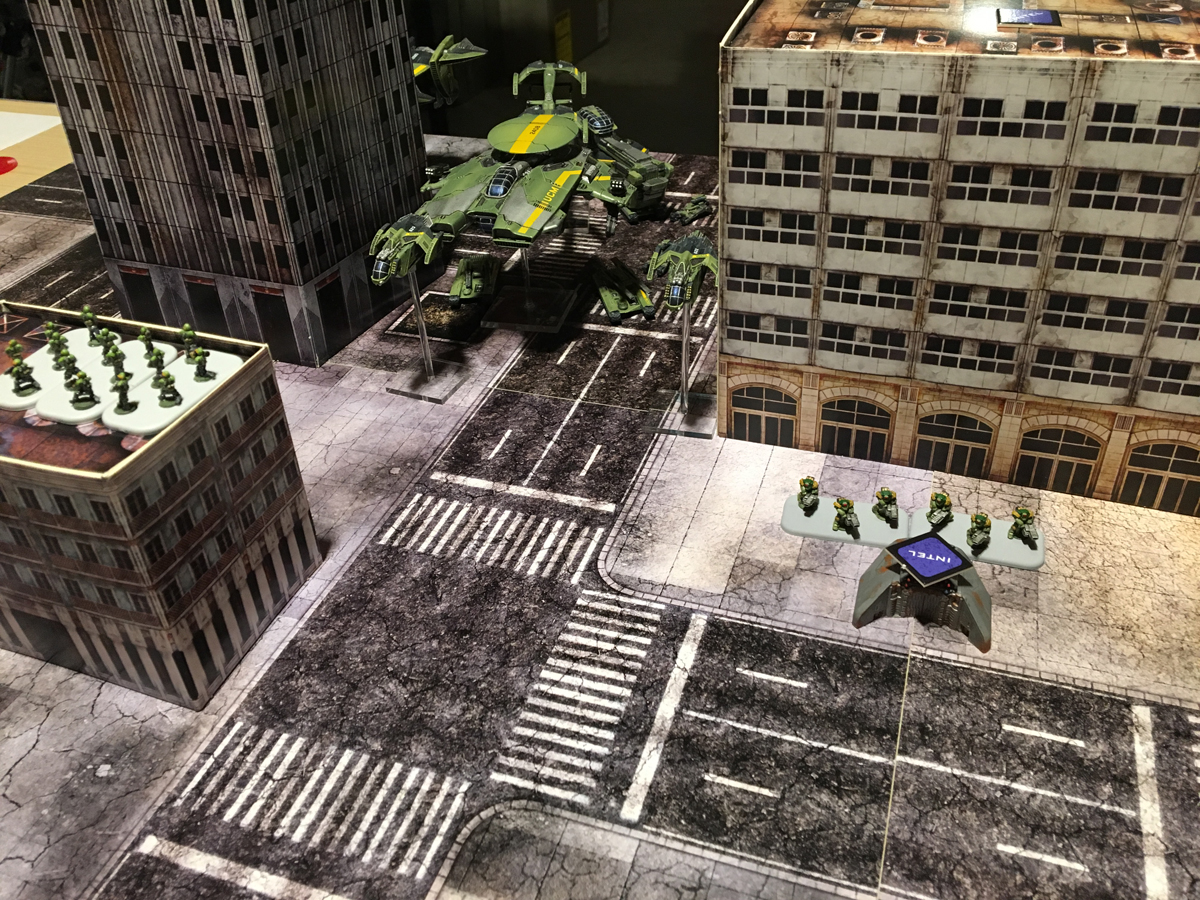
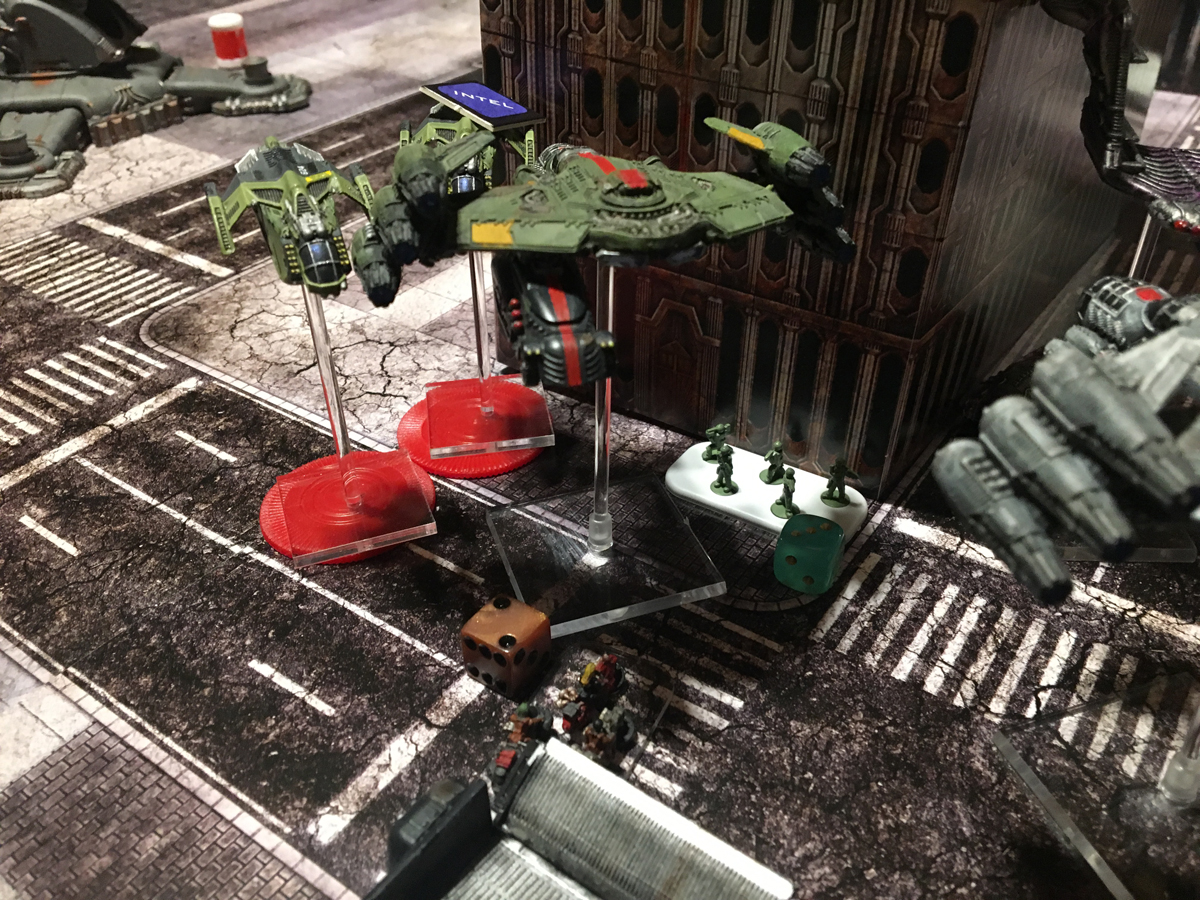
UCM wants a piece of the action so they bring in their Phoenix and recently back from reserves, Ravens carrying Legionnaires. I hate the Phoenix and have never been able to deal with it but today, I make my stand. The Phoenix rips apart my first group of Gun Wagons but since they were hidden in their Kraken transport, they come out just fine with a lucky destroyed transport roll. His Gladii are there waiting and pick off two of my shell-shocked wagons. I have the remaining one do a damage on the Phoenix and realize that if it can bleed, it can die. I commit all my AA on the sucker and bring it down to 3 health. Blood is in the water now.
The next round sees me with Initiative again and I have a choice, to light up the Destroyers in the building or take down the Phoenix. I decide to focus on the Phoenix before it leaves me with no options to deal with it. I figure I don’t have good odds at killing off the Destroyers anyway so I move the fight elsewhere. My Gun Wagons do the job and drop the Phoenix out of the sky.
The Scourge player decides to throw more Warriors inside and does his search only to come up completely empty-handed and has to fight Sentry Bots. Any other result would almost guarantee his win but the dice finally punished him on his search roll.

With all the other points claimed on the board, the standings sit at 4 VPs for UCM and Scourge, 2 VP for PHR, and 0 VP for Resistance. By this point, I have my objective tucked away with some Freeriders, who are 8″ from my board edge. At any point I could run them off the map but that guarantees a loss for me and we have almost half a game left. It would be left to Scourge and UCM to fight over killing us to see who would eventually win on kill points. Scourge was solidly ahead but had been decimated by me and the PHR player so it was getting increasingly hard to attack anything and yield more points. The UCM player still had quite a bit of his force left and could threaten PHR heavily to get more points and catch up. Of course, PHR and I could just retreat from the battle and so could Scourge, leaving the kill point totals largely intact but no one really seemed up for this.

I decided to keep the objective in play to see if I could squeeze out some sort of miracle. I taunted everyone with the last objective by throwing it out into middle with the idea of jumping in the Orbital Laser.
Unfortunately, this maneuver was way too early as there were too many rounds left for me to stay holed up in there with UCM’s Flame Wolverines in easy striking distance. With a 12 inch move, my Freeriders could kite the Wolverines in the open all day but doing so would put me in easy striking distance of PHR’s waiting arms. Looks like I was still in the position to king-make and I didn’t like that either. I think it could have worked if I’d kept them hidden until the end of round 5.
By round 4, I was the only player with 6 Battle groups left so with activation advantage, I could guarantee an end of round 5 move with the Freeriders then (with an initiative command card in hand) hopefully win initiative and get into the Laser. CQB wouldn’t be a problem as it wouldn’t happen in round 6 and so it would be up to the others to drop the Laser on my head or try to flame me out. I could have taken out the UCMs Wolverines if I wanted to focus on them but stalling the Laser destruction would have been tough. I would have had to mobilize my Alexander to start hammering on PHR’s Hades and distract it from attacking the Laser every turn like it was doing.
Since I’d already played my hand, and I didn’t think I could hold the laser, instead I ran back to my army. UCM Ravens gave chase and dropped an infantry squad to finally finish off the Freerider holding the objective, then dropped the other team, picked up the objective and scooped them up once more. Having burned all their movement to reach my guys and disembark, they were stuck there for the remainder of the round.
They were easy pickings as my Gun Wagons were lying in wait but PHR’s Helios’ took them down instead. Here was probably our biggest rule question of the night and our biggest mistake. The 2.4.1 rules say “If the Unit [carrying the objective] was being carried by an aerial Transport which was Destroyed in the Air, then that Objective is removed from the game.” We rolled on the destroyed aerial unit table but got an “Emergency Landing” result. We first thought the troops were fine and got the objective safely to the ground but when we looked up the rule, it sounded like if the aircraft was destroyed (which it was since it had no more damage points left) and the objective was lost with it. This is how we played it but almost immediately afterwards (and after a critical activation) we regretted it. Logically, the objective should fall with the surviving unit and we decided we’d house rule it to do so in the future but looking at the rules again, I didn’t catch the subtle capitalization of “Destroyed in the Air” as a key term referencing the “Destroyed in the Air” result on the aerial unit destruction table (it was also 2am at this point). Looks like our logic was sound but my reading of the rules left out the formatting of the text which could have clued us in. In any case, at this point, all objectives and points were settled and all that was left was for UCM and Scourge to battle out the war on kill points.

PHR was still hell-bent on taking down the Laser so it focused it’s last round on it while UCM mopped up a few more units and took the kill points lead. Scourge was left with very few units left and conceded the game.
But not before PHR had their moment and brought the Orbital Laser down. The UCM would have to take their data keys elsewhere to fire up some sector defenses in the orbital war high above.
- UCM won the game with 4 VP: 452 kill points
- Scourge was second with 4 VP: 367 kill points
- PHR was third with 2 VP: 793 kill points
- Resistance brought up the rear with 0 VP: 707 kill points.
I was worried when I saw all the Intel tokens occupied at the end of round 1 that the game was going to be disappointing but I found it quite fun with some good tension. If I had just waited a little more, it would have been really interesting see if I could hold the laser. Likely, everyone would have brought it down on my head but maybe someone would have made a play to burn me out and snatch it first. I also liked that the game didn’t devolve into multiple players ganging up on someone and ending their game, or multiple people getting entrenched in their own battle so the odd man out runs around and wins the game.
We got things wrong, as is bound to happen and with the struggles of learning the new army building system, I’m surprised we didn’t mess that up more than we did. It all worked out though and all the better that it was a lot of fun while being a good learning experience. I didn’t have a chance to work in all the pics I took so below are a few parting shots.
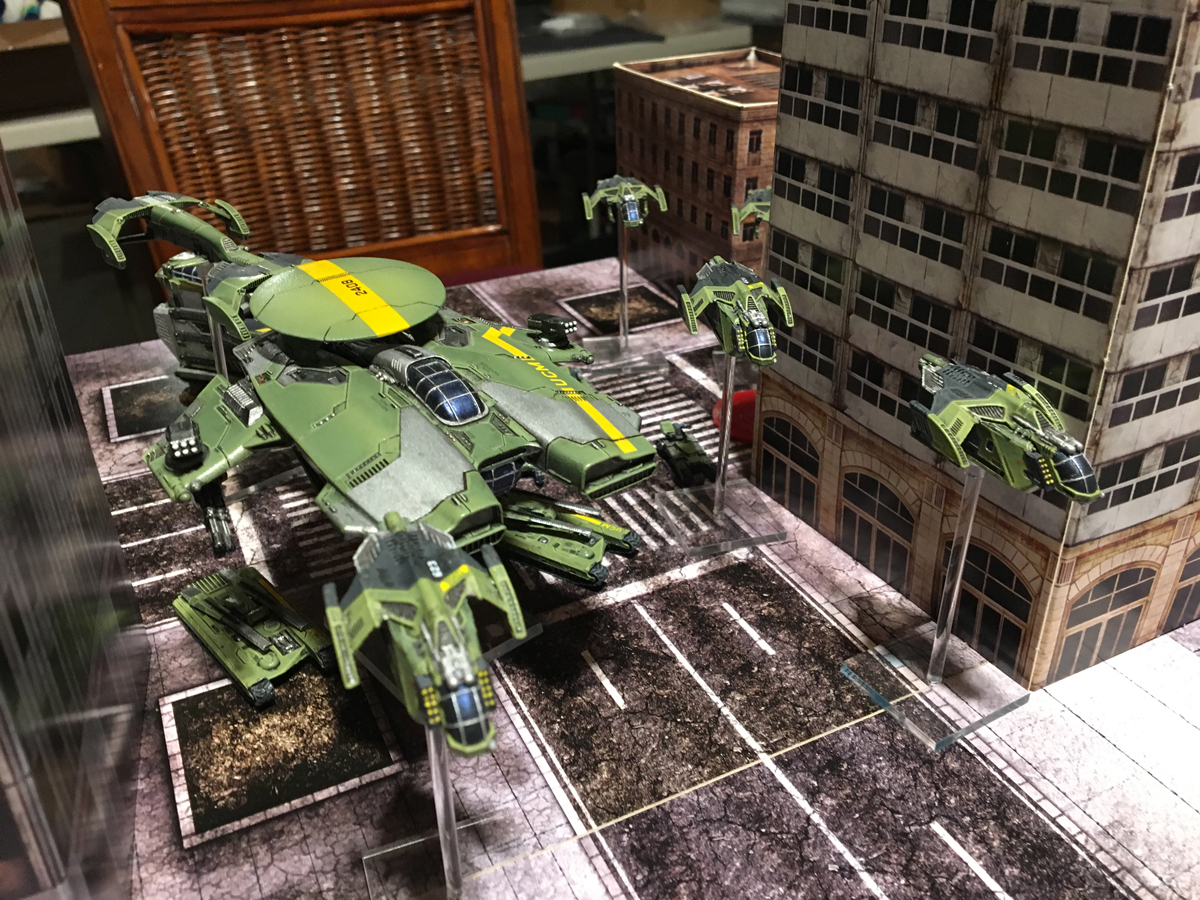
ucm armada rolling in.
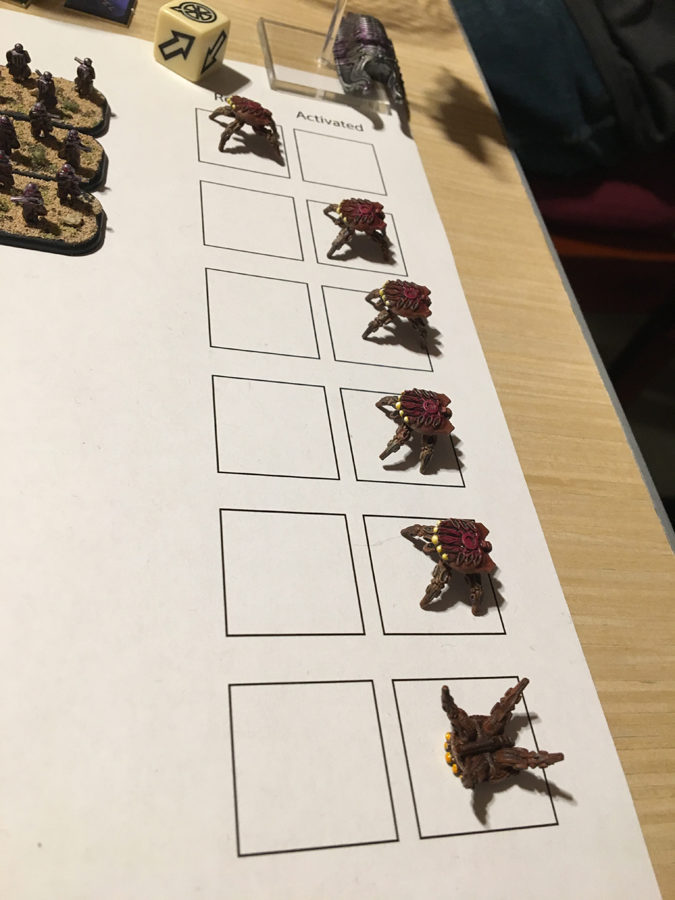
scourge player using prowlers as activation tokens. dead battlegroups get flipped over. by the end, he had many flipped over prowlers.
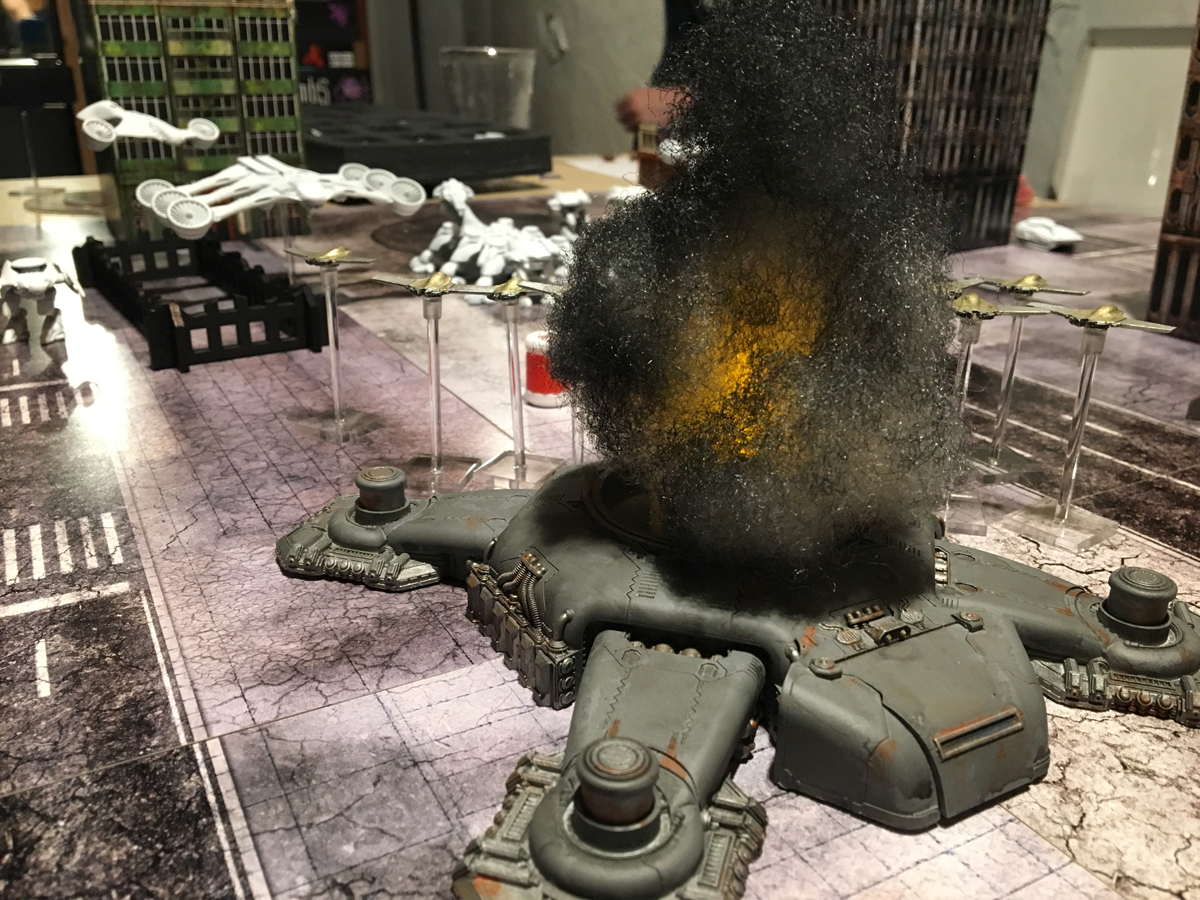
resistance could only look on at the destroyed bastion of last hope. we were going to try and sleep in there…