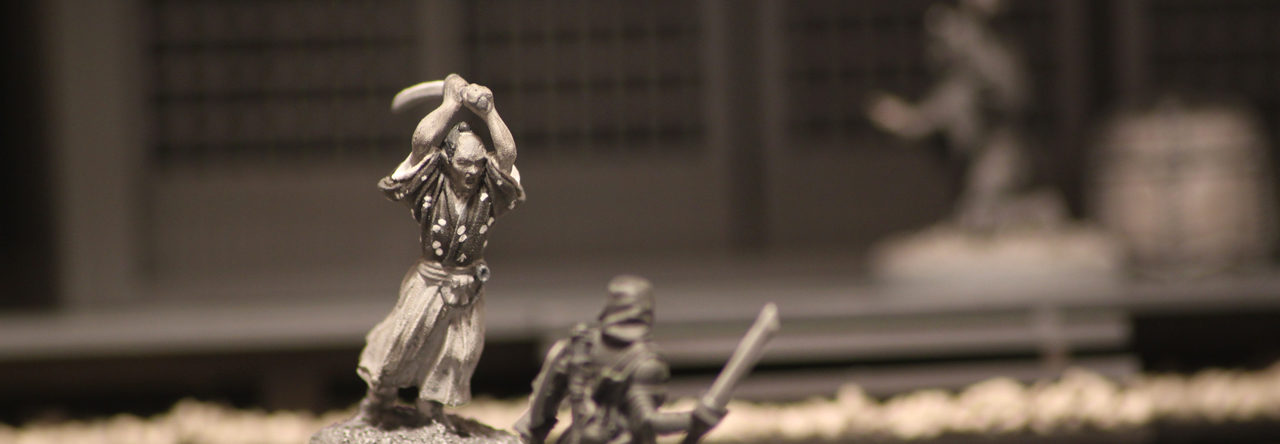
Having recovered from my fuzzy primer incident, I went back to my Test of Honour Ninja figures to finish them up. I decided to take pictures of the progress as I went along, mainly to see how things were coming out and what was actually effective for my standard table-top quality style. I started first with the ninja hero.
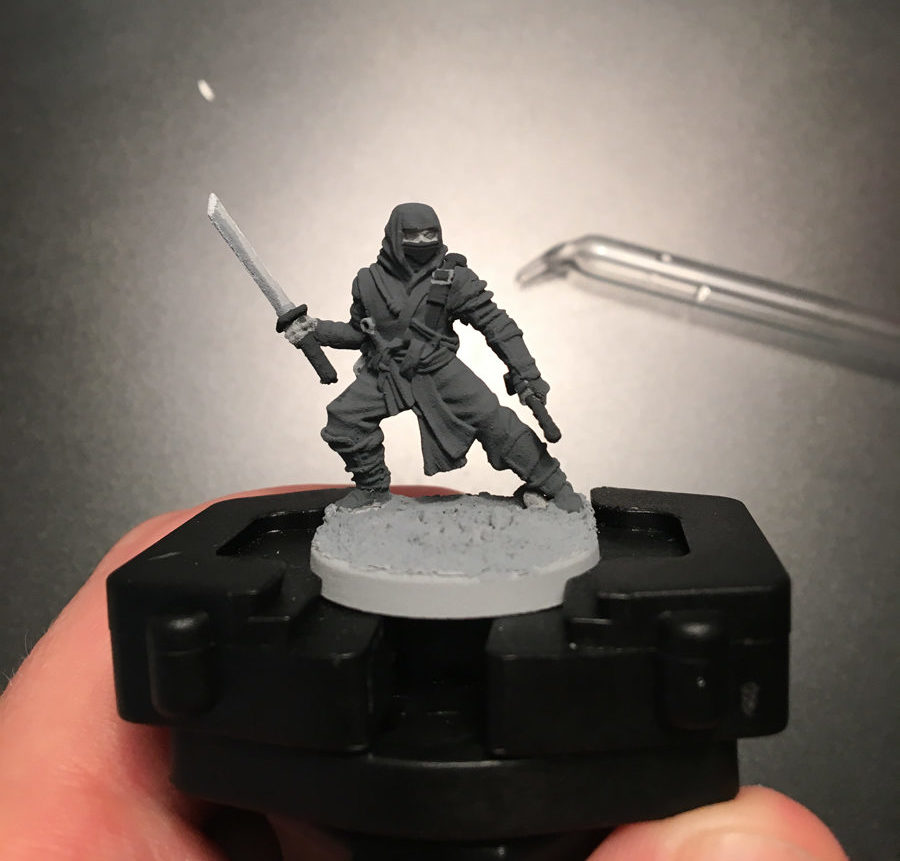
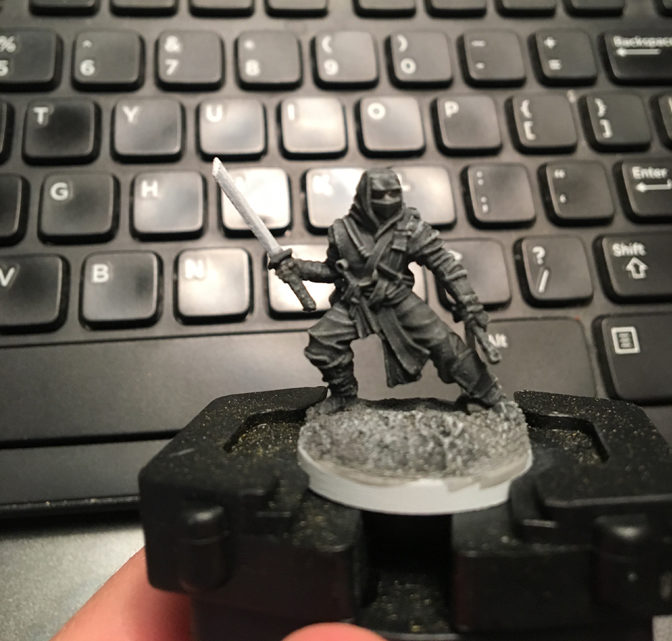
Here we have the primed ninja figure with some simple block painting on the cloth, weapons and base. I took some time to do some simple shading on the swords. It’s not quite NMM (non-metallic metal) style but I needed something as I won’t be using metallic paints in my B/W work.
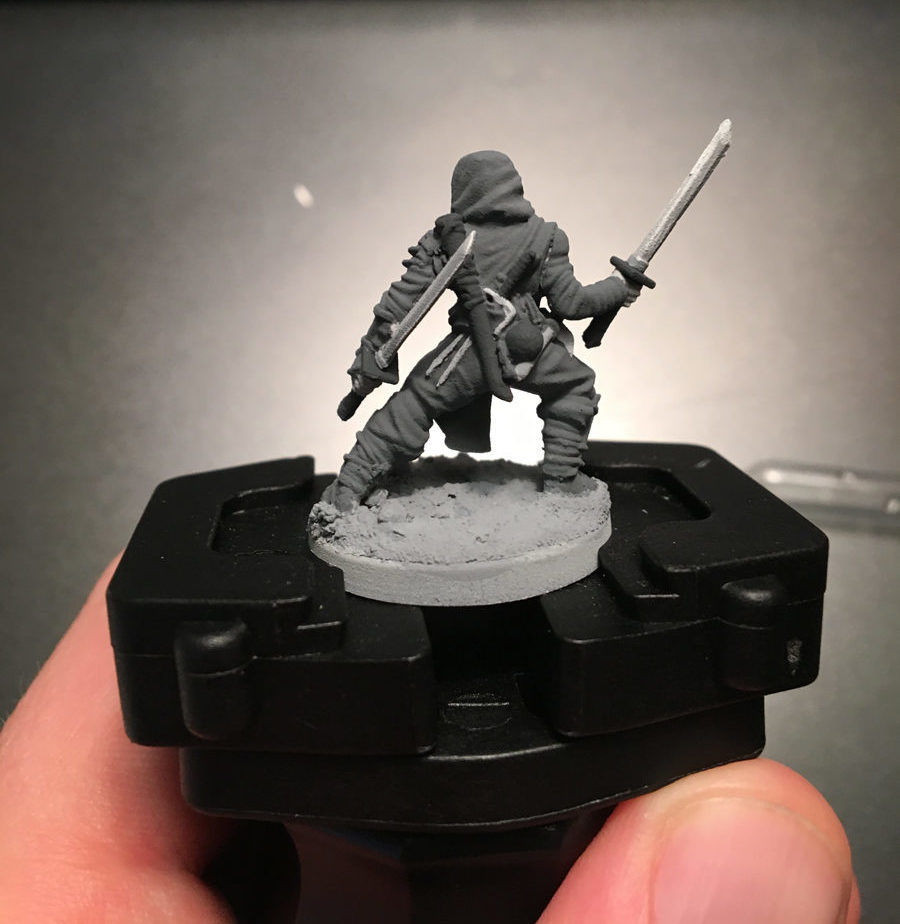
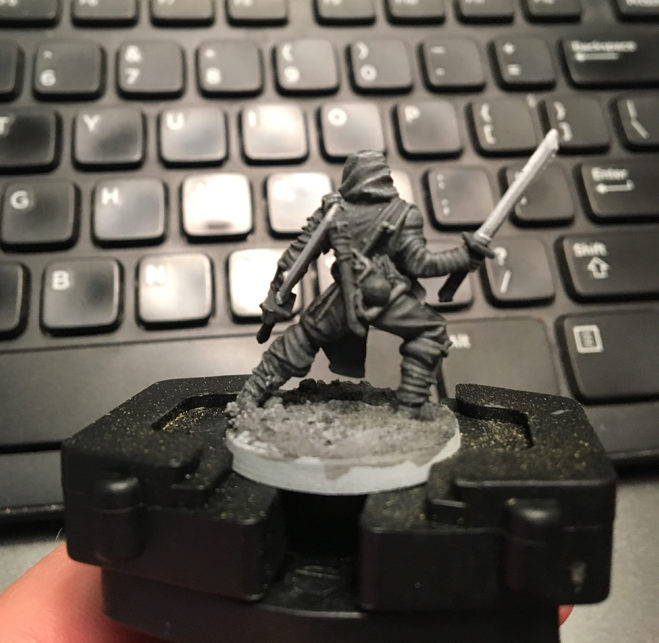
Here is the backside of the block painting. No shading or blending or anything, just straight base coating the main elements.

Now we have the front and back of the figure washed in undiluted Nuln Oil wash from GW. I applied the wash liberally on everything except the completed swords. Washing dark tones on dark tones doesn’t usually do much so I tried to keep the base coat on the lighter side. It’s hard to see from the images but the wash’s shadow did develop in the recesses to give the model some contrast. My sealant tends to darken things further so to make sure I don’t end up with just a dark painted mini, I now go into highlighting.
Now we have some very simple dry brushing in a semi dark grey. Over the very dark tone and wash that was previously applied, it appears quite light. The dry brushing is also extremely light. Basically I made sure there was no visible paint coming on my hand before I took it to the model.

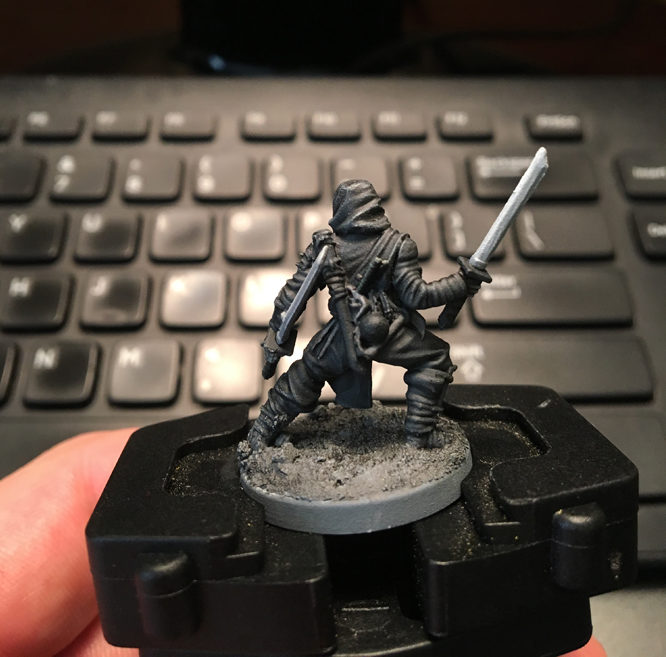
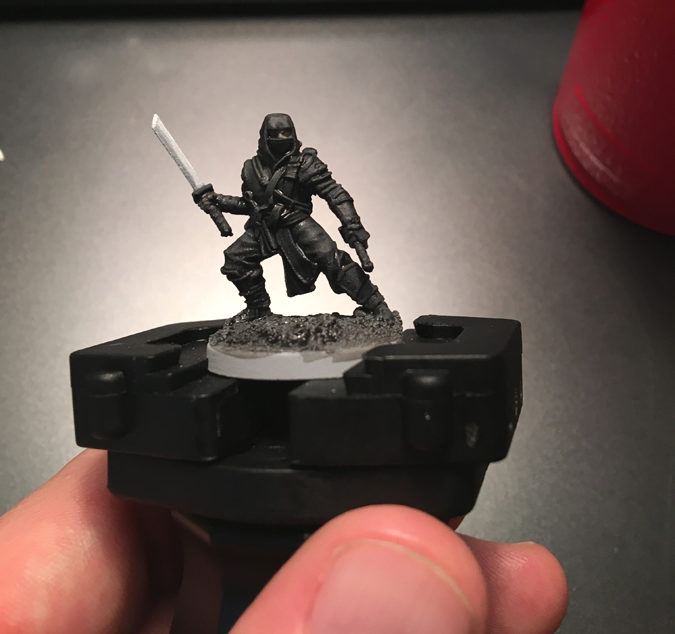
Lastly, I went over the model again with another round of dry brushing. This time I used a very light gray, extremely dry again, and only applied to the top half of the model. Again, it was hard for my iPhone to pick it up but I saw a difference in the depth. I applied some dry brushing on the sandy base and that was it, the model was ready to be sealed.

As I mentioned before, my sealant tends to darken things back down so I wasn’t too worried about lightening things up with my dry brushing. Here we have a progression of the primed model (our Simple Green survivor), the base coated model, and the finished ninja hero. The base coated model is what I eventually used for the rest of the models as the common ninja figures didn’t seem necessary to go into the same detail as my hero. For them, I didn’t even pick out interesting items, I just base coated the main cloth and left it at that. I did NMM the swords and weapons as best I could without spending a crazy amount of time in the details.
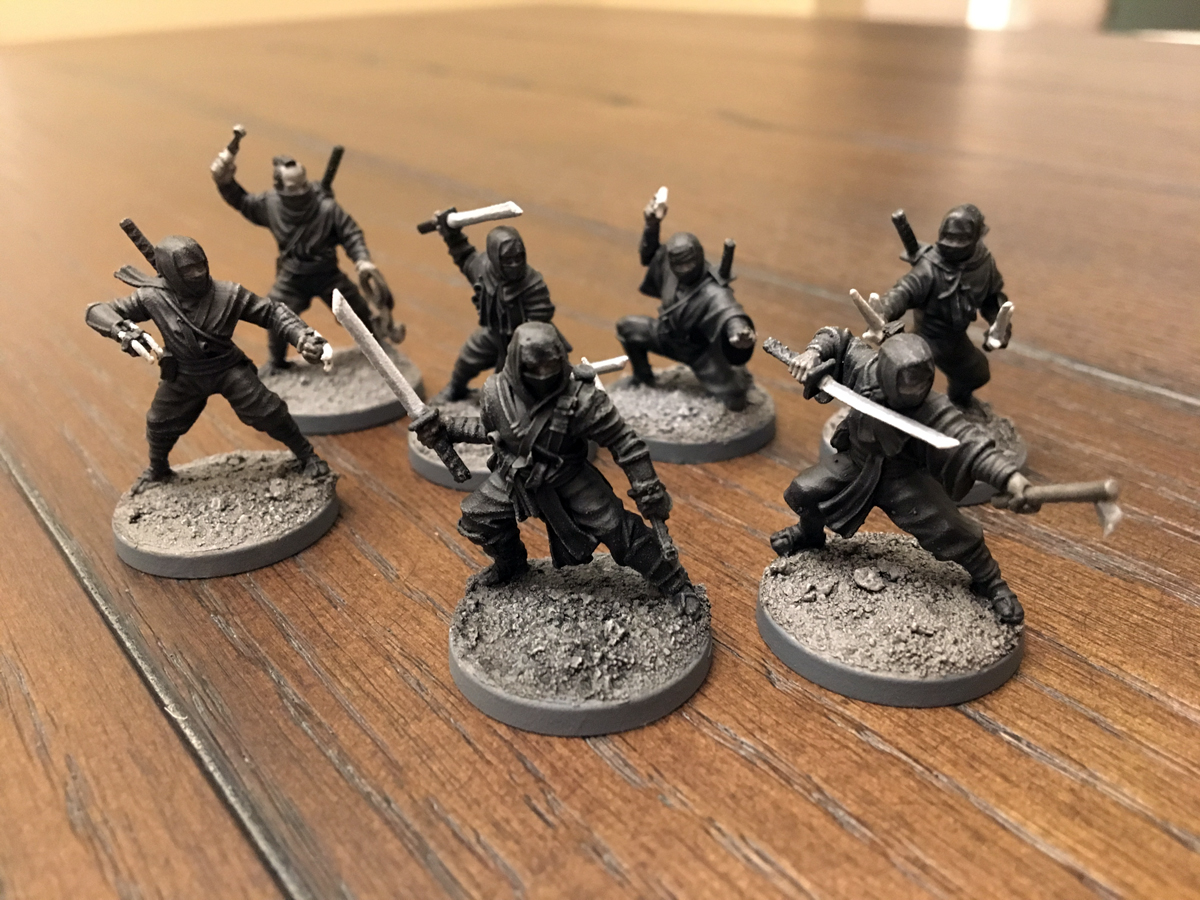
And now the whole clan is assembled. Not spending a lot of time (or any for that matter) on picking out the details seemed to work well as the dry brushing highlighted the extra items anyway. I’ll have to decide if I want to do more work on the bases but this set is essentially done.

click on the image to enlarge
Russ Spears
I think I’m a little envious of how well that simplicity is turning out. Well done Christian!
Christian
Thanks! It really is easy too. Just start a shade or two lighter so the wash can add its shade and then go super light on the dry brushing. It won’t work for all models but ones with a lot of texture tend to do well.