
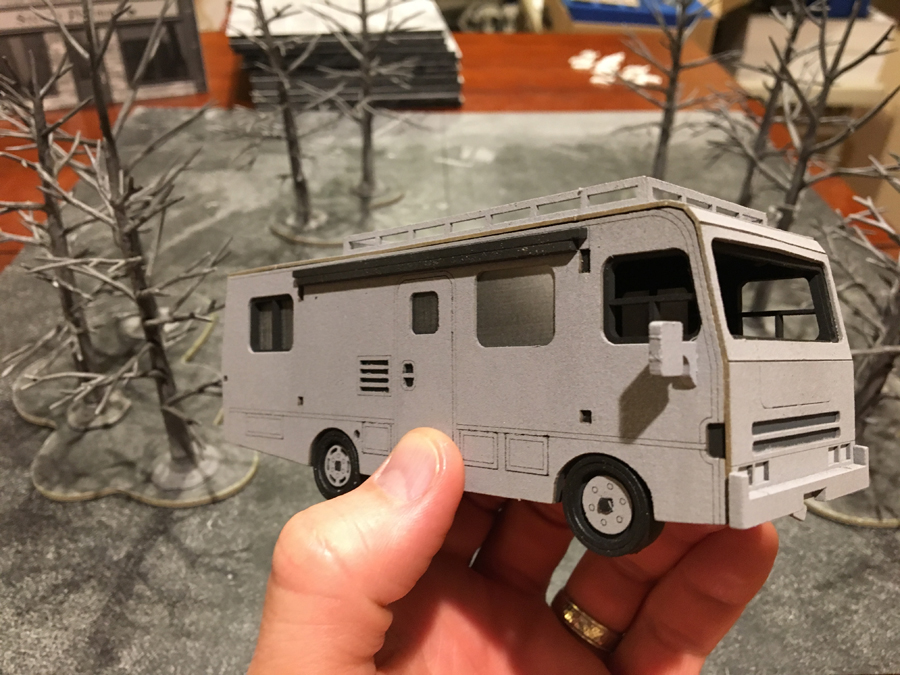
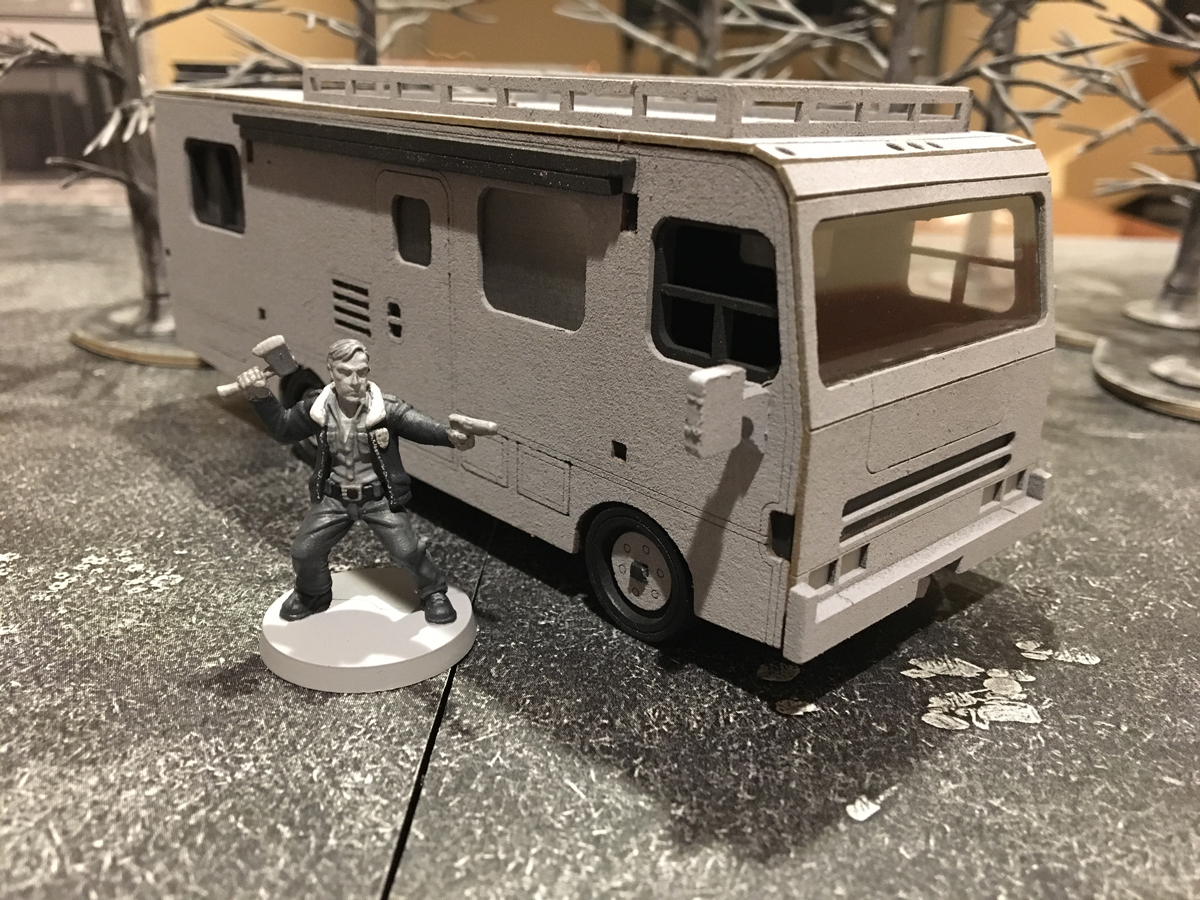
Even though I have fatherly affection for my silly, taped-up RV, I picked up the Mantic official RV to have a better looking model for the game.

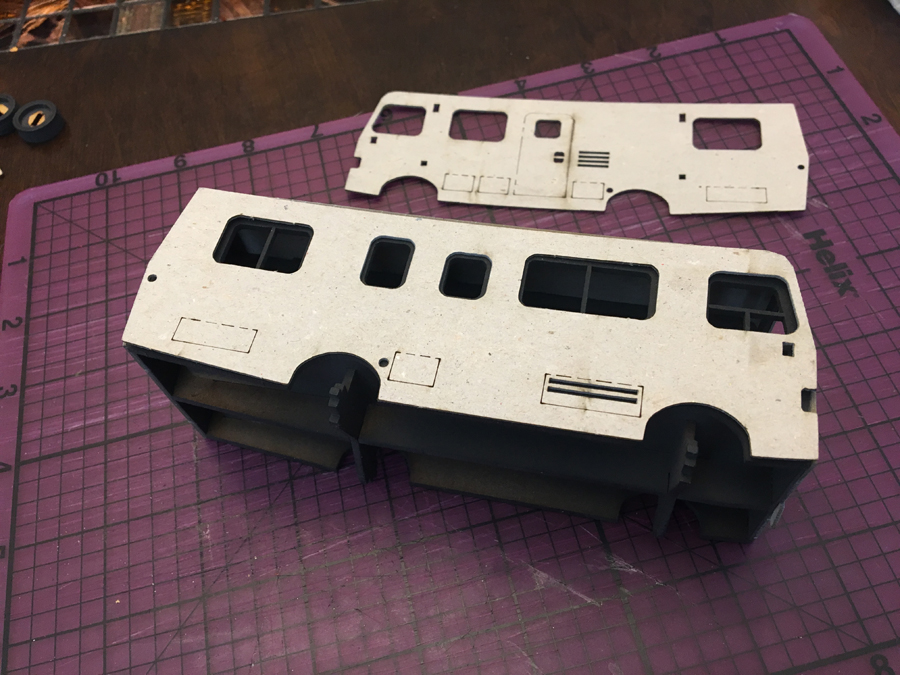
So I punched out the MDF pieces and followed the initial instructions and glued it together to prime the “interior” of the model. I also put the main parts of the wheels together and primed them as well.
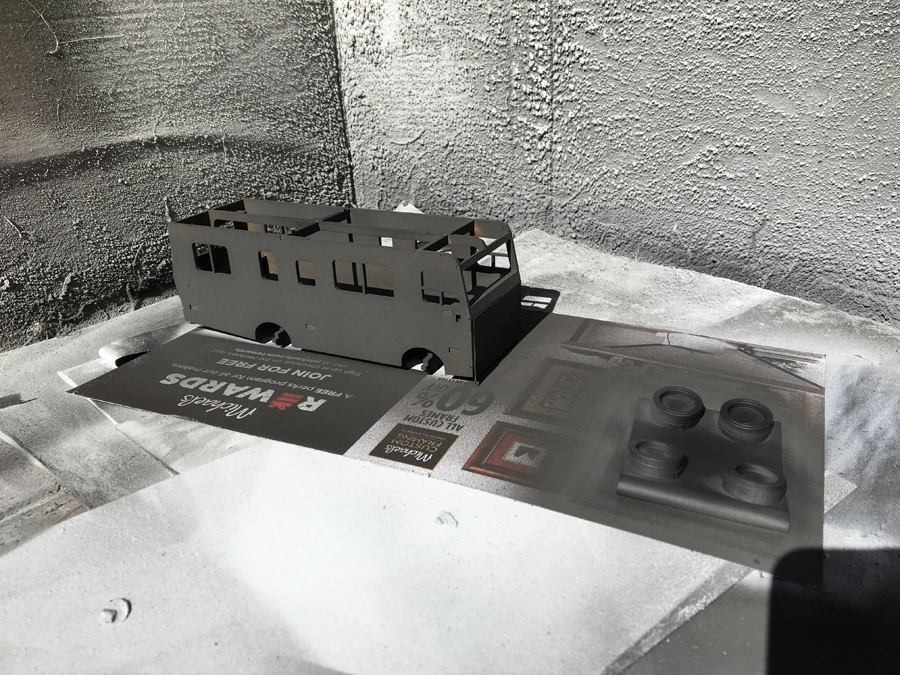
A keen-eyed observer will notice I already have a problem but we’ll get to that later.
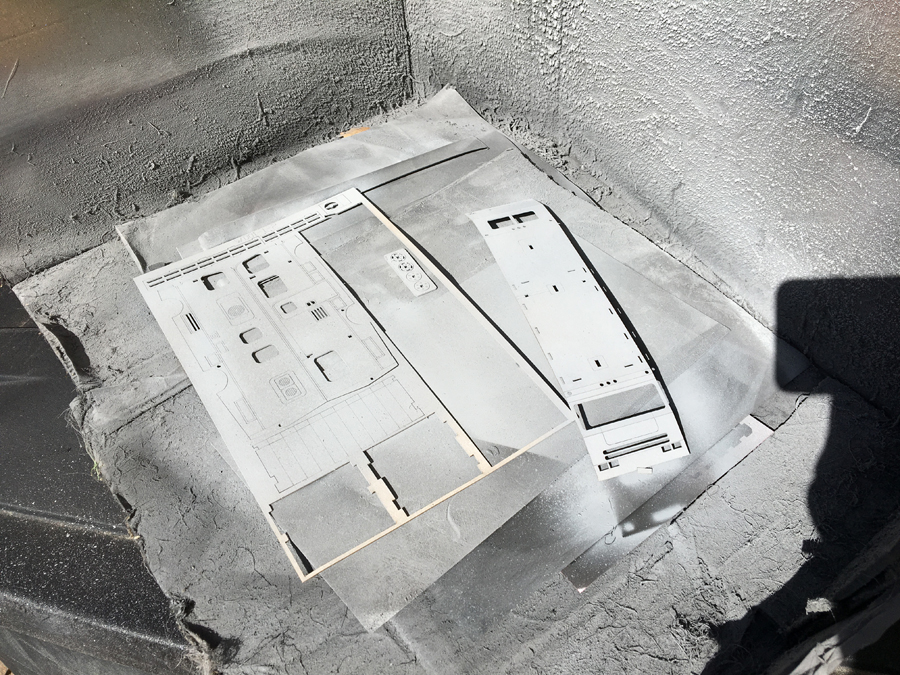
Next I primed the outside pieces the standard grey I’ll be using for the model.
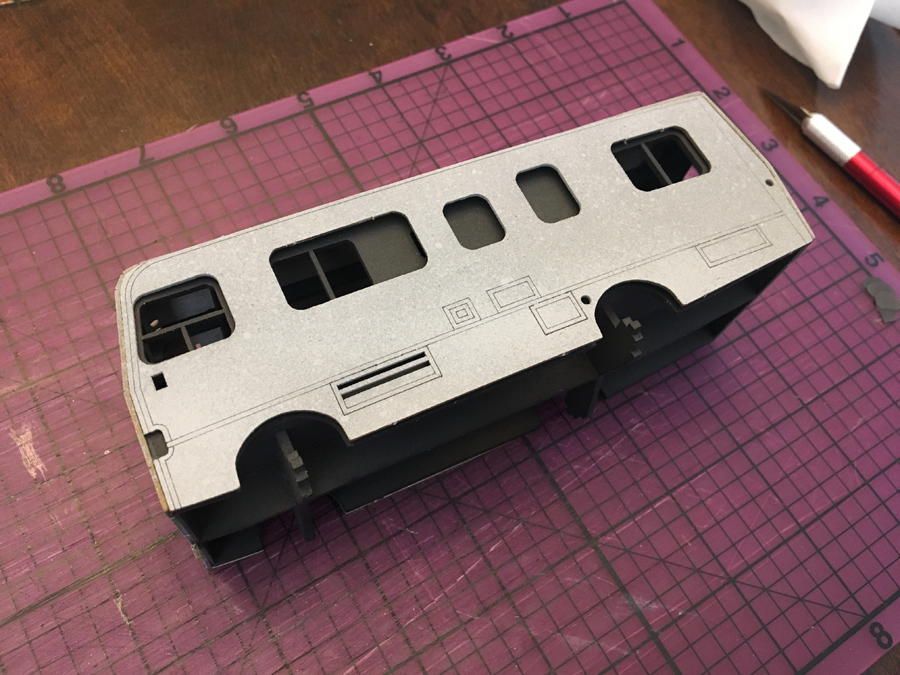
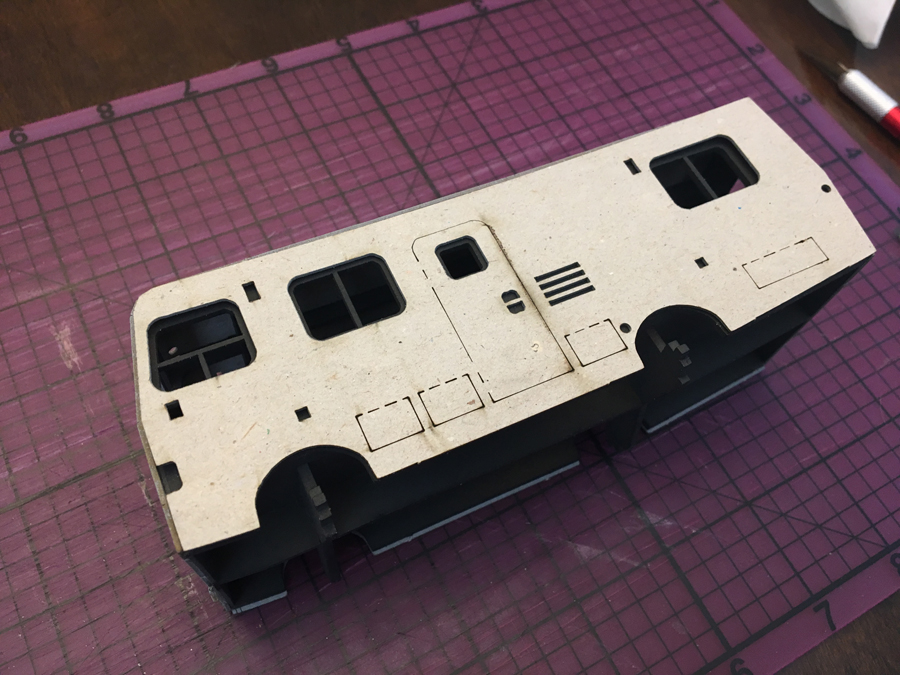
Ruh Roh. Apparently I didn’t pay attention enough to which side was which on the inside frame pieces and now have them glued to the wrong sides. Be careful when assembling as it seems really easy to do.
So with this mess up, I could try to take the inner frame apart and glue it back or I could flip the outer pieces around and have the whole model reversed. I wasn’t going to risk breaking the model to fix the inner frame so I tested the reverse sides.
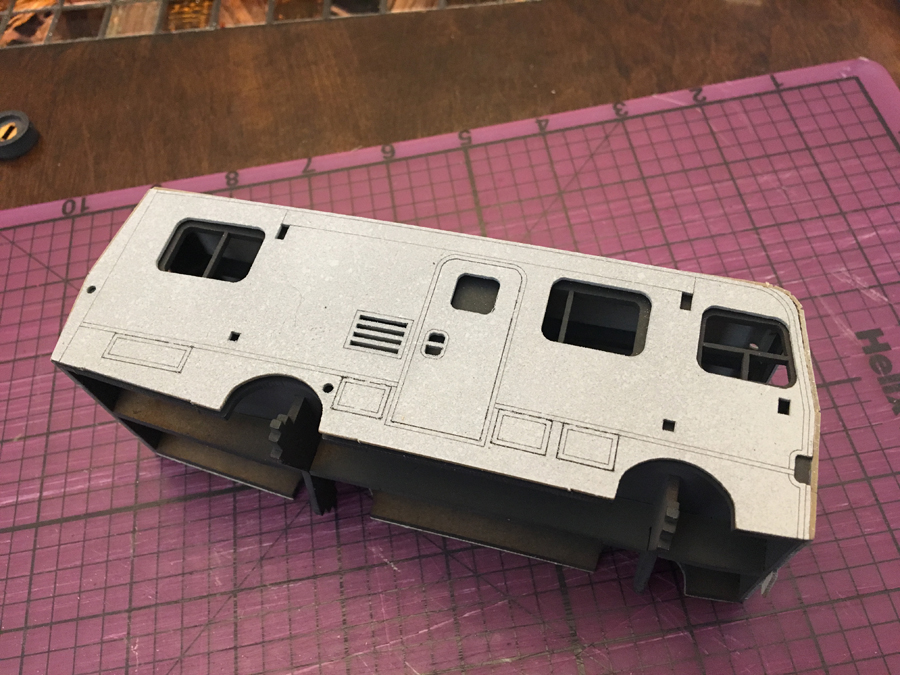
Hmm. Just not feeling it. You lose a lot of the etched detailing and the outer door on the driver’s side just feels weird. After some brainstorming, I come up with a nifty plan C.
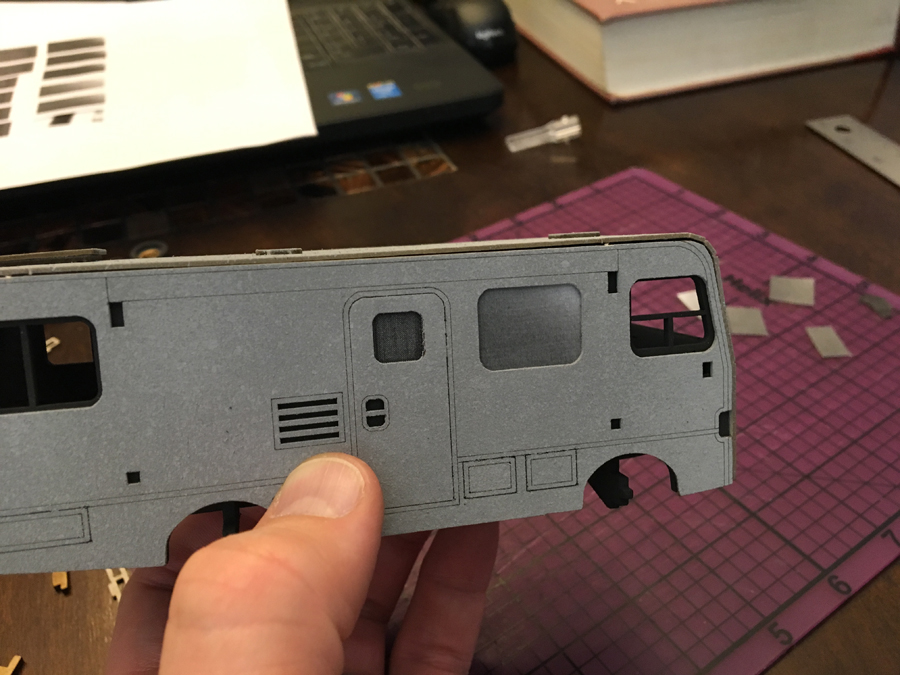

I went in to illustrator and photoshop and made custom windows overlay inside the frame, blocking the incorrect inner sides. After seeing this more in the test, I actually prefer it since the interior has no detail, the see through windows make the model a little odd. These windows were really easy since they sandwich between the frame and the detailed outer pieces.

Inserting the stylized curtains to the interior of the model (inside the already put together frame) was a bit more challenging and not unlike putting together a ship in a bottle. For anyone going this route, plan ahead and attach your window images on the interior frame pieces before you get the whole thing together.
Next it was an easy bit of attaching the out detail pieces and the frame for the awning.
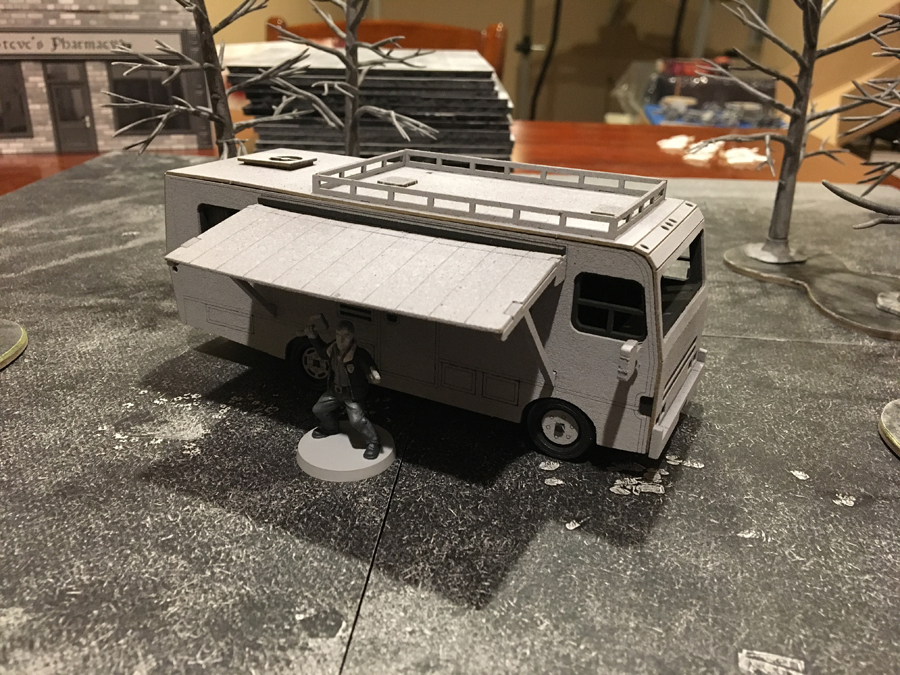

If you take a quick look back at the Mantic image of the front bumper and my front bumper, you’ll notice another little hiccup. This time, it’s totally on Mantic as the instructions show the bumper in the configuration that I have but the intent is likely how they have their press image. I’ll see how annoying the discrepancy is and maybe I’ll correct it.
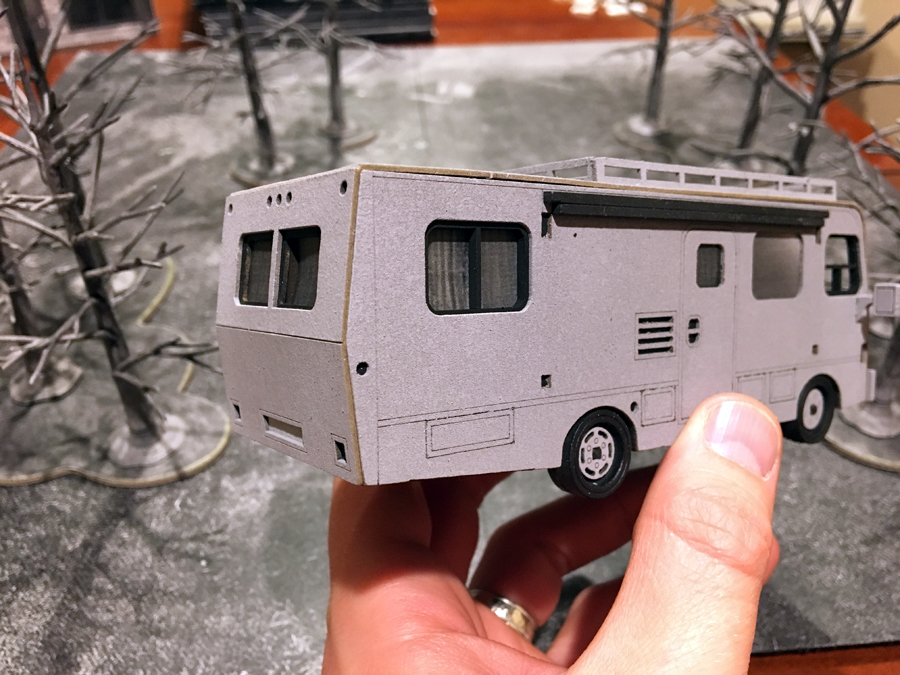
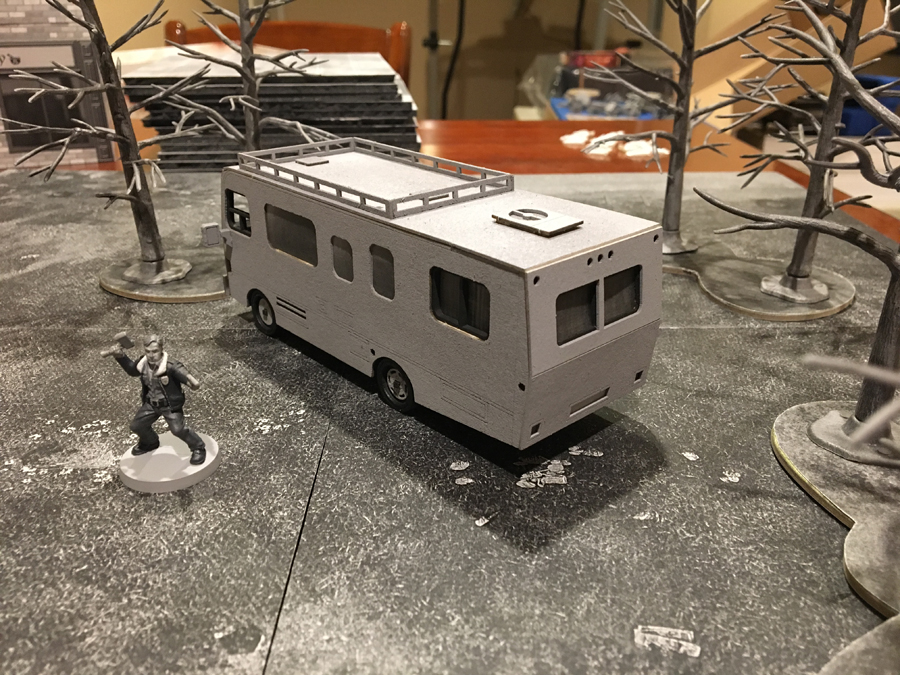
There was one last feature I wanted to add: a Windshield. The open/exposed front looks odd to me and I didn’t want to do another paper image like the other sides. Luckily, Mantic already supplies the answer, albeit from another source:
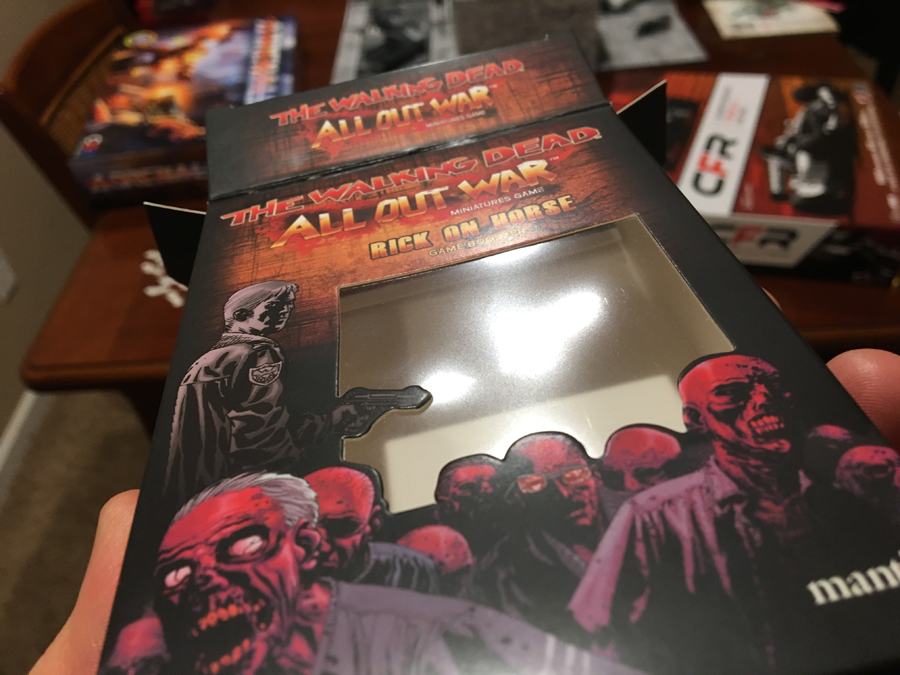
Using the clear plastic window piece from one of their survivor boosters works perfectly. Cut to fit and glued in, I have my new RV all ready to rock and roll out.
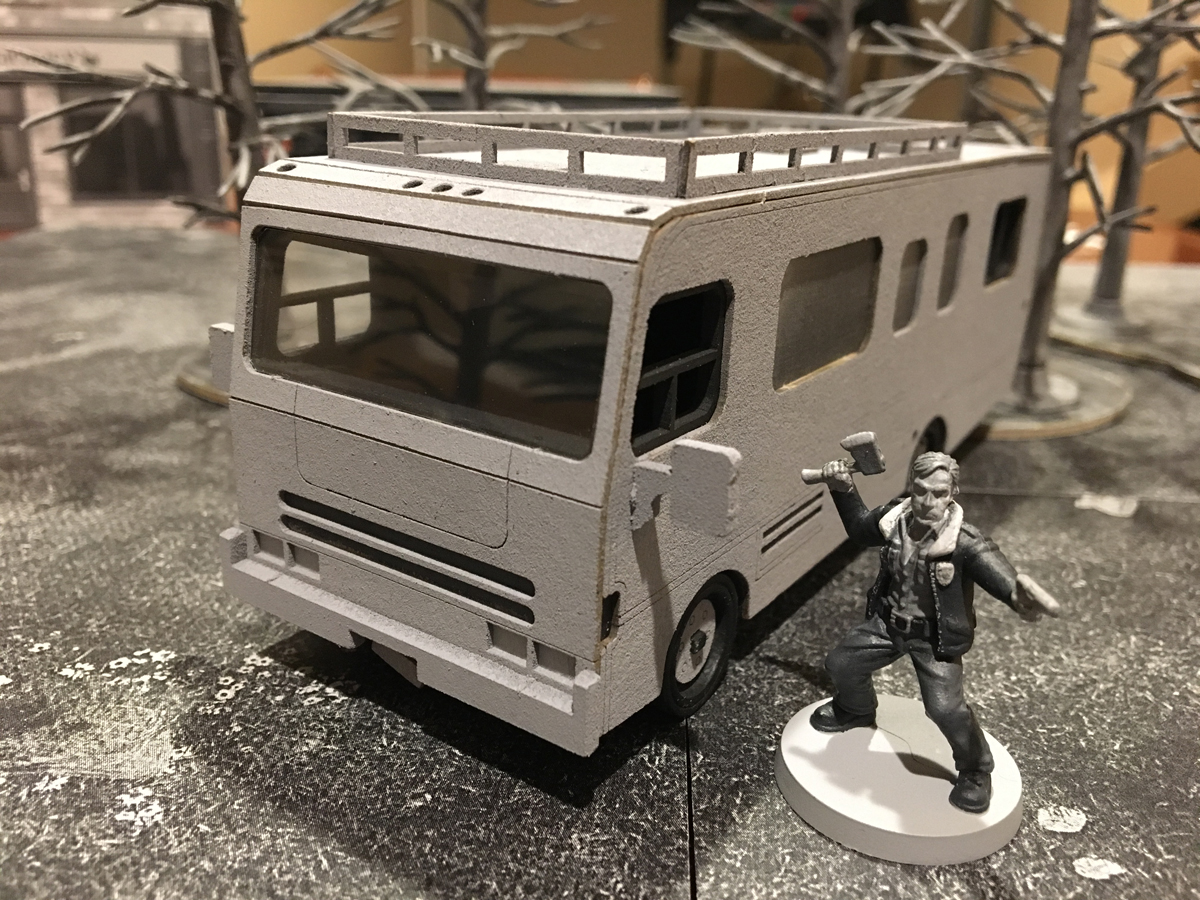
I may still decide to paint it up more and add some detailing but for now, I’m calling it good.
edit: someone asked about the window graphics so I have posted them below. It’s in b/w but the gray window graphics can be used for color as well. It’s also really easy to do in Illustrator: gradient > type: linear > angle 45 degree > pull the gradient slider towards the light color until you get the “glare” effect you want.
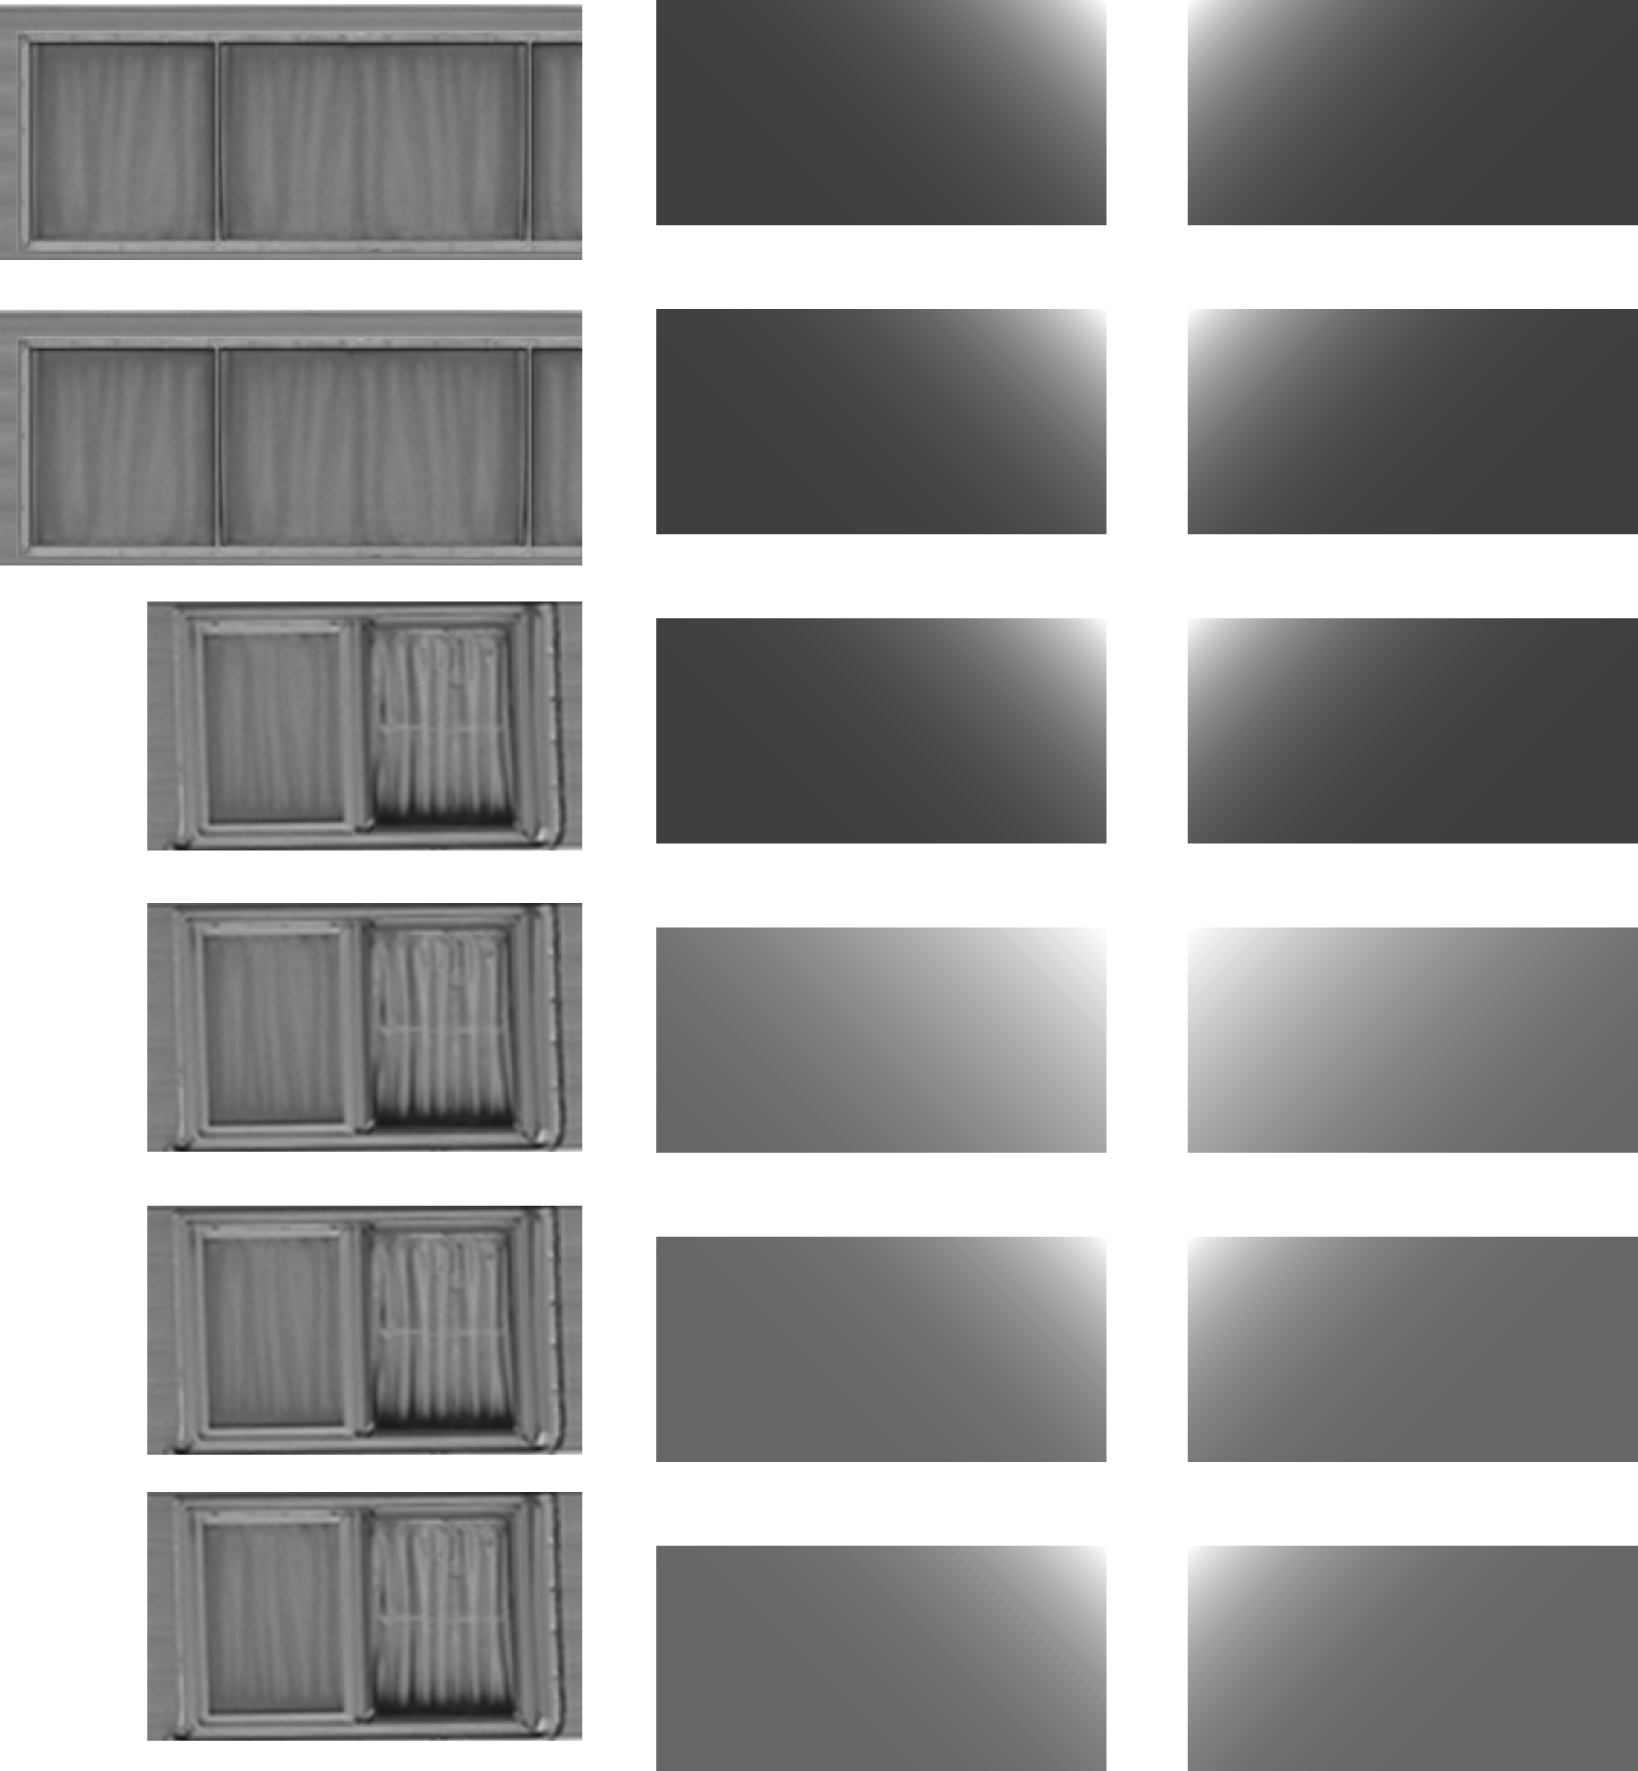
click for full size image
Sean
Looks good. I’ve been thinking about getting this model, but have not pulled the trigger on the order yet.
David Azofra
Really inspiring post. Thank you for your work and for sharing.
Russ Spears
For something that seemingly gave you fits along the way, great end product! And curtains! Who thinks of curtains (and pulls it off so well)?