
I’ve heard about techniques to pimp out tokens but I have never tried it myself. I’ve heard once you go this route, it’s hard not to paint/tint all your tokens and that is not something I want to get too deep into.
When I pimp games, I usually don’t mess with the tokens as I’m busy messing with the other aspects of the game like miniatures, cards, tuck boxes, or cheat sheets. I have a couple of projects I’m working on right now that are actually full remakes of existing games and while I’ve done this before, this is the first time I’ve had to make tokens for a game remake.
Two games I’m working on right now required some tokens and since I’m remaking the game from scratch, I needed to find a way to make tokens quickly and easily. I didn’t really want to make the tokens from scratch but luckily, I have a metric ton of old tokens from the Star Wars: X-wing Miniatures game and I’ve found that they make a great base to sticker my own token images on top of.
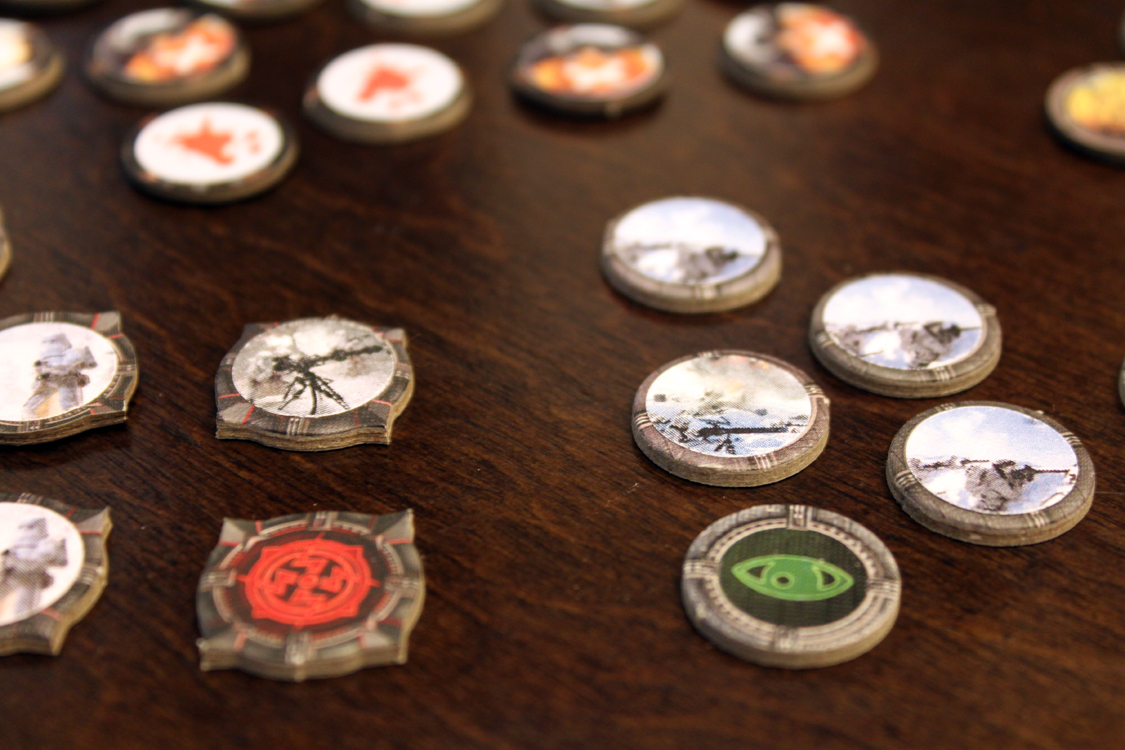
Since X-wing gives you new tokens each time you buy a ship and I went pretty deep into the game, I have more tokens than I can ever use in a single session. This has come in handy as I make tokens for these new games.
Outside of the image collecting and photoshopping, the process is quite simple. Print the images on a sheet of TrueBlock Shipping Labels (from Avery, though I’m sure other label options will work), cut the images out using a circle punch (a 5/8ths inch punch seems to work well for X-wing tokens), and stick them on. I use TrueBlock labels because they are permanent and block any image bleed-through from the existing token.
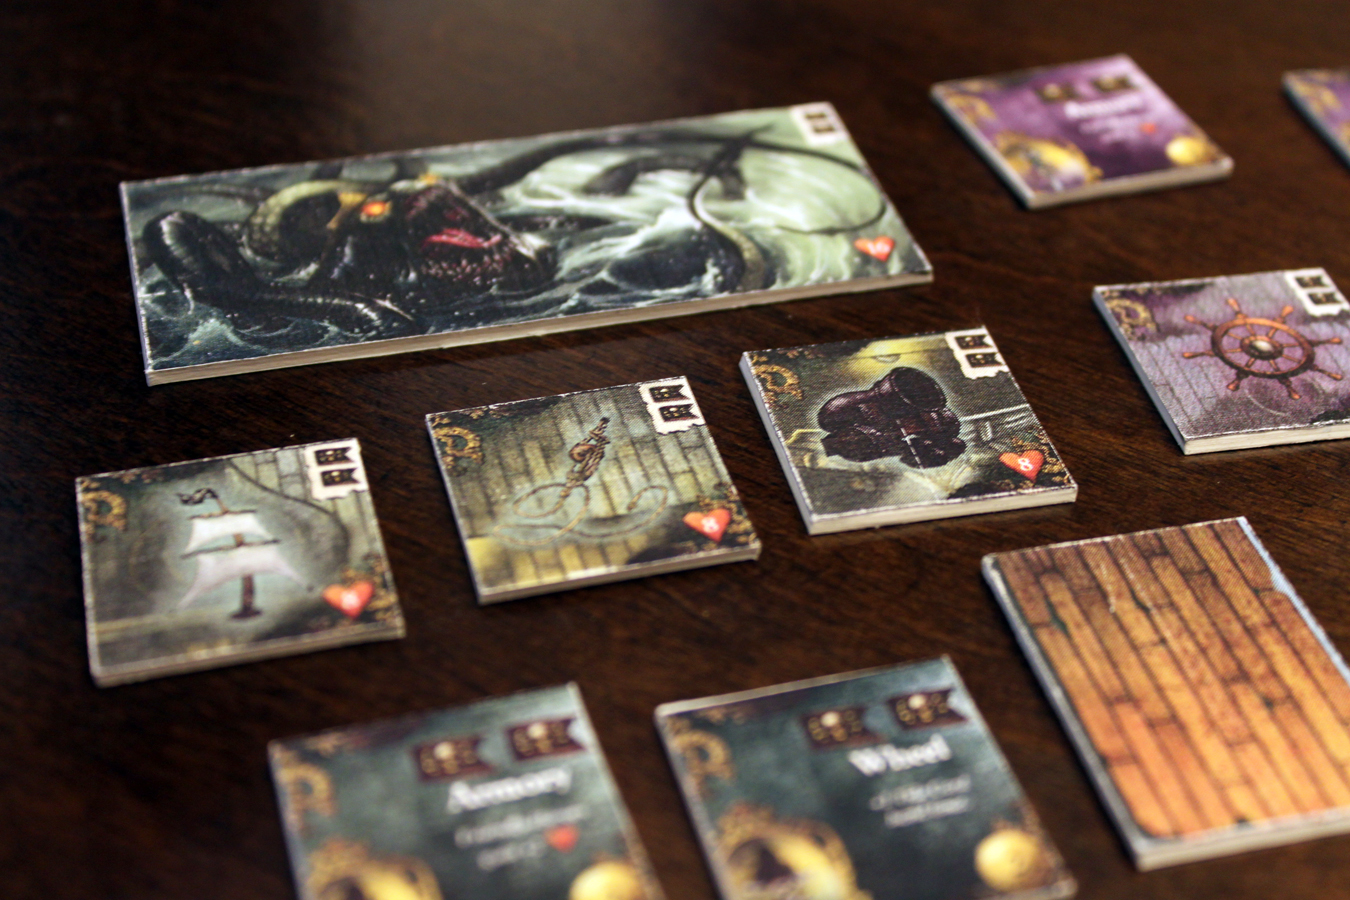
In the “Travel” version of Rum & Bones that I’m making, I needed some custom tokens that weren’t normal token shapes that I could pillage from other games. This was a little more work but not too bad. Take some art board that you can get from any craft/hobby/art supply store (I used a 16 in x 20 in white board from Canson) and stick the whole label sheet on the board.
Next, take an X-acto knife and metal straight edge and cut the shapes out that you need. Be careful as it is really easy to get careless and cut yourself (I did this on an earlier job cutting a new board out for my Thunder Road pimp out). Art board cuts best with a lot of slow, light-pressure cuts instead of trying to cut through in just a few passes. It can be tedious and that is what makes it most dangerous as it lulls you into security after about 10-15 passes.
The white board isn’t as subtle as the gray of published tokens and so I will likely tint these like I’ve seen others do, bringing us full circle. Jeff Tibbetts, on his blog Tibbs Forge, has a great process for tinting tokens. An example of his work can be seen below:

Tibbs Forge tinted token- look at the different caution bands he puts on the Space Hulk ladder token.
I’ll likely start tinting these tokens to hide that white edging. Tibbs Forge work is really impressive and pretty inspiring for this type of work.
Jeff Tibbetts
Thanks for the shoutout, buddy! I’ve gone on to do a lot more games and I have to tell you, it makes the game feel so much more polished. All you need are a bunch of permanent markers and some patience. Looking forward to seeing your work.