
With the first two phases complete on my pimp out of Era: Medieval Age, it was time to move on to the next piece, the player boards. These boards were complained about a lot and is the only major piece of criticism with the game from what I see online. The publisher provided a sticker set to improve the overall visibility of the board numbers but I know we can do a lot better than that. Also, it doesn’t change the fact that the boards are such bland and uninspiring yellow.

Time to fix all that. Using the same technique from the storage board, I mounted the image onto a piece of pressboard, fired up the CNC, and let it run its course.

After some light clean-up, the board fit perfectly in the existing player board. If you notice in the first cut image at the beginning, I left two pegs uncut in the center. This will help place the center tower piece on the map every time (which is where the initial player setup requires it). Just a handy little reminder instead of always needing to count to the center of the board.

You can see here that the CNC doesn’t make nice, clean cuts into the paper. I would have to light sand each hole to complete that. I might be able to do it with the sander bit and a dremel but it really didn’t bother me and didn’t compromise the actual pieces so I’ve left it alone.

We still had the board itself to contend with and the readability/drabness it offered. Paint is the best solution for this in my mind. You can smear black craft paint (or any dark color) into the recesses and then use a damp paper towel to clean up. You’ll want to go a few numbers at a time so that paint doesn’t start drying. If it does, it isn’t the end of the world as you can use windex on a Q-tip to spot clean up the rest.
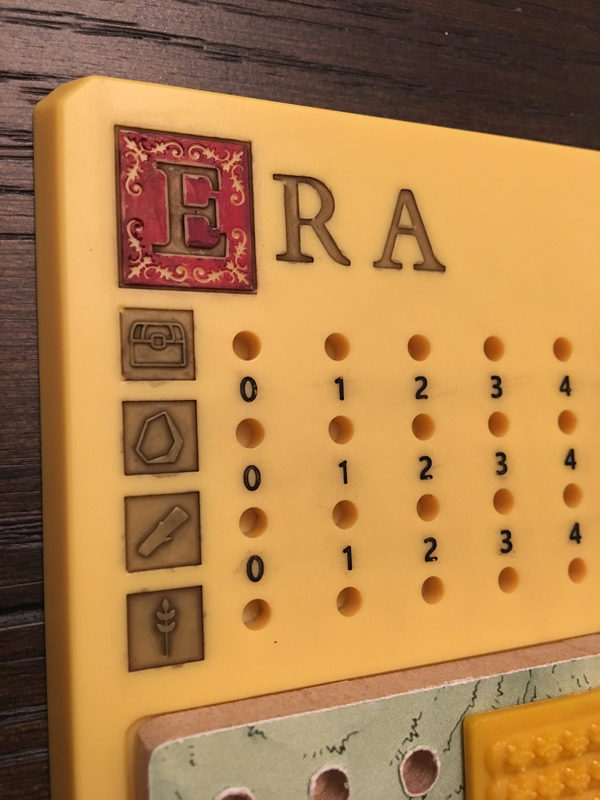
While you can just do that to all the recessed areas, I wanted to do a little more. I uses Citadel Nuln Oil wash to fill in the large letters and resource images. I used Citadel Khorne Red for the “E” background. I did this quickly (and first) by dabbing a little on a palette and soaking it into a paper towel edge. I used this drying paint to smear it lightly over the top so it wouldn’t run into the intricate filigree of the design. It will smear around the edges but the Windex Q-tip works well.
Another tip for that: make sure you pull off most of the Q-tip cotton from the head so you can control how much Windex is getting on the board. You could also just go slow and paint it in with a very small detail brush but I wanted to find a quick technique I could duplicate across the rest of the boards.

There are some final finishing details I want to add like edging the open sides of the wooden play areas and cleaning up the resources images a little more but the bulk of this phase is all done.
Russ Spears
It’s all come together great. Those numbers really pop now. Bonus points for using “filigree”.