So with all the Dropzone Commander priming I did last week and the upcoming game that was to take place this weekend, I got the itch to get some of my models ready for the table. I did forget about one thing: magnetizing.
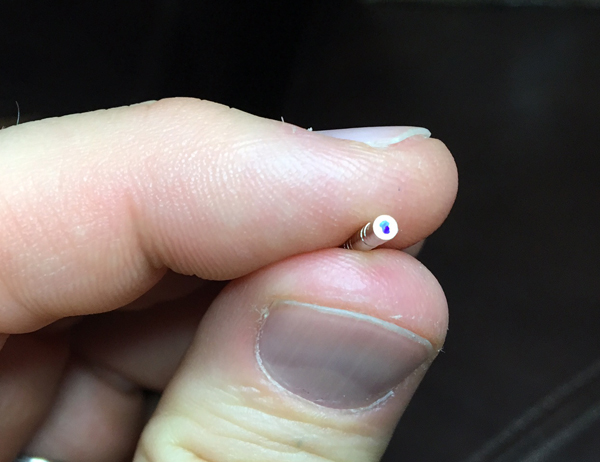
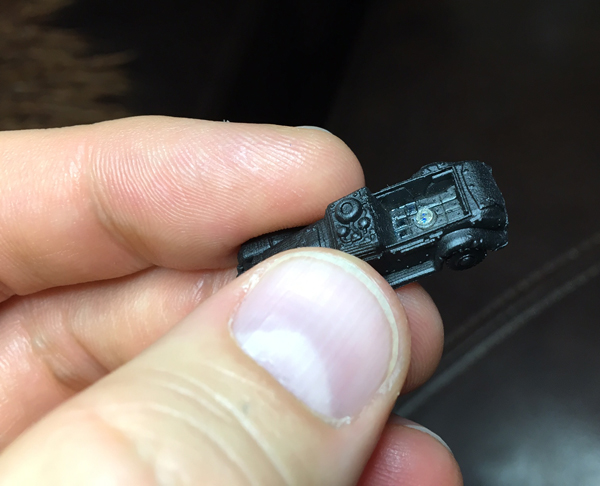
These are 2mm x 1mm round neodymium magnets and these little suckers were the bane of my week. Magnetizing is a pretty common economical technique miniature gamers use to make their models swap certain weapon layouts between the same model. Sometimes manufactures help encourage this by adding multiple model layouts in the same kit. Dropzone Commander is just now starting to do this but they are still pretty early in the process.
In my case, I have a bunch of Technical vehicles that can mount different gunners so I wanted to be able to swap them out easily depending on the game I was playing. This can be a big pain to set up since you’re working with very tiny models, super glue, and micro magnets that tend to not play nice no matter how you set them up.
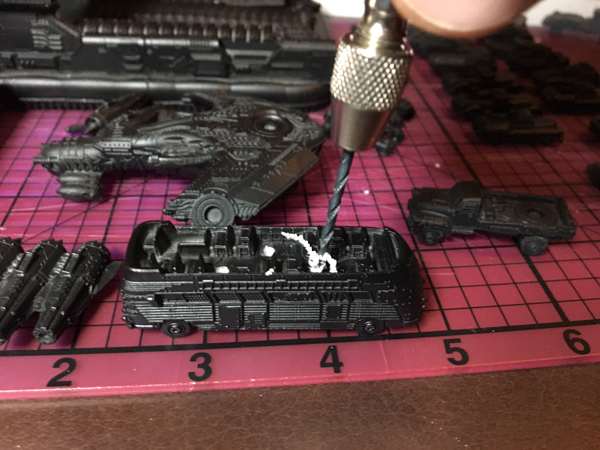
First thing is to drill out all the holes for the magnets to set in. It usually helps to have a drill bit that is slightly larger than the magnet to give it some leeway as it drops in. I test my magnets in the hole to make sure they will sit deep enough and that the hole isn’t too snug.
If you check out my first image again, you’ll notice the blue markings on the magnet. Polarity is extremely important in this process as you’ll need all the magnets to work correctly so you can swap pieces without issue. Since the magnets are so fiddly and tend to flip around a lot as you wrestle them into their hole, you’ll want to make sure you can quickly recognize if the magnet is facing the right way. You’re also working with Superglue, so recognizing this quickly will be key.
are you too good for your home!?!
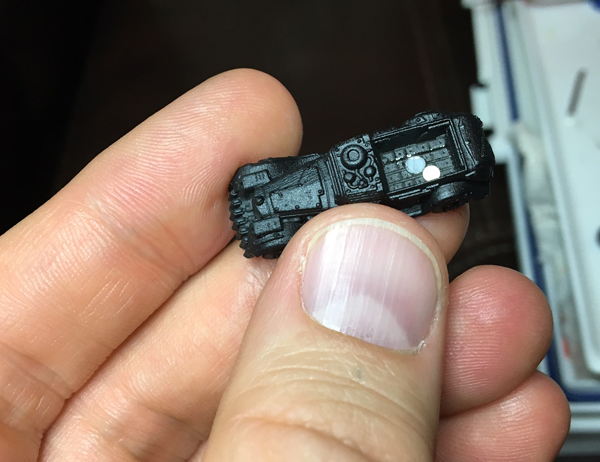
In the image above, I need the blue marking side face-up in the bed of this Technical. I had 12 of these suckers and no matter how I dropped them into the bed, they all landed blue side down. 12 for 12. Thanks tiny magnets.
Now for the other side: the gunners.
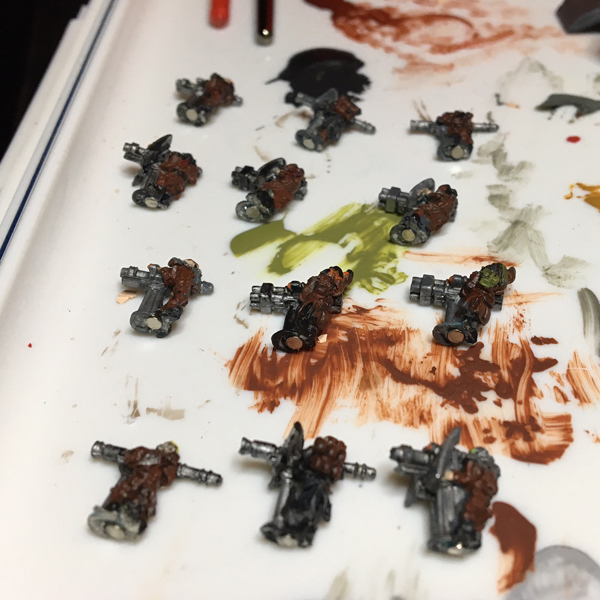
For these guys, they were still on the sprue and it is much easier to paint that way so I decided to finish them up completely and seal them before tackling the magnetization. The gunners work the same way: drill the hole, find the right magnetic orientation, mark with a blue sharpie, and the super glue into place.
Don’t be tempted to “test” out the model until that super glue sets as it will likely pull out the still-wet magnet and glue itself to the other magnet in the model and then you’ll have fun digging those apart without destroying your things.
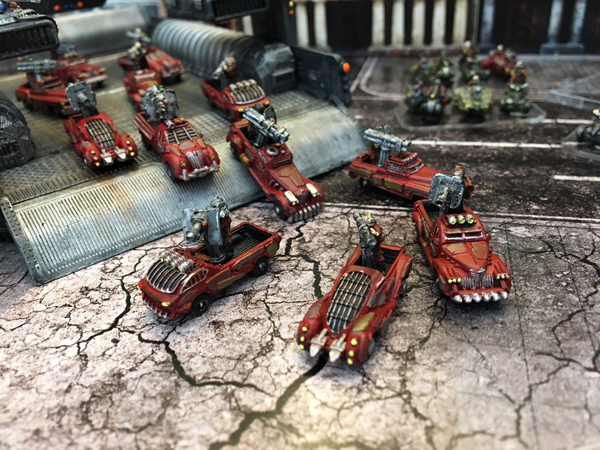
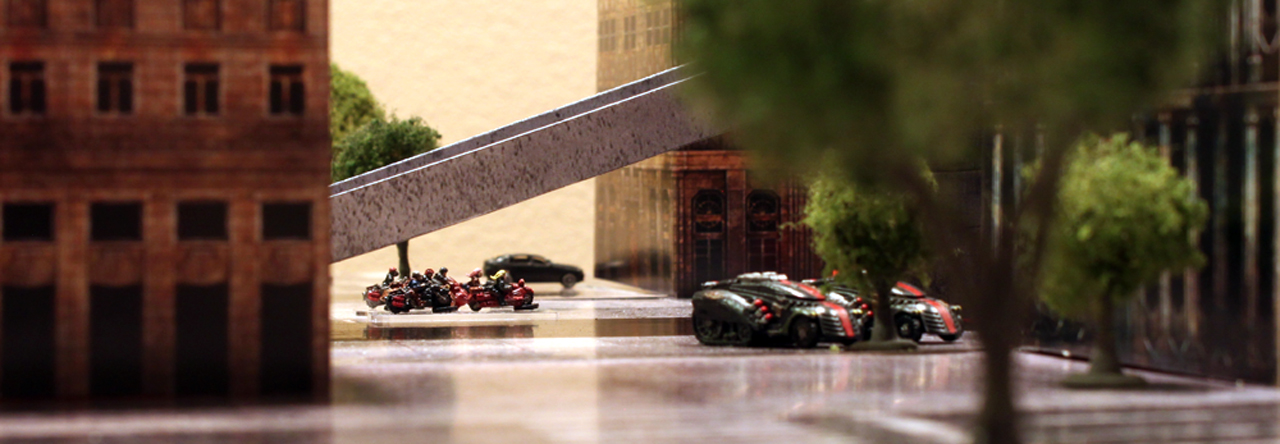
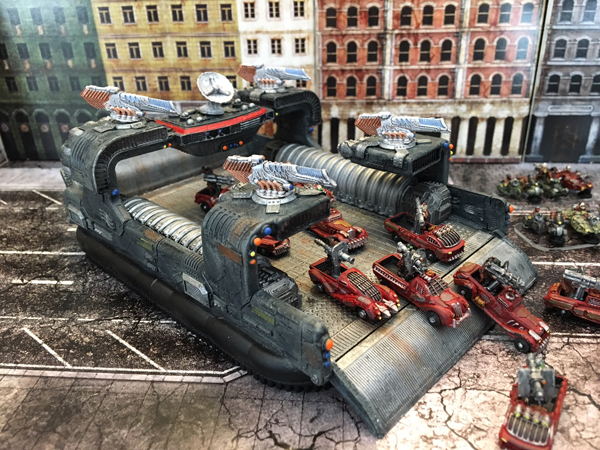
Even though it can be one of the most frustrating parts of the miniatures process, the end is definitely worth it. Painted up, I’m pretty happy with my Warlord’s Retinue. For most of the Resistance faction’s Technical and converted civilian vehicles, I like the random paint schemes but the fluff behind the Warlord’s Retinue paints them as more of a single elite and unique unit so I figured they might try to stay with one consistent paint scheme even on their civilian vehicles.
As you can tell from the photo, I was also able to push through and finish up a few other models as well.
almost finished. needs some dirt still.
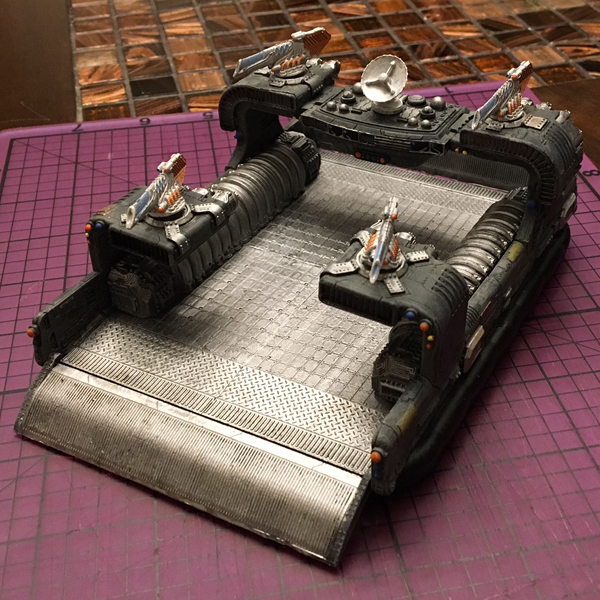
The Warlord’s Retinue is a secondary unit in the Resistance faction that can’t exist without it’s main transport, the massive Thunderstorm command unit. This thing is the size of small structures and is a pretty fun unit in the game.
The main focus of the week was getting these two units ready for the table but I had a little bit of extra time to slap together some of the Attack ATVs that just came out in the Reconquest Phase 2 book.

I’ve also been dying to get one of the most unique units in the Resistance faction to the table so I did a quick job on the Breaching Drill and got it ready as well.

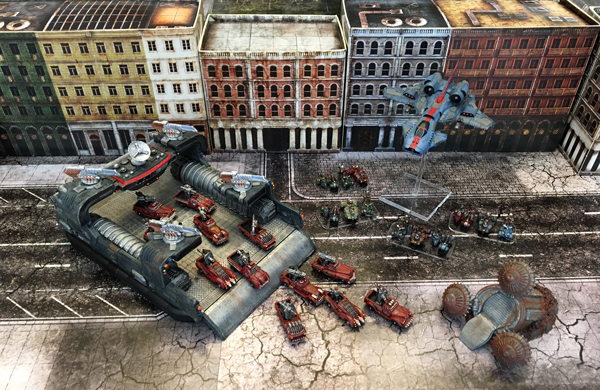
To break the monotony of painting a bunch of annoying infantry gunners and tiny ATVs, I worked on a really fun J19 Hellhog aircraft.

The VTOL (vertical take-off and landing) aircraft reminded me of one of my favorite GI Joe toys from back in the day so I went a blue color scheme. Not quite the midnight blue of the original but I think it still works well.
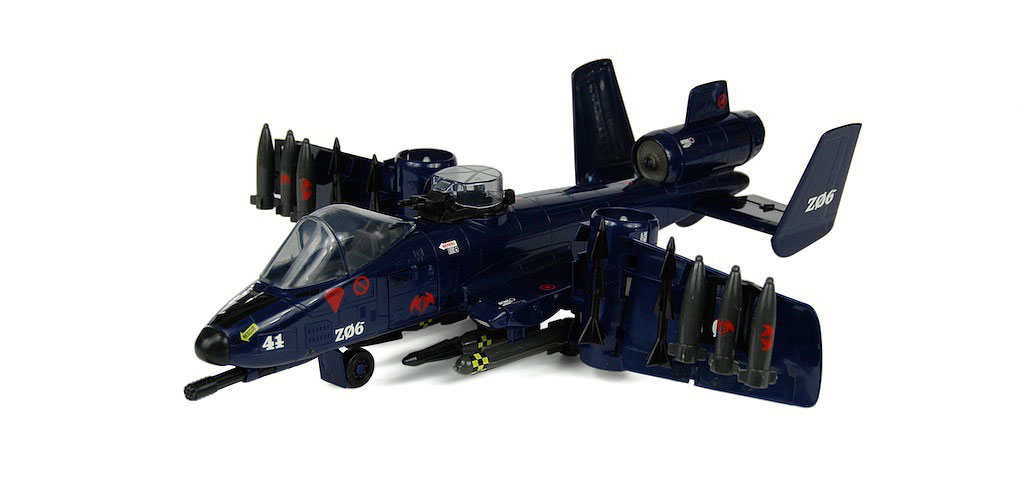
cobra rattler from the 80s GI Joe toys. photo from yojoe.com
So all in all, a very productive week for Dropzone. Of course, all of this wasn’t without reason as I also was able to cap off the weekend with our first 1500 point game. I’ve run out of time so I’ll tackle that game in a quick rundown later.
new shinies!