
With most of my Kickstarter package in from A Song of Ice & Fire Miniatures Game in, I pushed to get it to the table and finally put it through its paces. My friend and I had a chance to play a demo of the game back at last year’s Gen Con but the experience was pretty piss poor. I’ve watched several playthroughs online and read the rules fully so was hopeful that we could see the game in the best light this time.
/pic4218513.jpg)
Since my friend doesn’t have his Kickstarter copy yet, I set up both armies using options from the designer’s Kickstarter update for playing with just the starter set for both Stark and Lannister factions. The lists that CMON put in the Kickstarter updates are a great resource to new players as a way to jump into the game quickly.
The Lannister List for this battle was Michael Shinall’s “Just Better Than You” 30 point list:
Commander: Jaime Lannister (The Kingslayer)
- Lannister Guardsmen + Jaime Lannister (5 Pts)
- Lannister Guardsmen + Gregor Clegane (Lord Tywin’s Mad Dog) (8 Pts)
- Lannister Halberdiers + Assault Veteran (7 pts)
- House Clegane Mountain’s Men (6 pts)
- NCU: Tyrion Lannister (4 pts)
For Stark, I used Shinall’s “House Umber List”:
Commander: Greatjon Umber (Lord of Last Hearth)
- House Stark Sworn Swords + Greatjon Umber (5 Pts)
- House Stark Sworn Swords (5 Pts)
- House Umber Berserkers + Robb Stark (The Young Wolf) (10 Pts)
- Stark Outriders (7 Pts)
- Grey Wind (0 Pts)
- NCU: Sansa Stark (3 Pts)
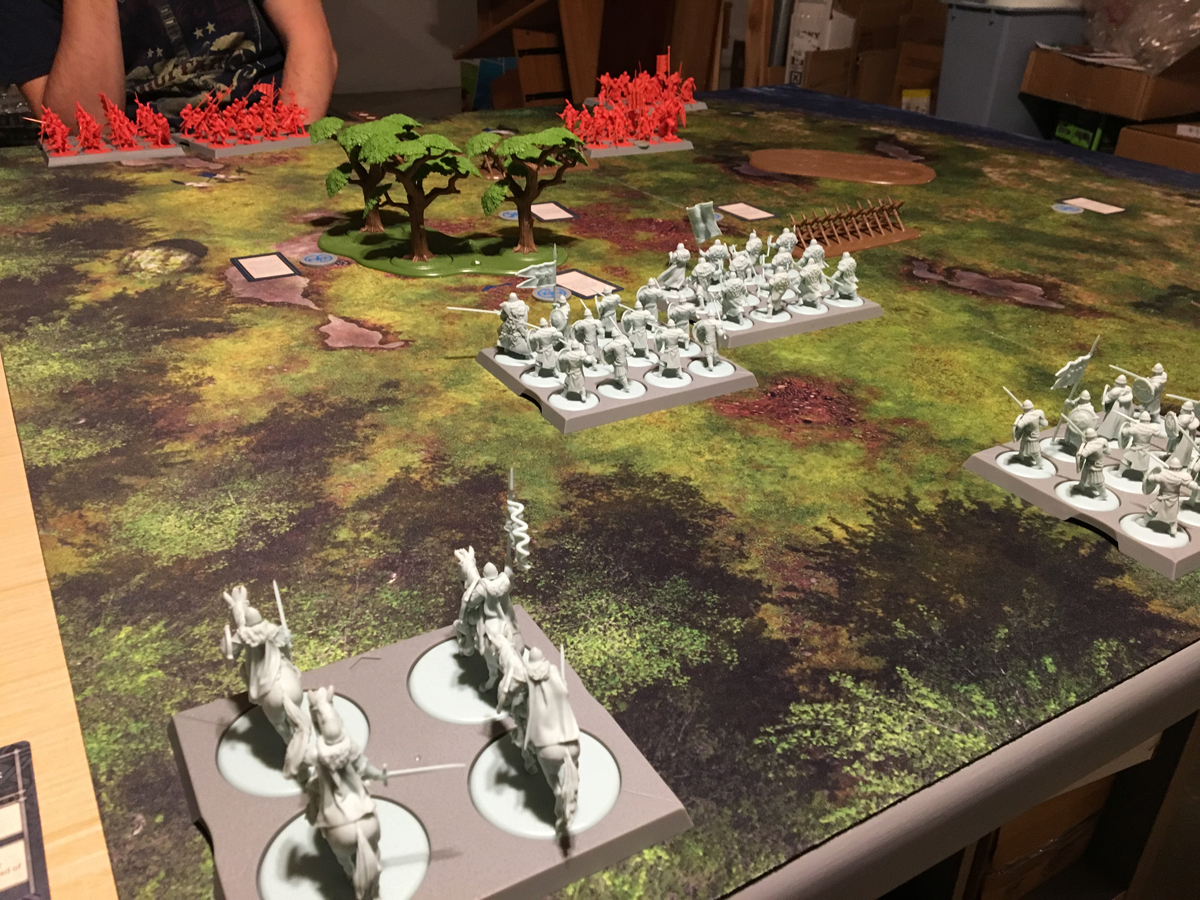
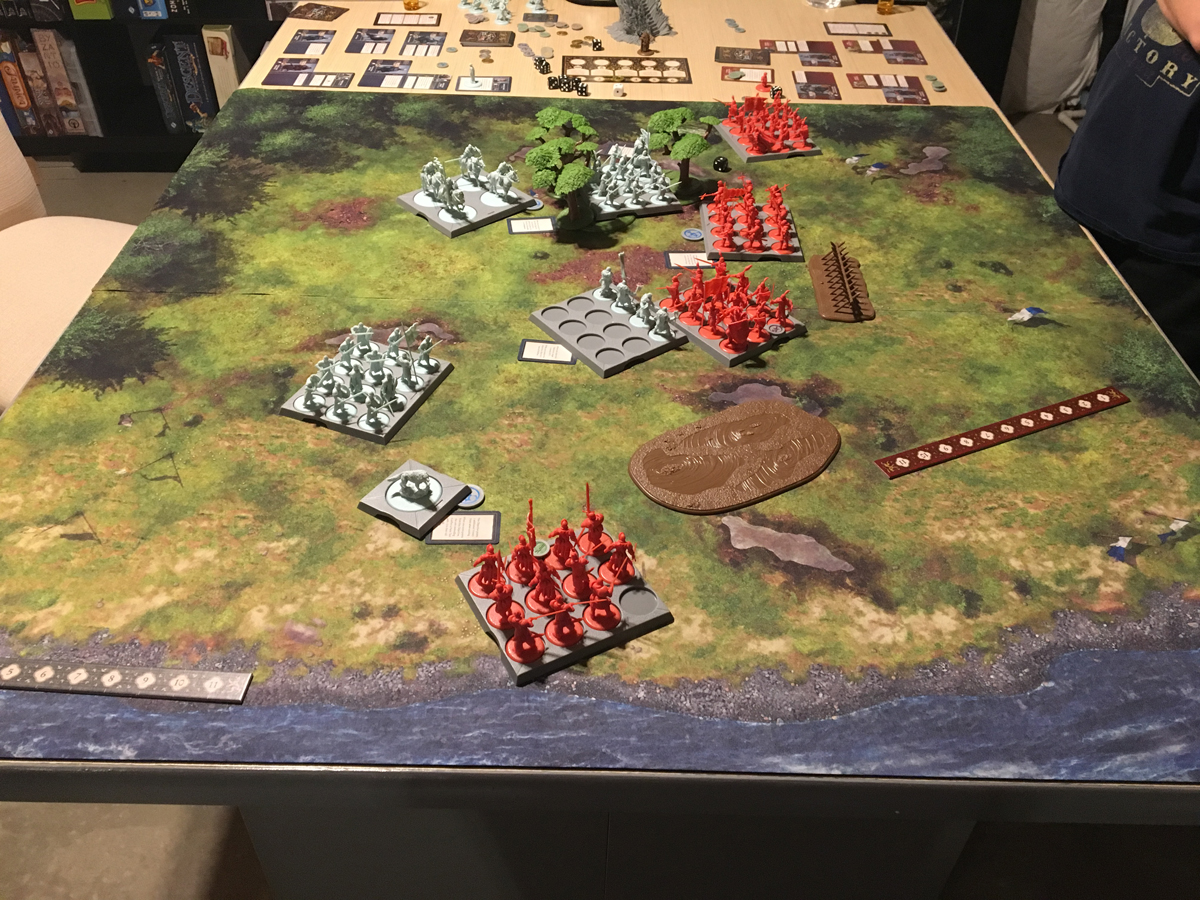
With our lists set, we finished setting up the scenario “A Game Of Thrones.”

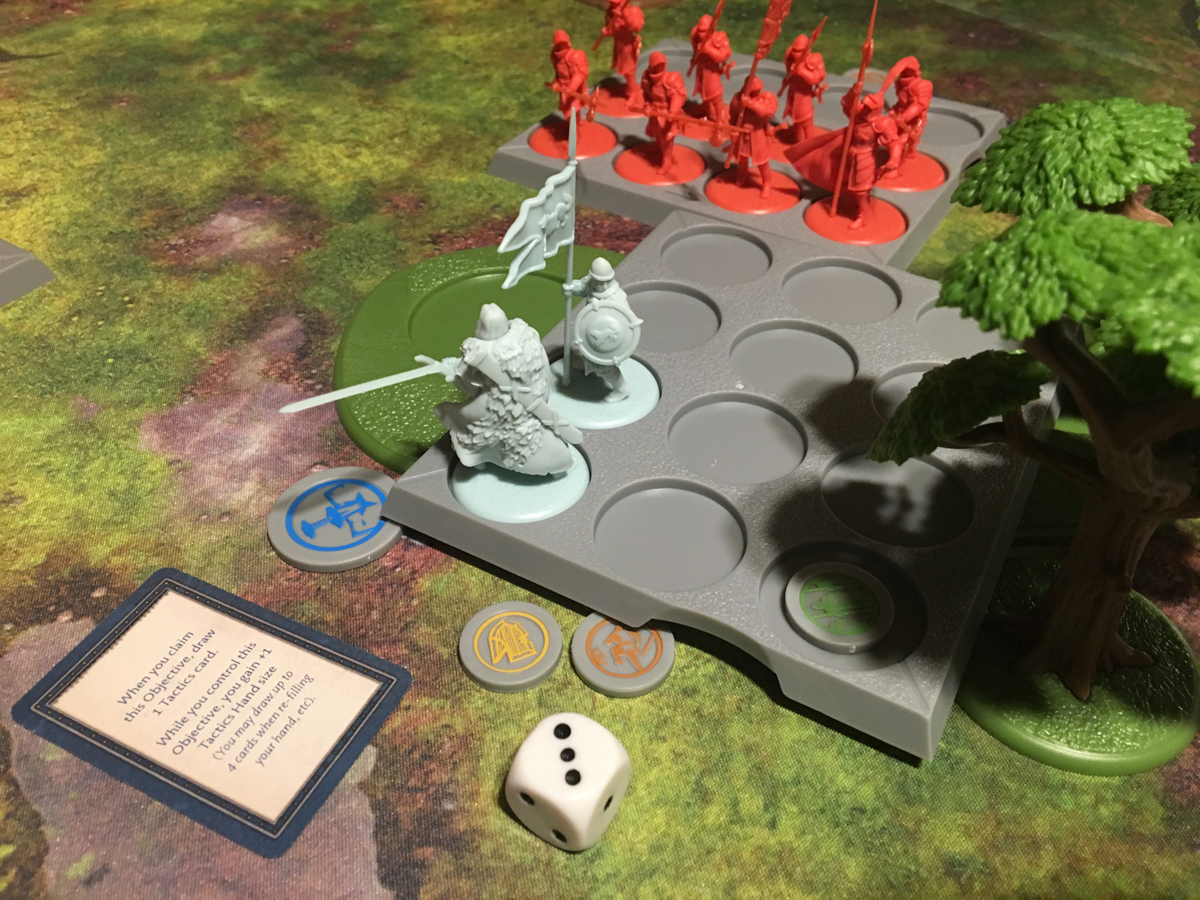
The objectives layout was interesting were the lone objective on the Stark side of the board was an objective that scored 2 VPs instead of one but forced the unit controlling it to roll a panic test with a -2 penalty. The other four objectives were scattered on the other side of the field and dealt with gaining an extra tactic card, giving an enemy unit bad conditions, causing your opponent to draw one less tactic card, and choosing an enemy NCU (non-combat unit) and negating all their abilities.
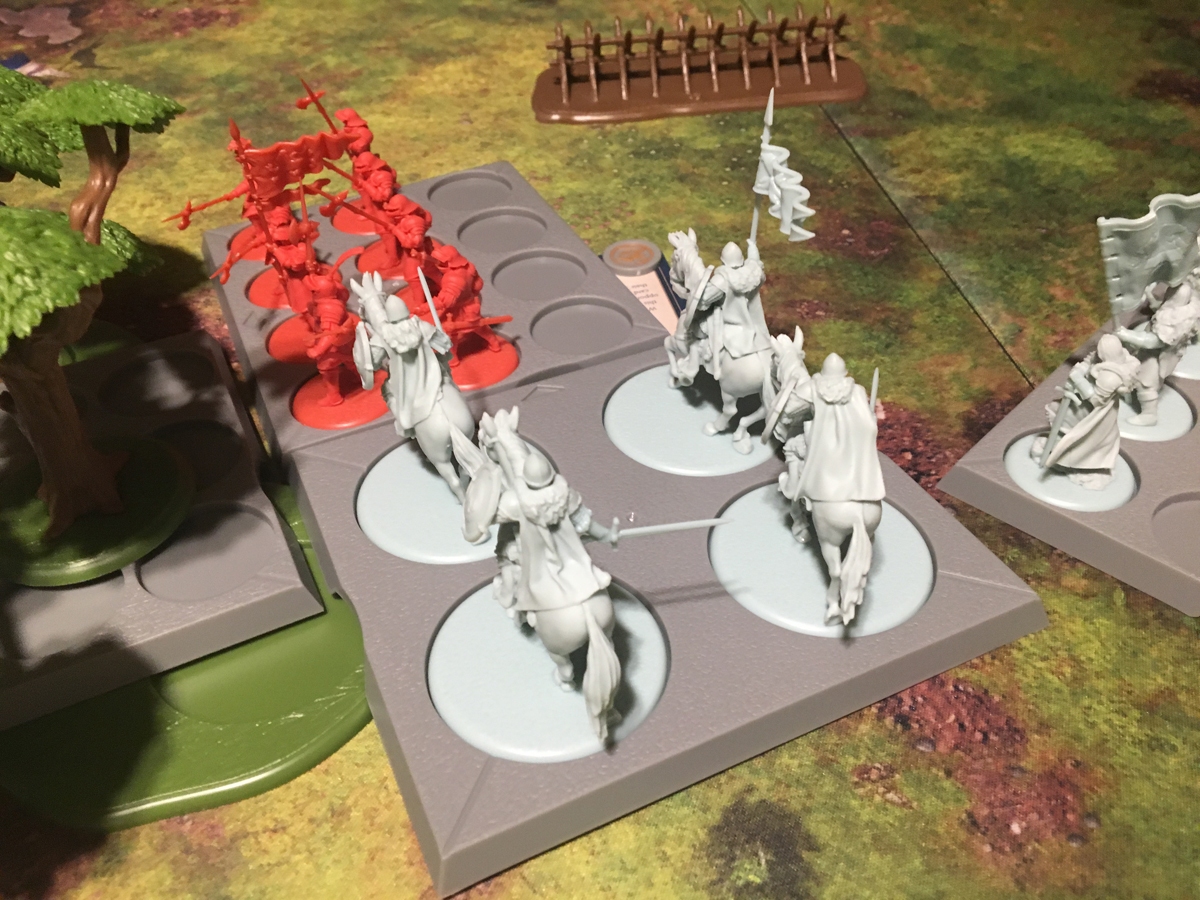
I was playing Stark and rolled highest so I chose the left side of the battlefield (in the picture above) and my friend was playing Lannisters on the right. I decided that the double VP objective would be easy to get and would likely see little battle since it’d force a unit to sit on it away from all the action. Grey Wind would be a great unit to just camp out on it since he was fast and had the best morale on the board.
My opponent didn’t like the idea of me just camping on 2 VPs a turn so surprised me by committing two units to possibly contend with my little wolf. I had my Outrider cavalry unit on my far left flank (top of the board) but the Lannisters put Jaime’s guard unit right along the same path. I put my Umber Berserkers slightly left of center and my vanilla group of Stark Swords right of center to maybe babysit Robb’s pet. The Lannisters ended in a split formation with two on the right and two units on the left.
With setup complete, we were ready to begin but first a quick public service announcement:
We found out quite quickly there is a method to moving a tray full of figures across the battlefield. Here is the wrong way:
Having played minis games before, I’m used to moving things a certain way, especially when using rulers and templates and the draw is strong to try to hold the ruler with one hand and pick up the wide trays with the other hand. Even with large hands like I have, the disaster that you see in the video above has a high chance of happening. I highly recommend using two hands and the indents. You can try one hand with the indents but I found it only slightly better and the risk of having figures go flying everywhere wasn’t worth it after the second time we accidentally did it, scattering terrain, objectives, and other units everywhere.
With that out of the way, it was time to roll dice and push trays around!

Again, the battle is set with Grey Wind ready to pounce on that juicy 2 Vp objective.

We both know that I’m going to commit the wolf to the objective so that side of the battle is a foregone conclusion for round one so I likely should have started on that side just to see how much my opponent was going to commit to it but instead I push Robb’s Umber unit forward at the breakneck speed of a 14 inch march. That dude can haul ass with a bunch of Berserkers at his heels. Greatjon’s “S” words also march forward to threaten my closest objective.
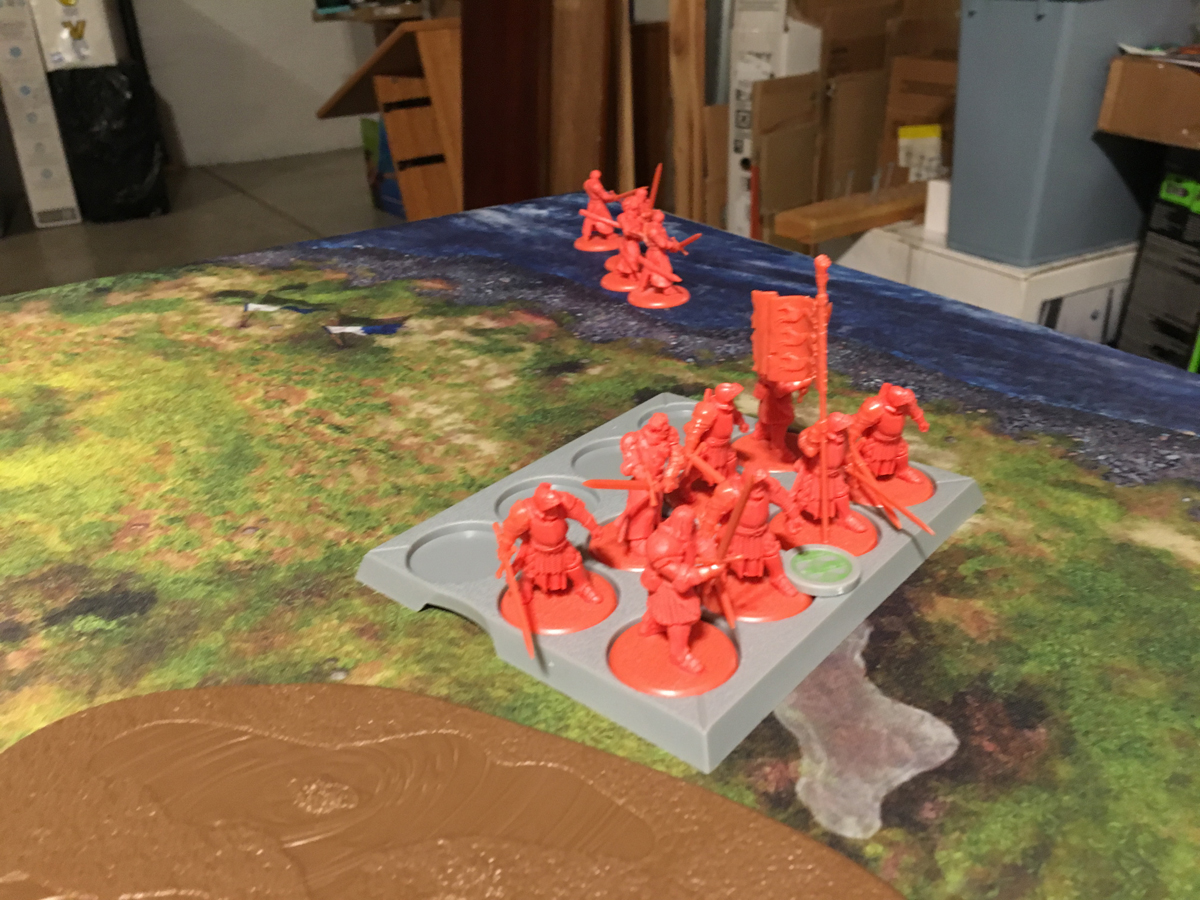
Lannisters move Clegane’s Guards forward and have the Mountain Men maneuver out to start working the wolf side of the map, via Tyrion’s control of the Maneuver command on the Tactics board.
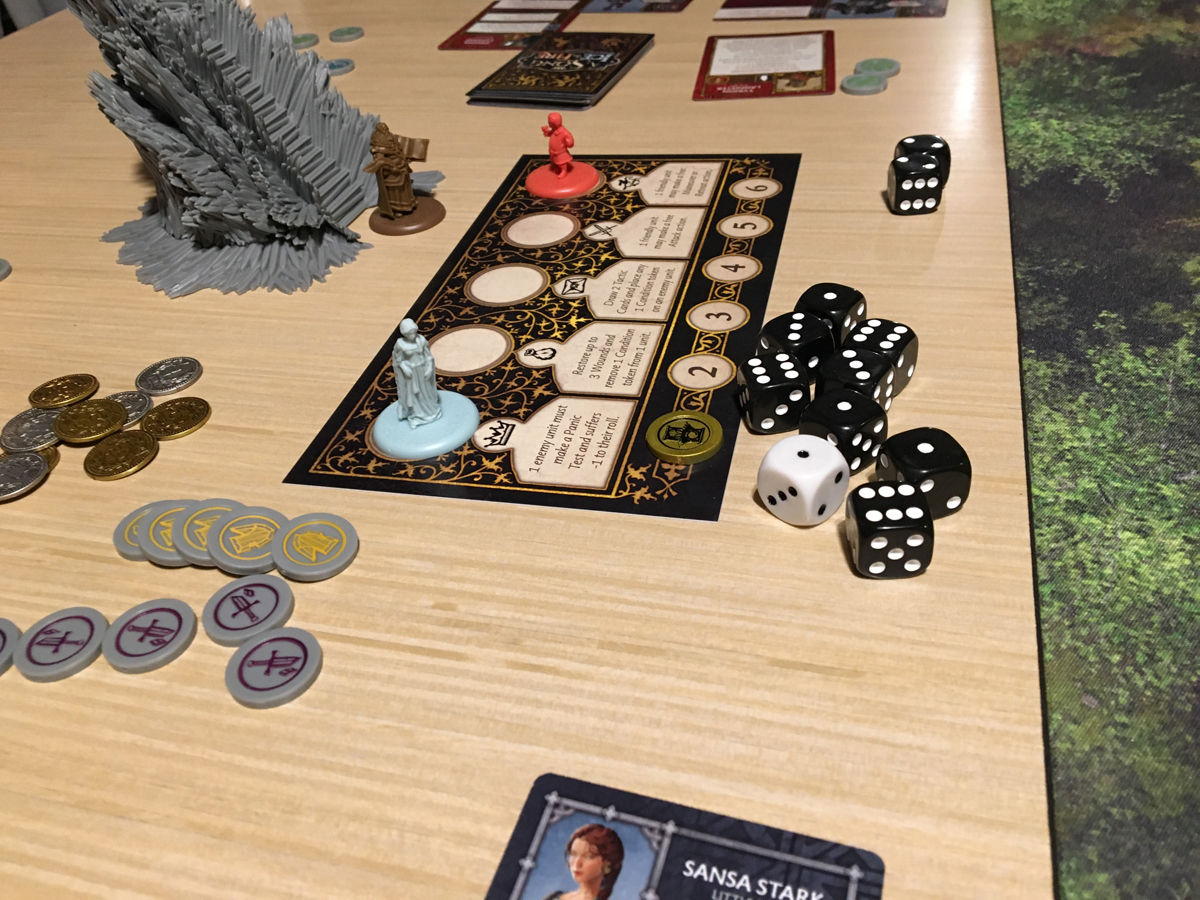
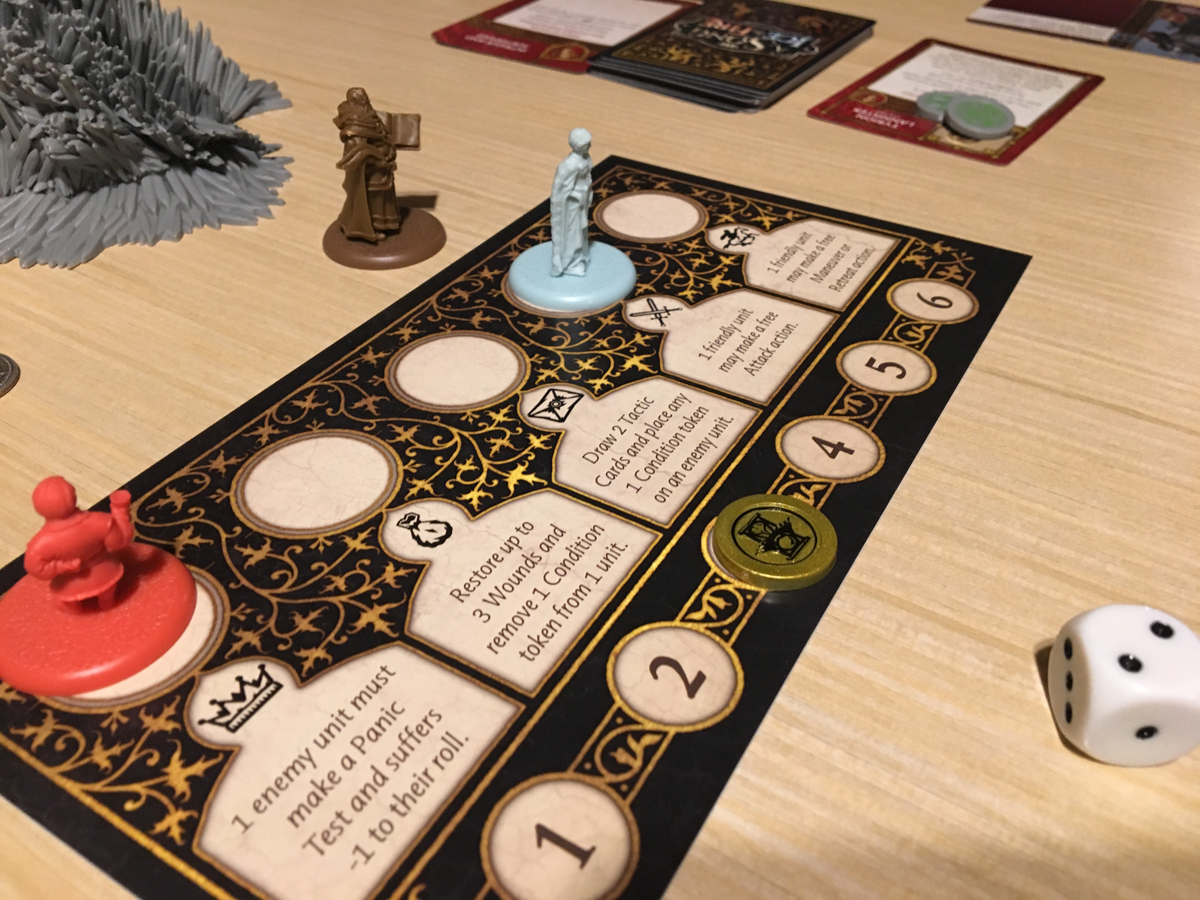
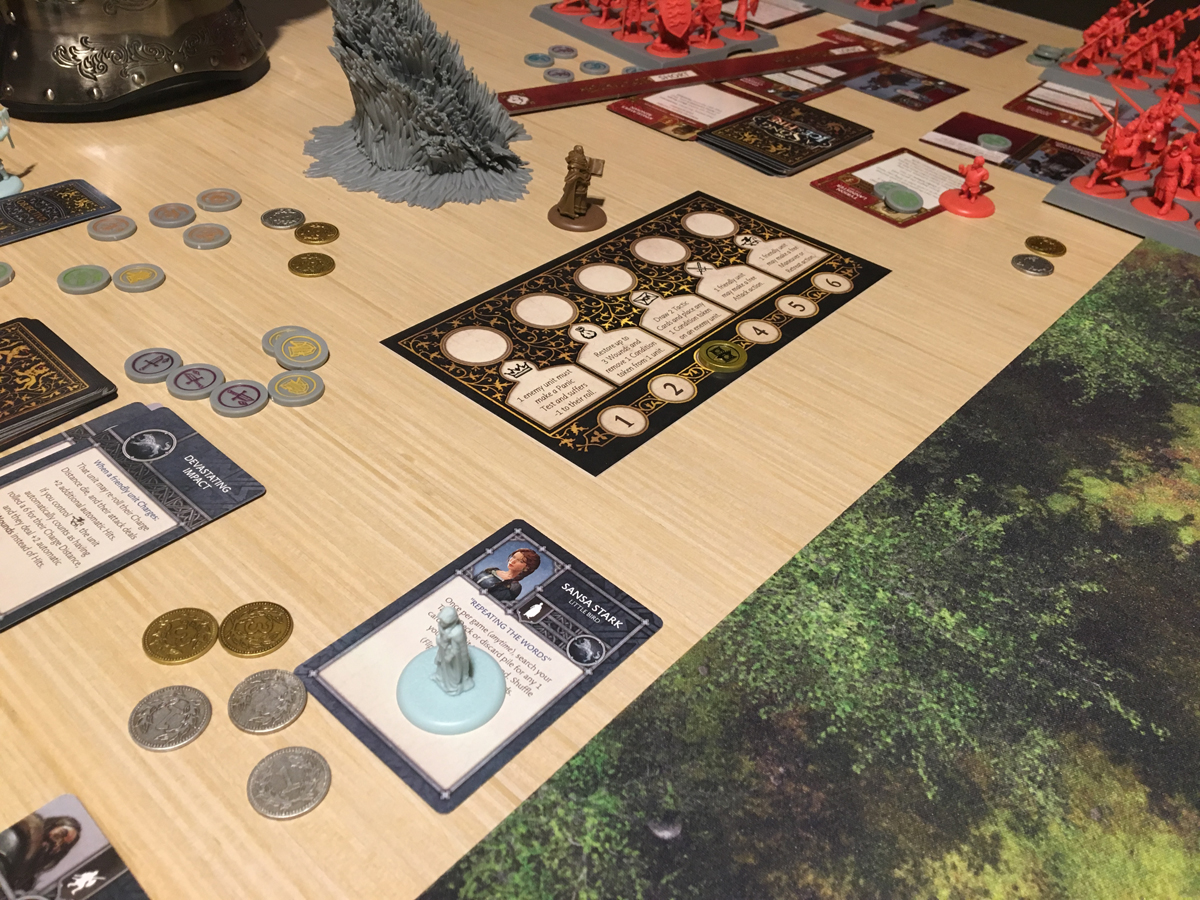
Not having a solid plan for what I should do on the Tactics board, I punt and throw Sansa at the Crown.
Her simpering complaints must have touched the psychotic boy king as he put the fear of God in those Mountain Men and panicked them severely, sending a whole rank to run off into the sea.

I finally commit Grey Wind to the objective, angle my vanilla “S”words to babysit Robb’s pet. Lannisters push the Halbardiers forward, in striking distance of their closest objective and Jaime’s Guards inch forward. I find that my Outriders are in a horrible position. They can charge straight at Jaime but that will likely end poorly and leave them open to the Halbardiers so I decide that I’ve played them all wrong and have them pull a hard right and powerslide across the rear of my zone to find something better to pick on.

Round one ends and only then do I remember that objectives don’t score until the end of round two. Ah well, just sit, Grey Wind. Sit.
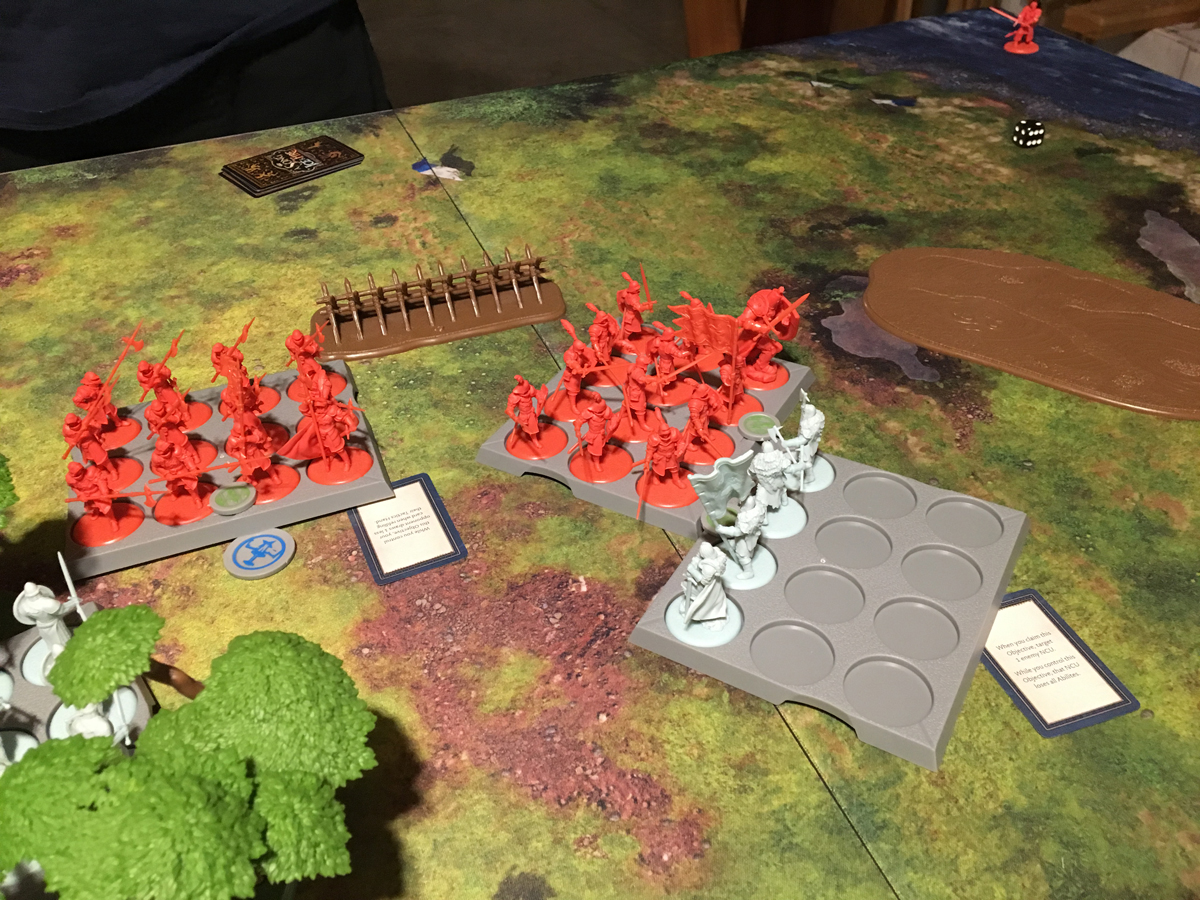
Round two starts with the Lannisters. The Halbardiers maneuver to take the objective that limits my tactics card draw. I push my Berserkers out to the objective that negates Tyrion’s abilities and Clegane’s Guards now are in range to charge the Berserkers. They do so with ill-intent and thoroughly murder most of my unit. Luckily, the panic test is just enough so no more Berserkers die in the onslaught.
Tyrion pays three of the four Mountain’s Men to rejoin their group. I move Greatjon’s Swords to the forest and control the objective that grants me an extra card (negating the Halbardiers’ objective denying me a card). My Outriders decide that the Vanilla Swords will baby sit the wolf and decided to squat on another objective. The Mountain Men march out to meet the wolf and Grey Wind is sitting, still is sitting on the pallid bust of Pallas just above my battle’s shore.
Second round ends but this time we score victory points. I gain 5 VPs to the Lannister’s 1 VP. Grey Wind passes his panic test (from the objective) and I put condition tokens on Clegane’s Guards.

I start off round 3 by attacking Clegane with my fully armed and operational Berserker unit. I throw down my first tactics card, Berserker Tactics and deal 3 auto wounds to the unit. Then roll my 10 dice and get 7 hits. Lannisters play a card to give them +1 to there Defensive rolls, which cancels my Sundering ability. The unit is vulnerable so I make the Lannisters reroll their saves and they end up taking all seven hits to bring the unit down the 2 figures. They pass their panic roll and live on. This forces a critical panic test on my Berserkers at -2 due to Lannister Supremacy. I pass and the Berserkers are still ready to fight.
Tyrion decides to take the Crown and spook my Berserkers and make them panic. This was a pretty big mistake as even if I rolled snake eyes, I’d only lose 3 guys and still be up. Also, Clegane’s force wouldn’t follow on to take the objective since they didn’t attack. My opponent said that after he did it, he realized that he had thought the panic roll for the Crown command was different and thought I needed to roll really well or be wiped out. The better move would have been to try to finish off my Berserkers with the remaining Clegane Guards.
I punish the Lannisters for this costly mistake by activating Sansa to take the combat command. The Lannisters play a card to negate her abilities for the rest of the turn but little do they know, I already have the “Last Stand” card I need in my hand. (Last Stand allows a destroyed unit to immediately attack an engaged enemy at full dice).

On Sansa’s gentle command, I berserk the hell out of the remaining guard and the Mountain himself. This nets me another VP (6 total of the 8 needed) and solidifies that Tyrion won’t be using his powers anytime soon as I squat on the objective.

Lannisters decide to punish the Starks in there own way by sending their Mountain’s Men to destroy Grey Wind. And easily do so. Fair thee well, noble wolf, you cost me zero points to include but yielded 25% of my total need in VPs (and gave up none to the filthy Lannisters in your death because you cost 0 points).
With Grey Wind gone, the Mountain’s Men seize Pallas’ bust and take the objective.

At this point, I need two VPs to end the game. I’m sitting on three objectives and two of them (the one with my outriders and the other with my berserkers) are out of reach of any enemy combat unit. With a 6 to 1 VP advantage, my opponent realizes that even with the new 2 VP objective, he won’t be able to catch up and stop me from winning at the end of the round. We decide to play it out and the Halbardiers charge Greatjon’s flank, wiping out a rank of figures.
I attack back and use Greatjon’s order and Stark Fury to max out my attack but only take down four figures. I then roll for my own damage from using those abilities and roll two threes. I do a paltry amount of damage and take a massive 6 damage in return. I’m struggling to see the advantage in those abilities in this particular case.

Jaime decides to get into the fray but fails his charge roll and gets just shy of Greatjon. Luckily, he passes his panic test but the failed attack just helps bring the game to a close.
With Greatjon’s survival all but assured, I play Devastating Charge on the Outriders and have them abandon their objective to hit the Halbardier’s flank. They take out another Rank of Halbardiers and the resulting panic test takes another two but they otherwise remain up.

With the last remaining unit, I have my Swords charge into the Mountain’s Men ranks. They do well and the attack + panic test takes 5 figures to reduce them to 6 men standing.
The round ends and we gain VPs, putting me at 8 VP to Lannister 4 but then we have to resolve the objectives and the Mountain’s Men roll their panic test and gets snake eyes to take a brutal 7 wounds from the failed panic test. The unit is wiped and I gain another VP.
The game ends with Stark at 9 VP and Lannister at 4 VPs in a quick 3 round clash.
As this report has gone on long enough, I’ll post my thoughts and impressions later.