It’s funny how projects can get set aside and then sudden inspiration will strike and move the project forward. A friend of mine got me a Phantom II ship pack for the X-wing Miniatures Game. While very nice, I had initially made fun of the ship because I wasn’t aware of what it was- a replacement shuttle for the Ghost in the Rebels cartoon series. Being tied the Ghost, I was more interested and dug out my Ghost, still in its box.
It wasn’t sealed because it was part of a custom project I had started back in June, ran into some trouble and shelved to be completed at a later date. That date became last night.
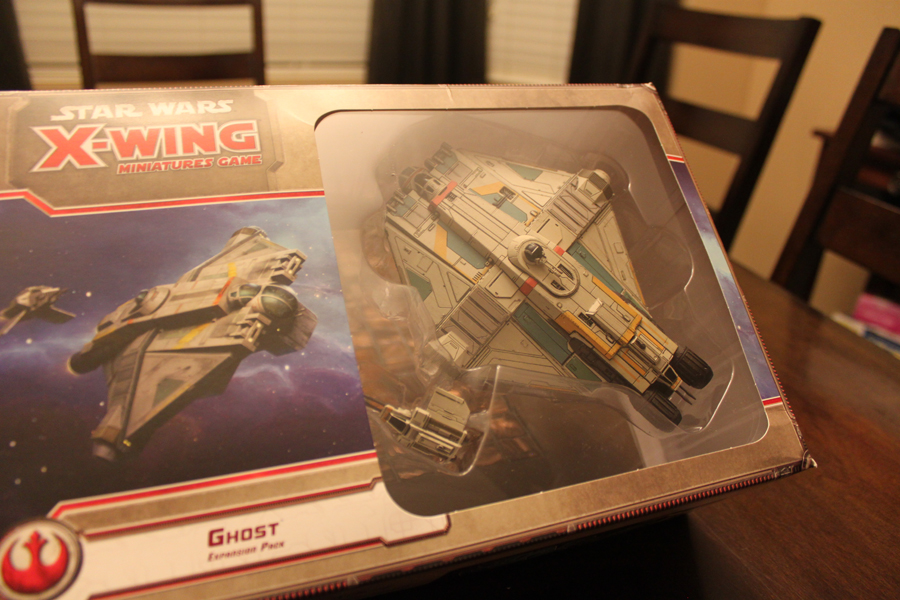
The Ghost package is pretty cool because it has the little Phantom shuttle molded onto the Ghost itself but also has the separate Phantom shuttle to indicate when it detaches and becomes it’s own ship. This mechanic was first explored in the Hound’s Tooth expansion but Fantasy Flight didn’t add another Z-95 Headhunter to the set.

While the mechanics work well to drive the theme, there was something nagging at me that when my little shuttle undocks, it’s a card mechanic and placement of the new little ship. But the old ship is still molded on. I had to see if there was something I could do about that.
The X-wing community has a great modding tradition and some people have really gone nuts with the different customizations they come up with. I figured someone had customized their Ghost to illustrate when the shuttle is on the Ghost and when it is not and stumbled upon MiniModsVice page on Shapeways.
MiniModsVice sculpted carrier bay that would sit into the Ghost after you remove the molded Phantom ship piece from the model. The instructions looked easy enough so I picked up the sculpt and started on the surgery.
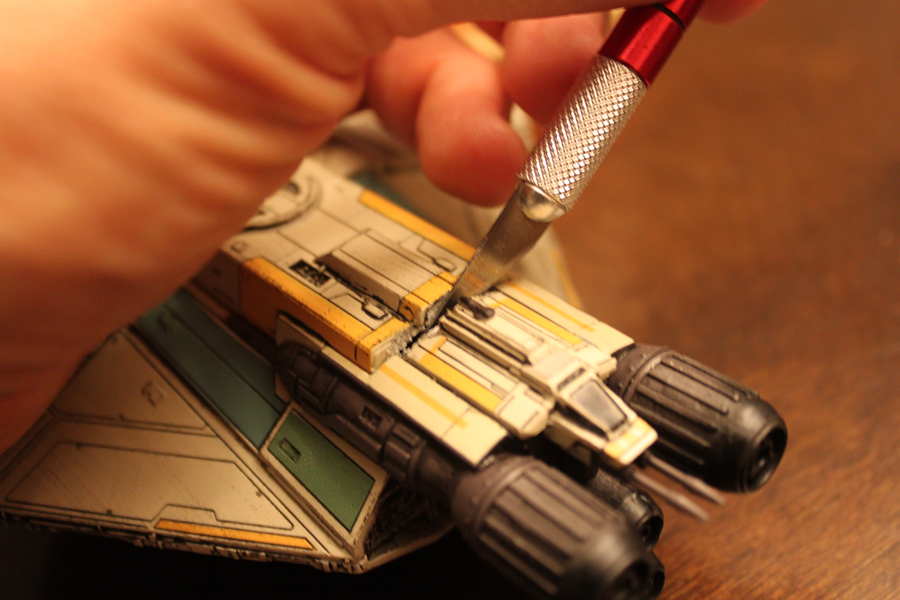
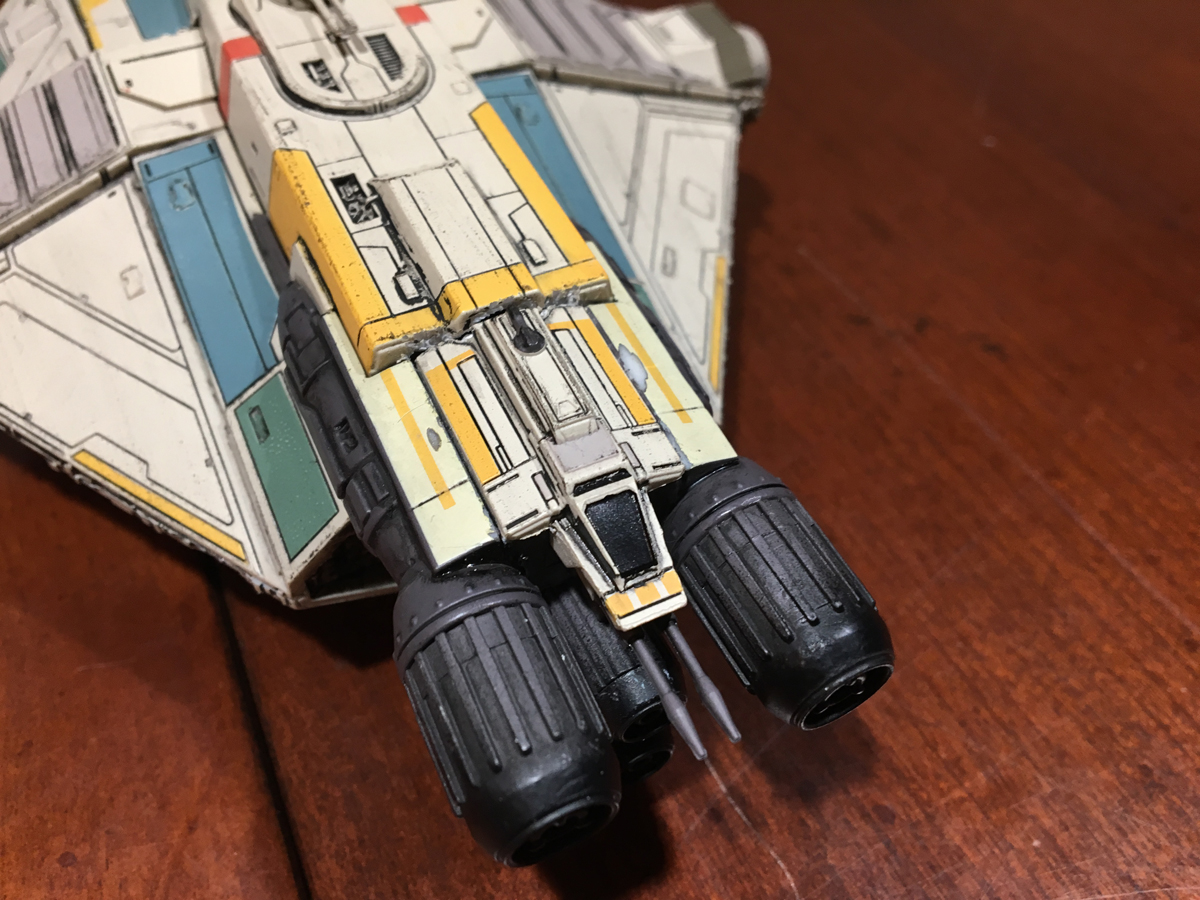
First I needed to free the molded Phantom from the back of the Ghost model. The sides were quite easy and then I carefully cut along the seam where the shuttle nestles to the bay edge.

After a bit of cutting and careful prying, the shuttle piece was loose.
Not so bad. And the aftermath of my surgery didn’t look bad either.

There were a lot of extra support pieces under that shuttle and they had to go so that I could fit the custom carrier bay piece. This proved a lot more difficult and I went through a variety of tools, each with their advantages and disadvantages.
I’ll spare you the gory details but as you’ll be able to see in these finished photos, sometimes the tool got away from me.
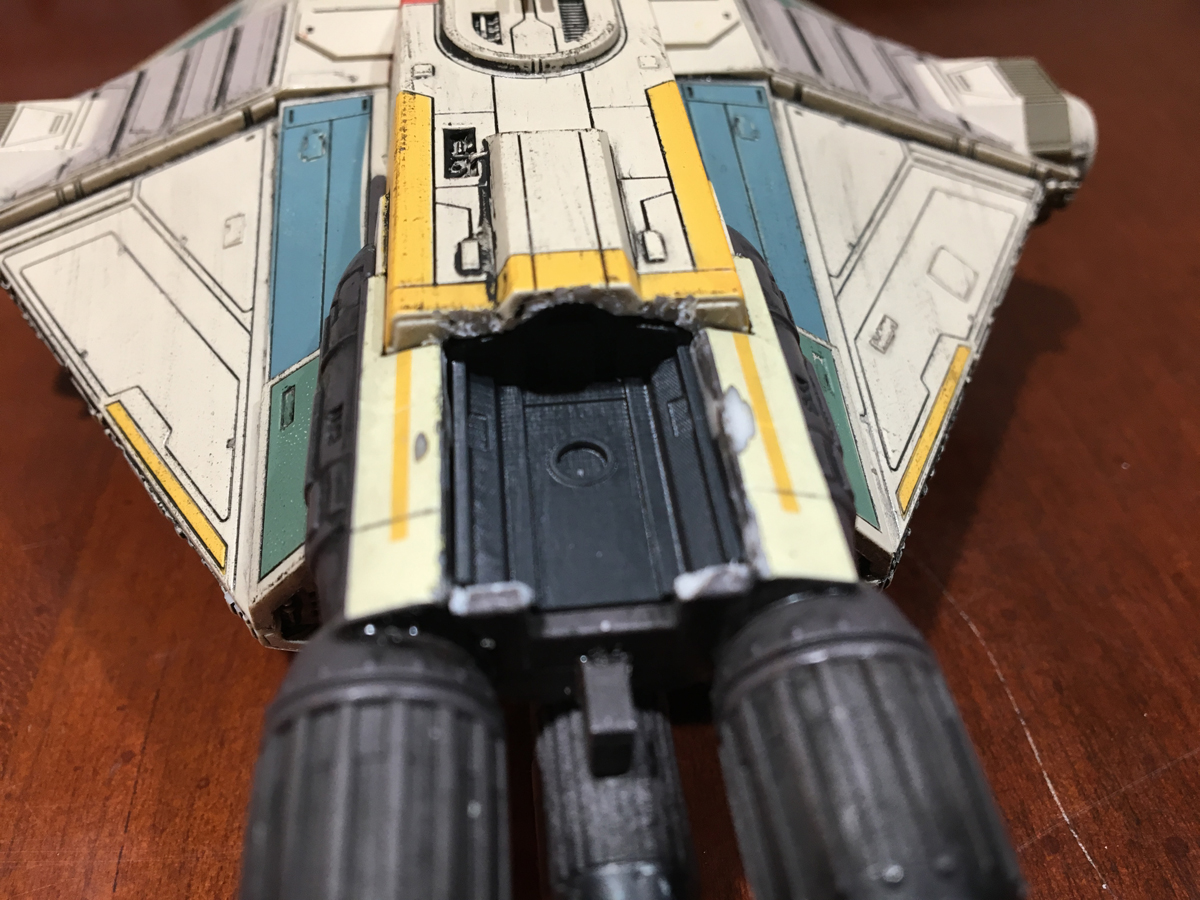
Here is the bay inserted finally. You can see on the right and left sides that the dremel tool jumped a little and bit into the side at times. After the second time that happened, I put it away and went with a small razor saw and my Xacto knife.
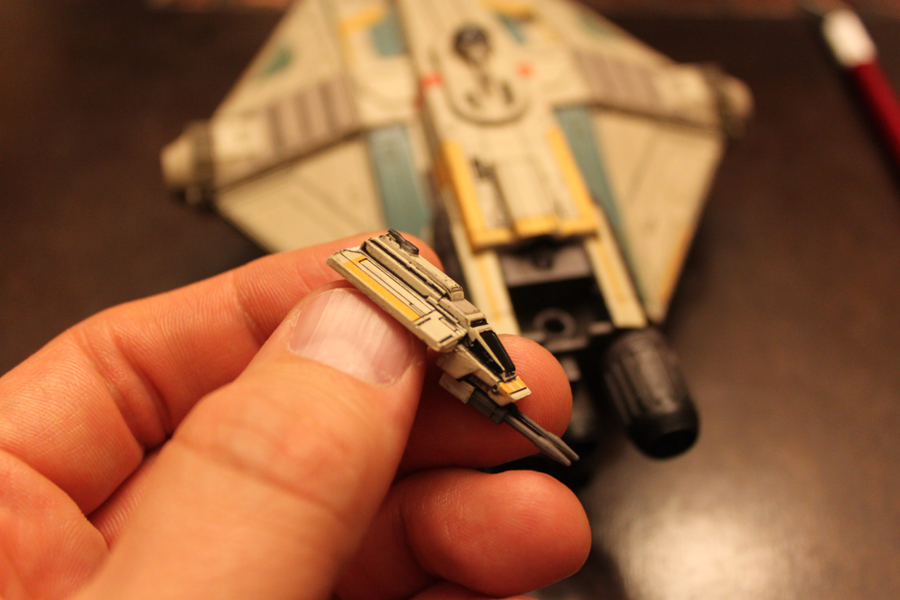
I’ll work on painting over my “battle damage” next but for now, the carrier bay sits into the shuttle spot very well and helps hide the uglier support beams in the inner model.

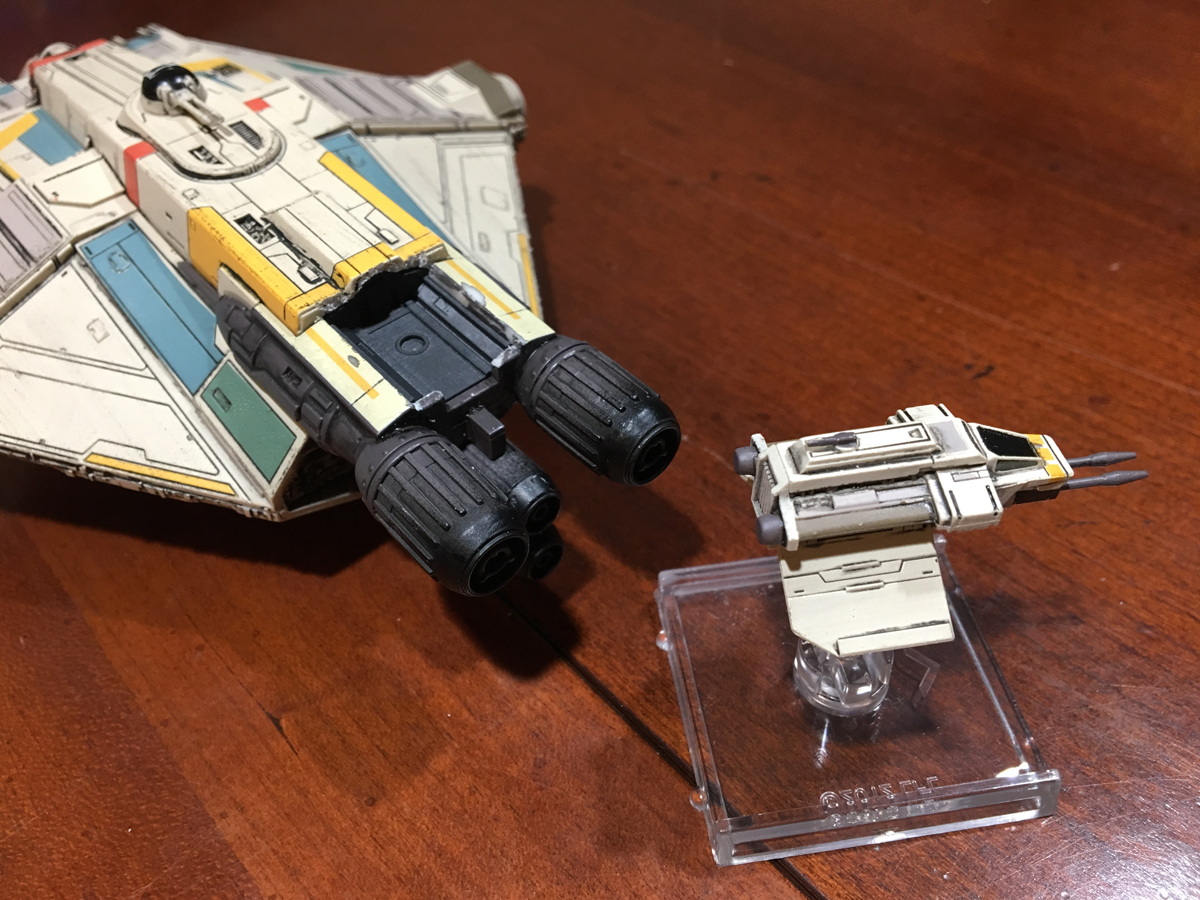
And, of course, the shuttle also fits back over the carrier bay like it should as well. Overall, I’m happy about the customization. I’ll be happier when I hide some of the damage and paint up the carrier bay piece to help make it match the model. That will have to wait though. I have another Dropzone Commander game coming up at the end of the month and these bad boys need some paint (after I magnetized all their little bits).
