
I talked about getting a CNC Machine a while back and detailed my start at putting it together. I have made a lot of progress since then and will catch you up.

I had already built the Y-axis that will serve as the main bed for all the machining. Now it is time to build the Z-axis plate that will hold the router/spindle and have the machine rise up and down.

The front side then holds the router clamp.

I forgot some bolts so I had to run out to Ace Hardware and grab some extras to attach the router clamp.

Next, we have the X-axis plate. This will attach to the Z-axis plate and both will travel on rails across the top of the machine.

I attached the Z-axis motor and the Z-axis plate to the X-axis plate. Then can the hardest part of the whole project, threading the Z-axis belt in between both plates and around the various pulleys and motor drives.
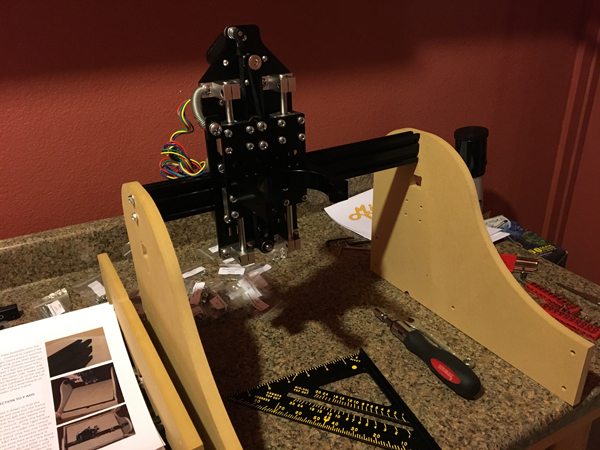
Next, we have the axis plates set on the horizontal rail and the the sides of the machine.
At this point, it’s really starting to take shape.

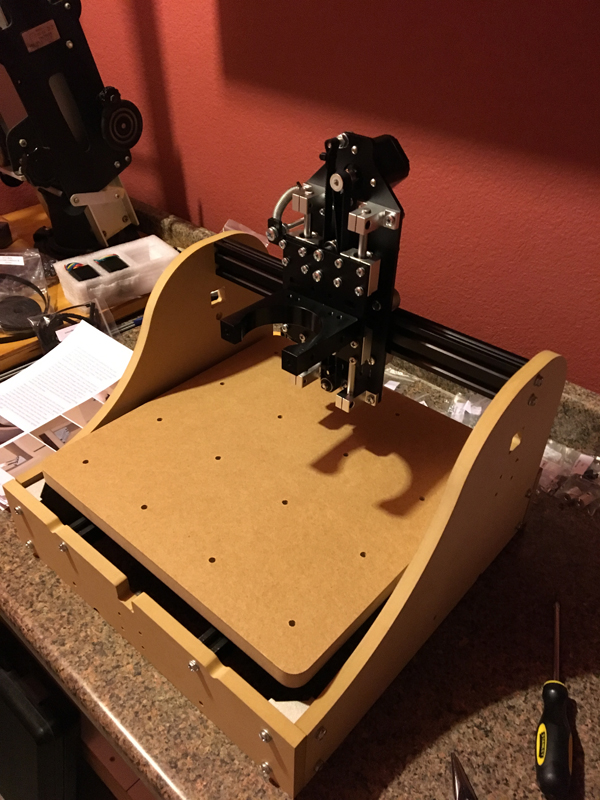
And with this, the machine is complete. I still have a ways to go with setting up the electronic components but the motors are all set up and the chip board is attached. The belts were particularly tricky as they kept tracking up and off the pulleys but after a few conversations with the Millwright team, we figured it out by cutting some aluminum shims out and re-aligning the pulleys to square things up. Yay for soda cans to use as cheap aluminum shims.
A friend has an old laptop he’s letting me borrow so when that is ready, I’ll start setting up the programming side of the machine and we’ll be ready to start actually cutting projects soon!