As we explore more of Blood & Plunder, it was inevitable that we would expand to bigger boats. My Austin opponent went there first by printing out a frigate model from Printable Scenery. Unfortunately, the print warped severely and was not very usable without a ton of work. He moved on to easier options but offered up the pieces to see what I could do with them.
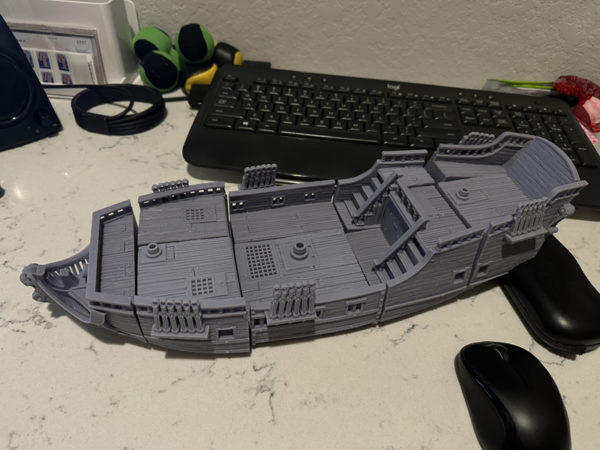
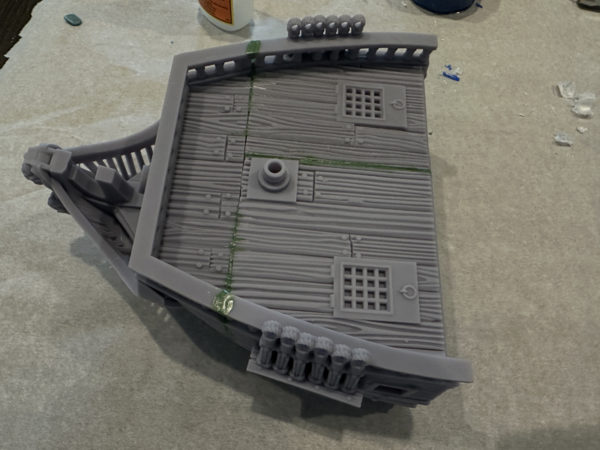
I laid everything out to get a sense of what I was dealing with. Just about every piece was warped on it edges so first up was to shave down the edges and square things up.
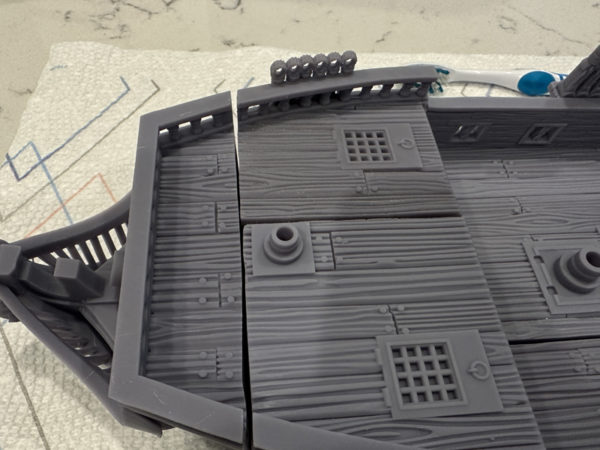

These close ups show some of the extent of warping I needed to correct. The challenge would be that shaving some parts down to square them will bring other parts out of alignment and then it is a race to the bottom correcting and over correcting.
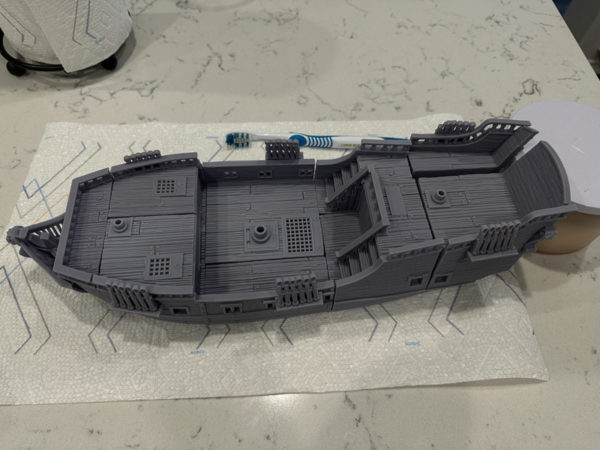
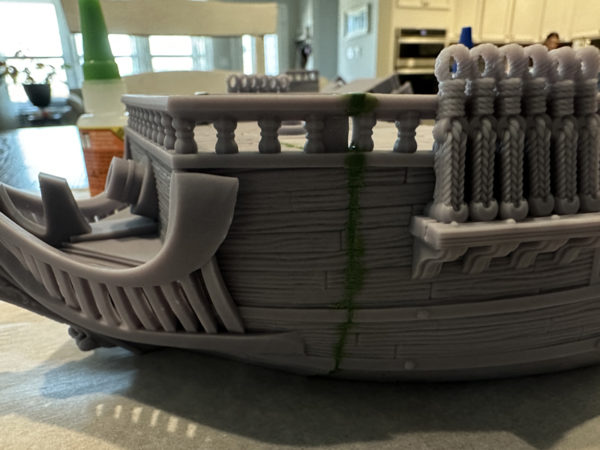
After about 6 hours of sanding, scraping, cutting, and planing, I got things about as good as I was going to get. It doesn’t actually look that much better in the photo but the main gaps are gone and what is left is cosmetic. I’ll fill the cosmetic gaps with green stuff.

Super glue and green stuff bonded everything together and I proceeded by putting together each section first. Each section usually needed to join three pieces together and three fixed sides.

Some pieces were a little tougher like the back of the ship. When the green stuff dried, would later help fix it up a little more.

With the sections complete, I put the whole ship together and cleaned up the gaps again. At this point, it was time to start painting.

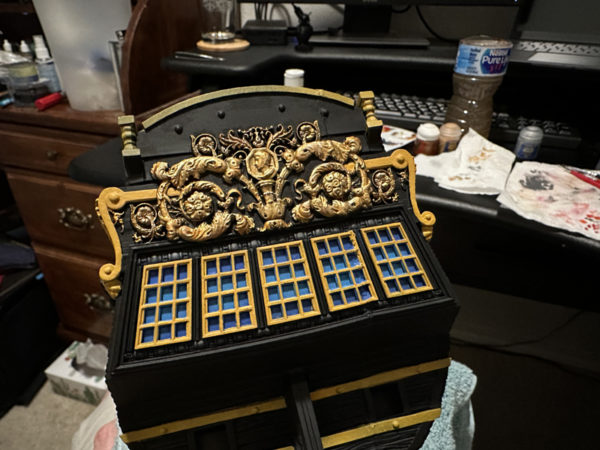
First up was priming the whole ship black as that will also serve as the main color of the model as well.


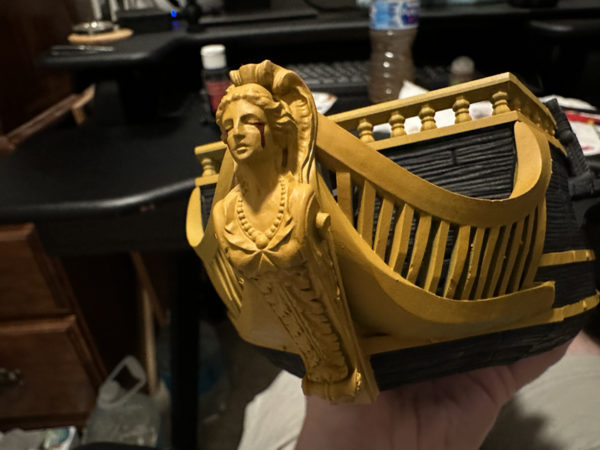
Next up is taping and masking to get the accent color down. I hate painting yellow so airbrushing is the best option to me.
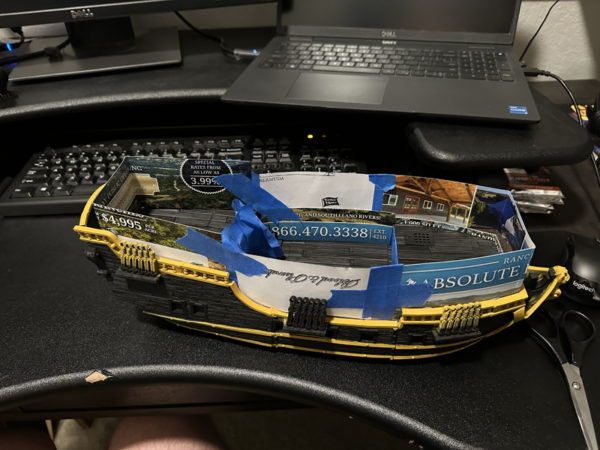
Removing the masking leaves the ship looking pretty good at this point. I want to get some of the last airbrushing out of the way. Using minimal masking and thin cardboard to block the over spray, this will help block in the decking.

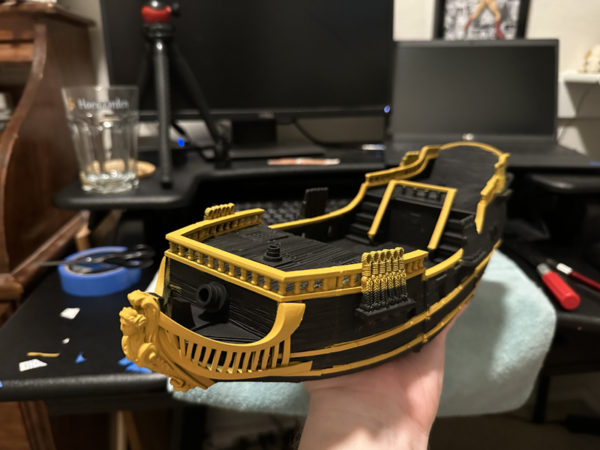
Next up is over spray clean up and masking fails. That tedious work went pretty quick due to better than average luck in the blocking and masking. Moving on to the details, the ship starts to really emerge.
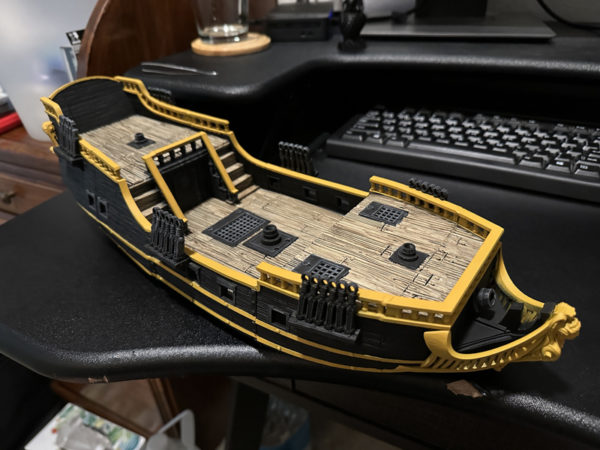
With the details complete, it was time to get the masts set up. I used oversized dowels and sanded them down to fit. I 3D printed the mast joints and got everything up and secured, eventually expanding up to 3 sails for the two main masts.

And then it was on to cutting sails from thin craft foam like my sloops, airbrushing some color on them and rigging everything with elastic string.

I clip off the string excess and the ship is complete. I was quite happy with it and surprised it came out as good as it did. You can still tell where the warped pieces joined when you get close but with such a large model, it cuts an impressive figure from the game table distance.

e
That looks awesome.