
We’ve reached that lull in the moving process where we have enough time to not have to pack up everything else so I decided to use the weekend to work on some projects. Up first was “fixing” my Dojo for Test of Honour.

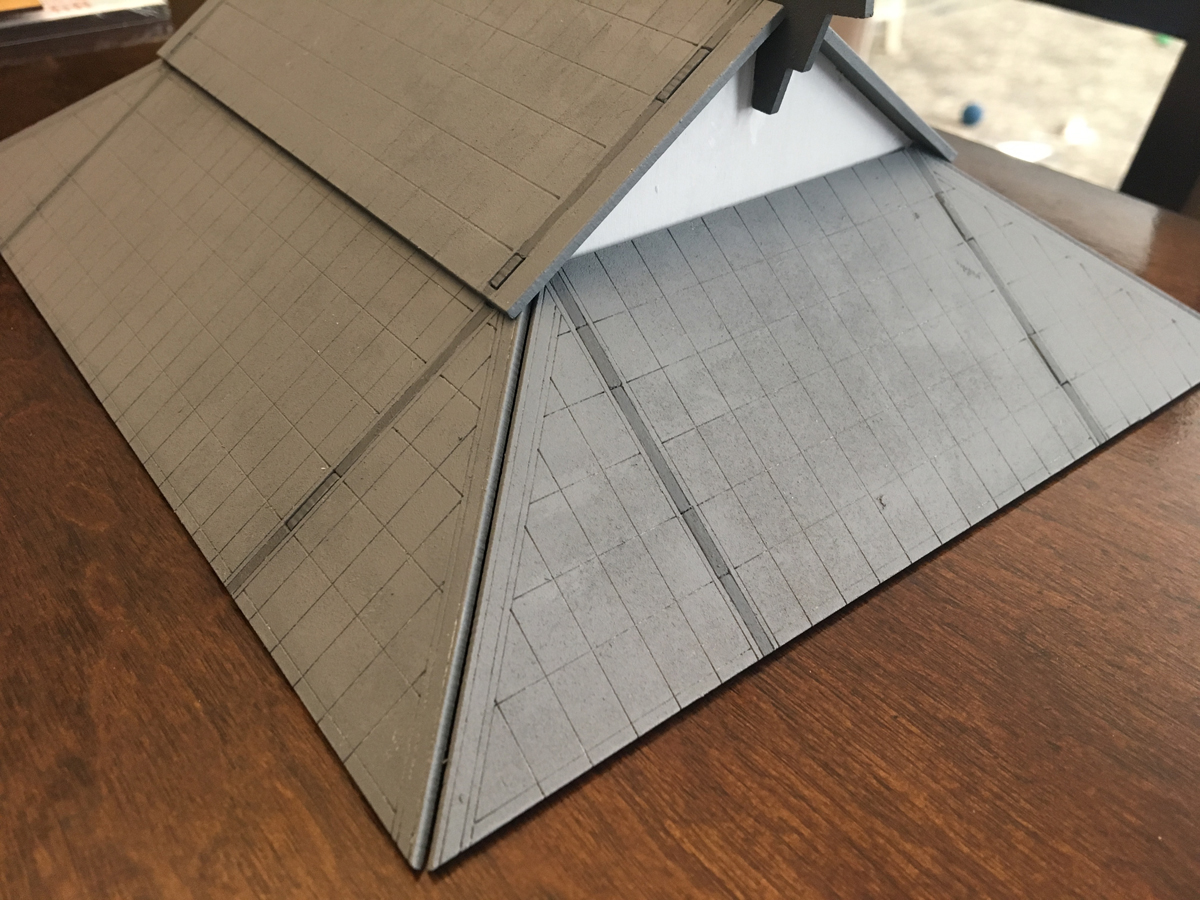
When I looked at my finished dojo, I noticed that the product image had a slight mod that wasn’t in the kit. I liked the mod so when I posed a question about it on Facebook, I was able to get a response from Gary Peach, the painter of the kit for the publicity shot from March Attack.
Its 2mm Plastic rod, but I also use 2mm wooden dowel bought in Hobby Crafts doll house parts section (its cheaper than evergreen plastic rods). Its not part of the Kit, and so its not referenced in the instructions. I say ‘I use’ as I did the paint and assembly for the pictures. (I’m March Attack) I mention the instructions as I design the kits and do the instructions too.
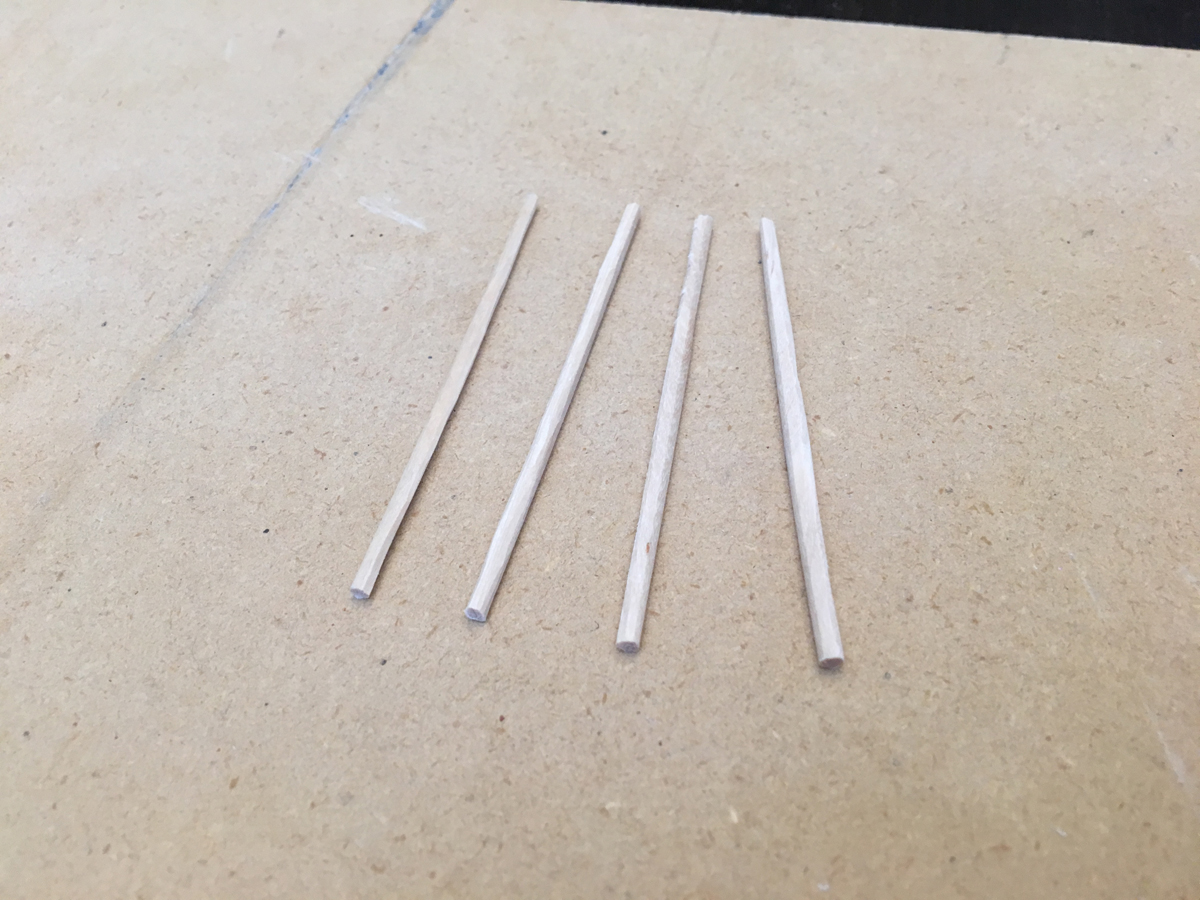
The concept sounded easy and I was able to grab some free cocktail sticks (which was suggested by another user) so I got started.

These sticks were courtesy of Chick-fil-A. I measured them and then cut them down to size.

Of course, that just looked ridiculous but at least I have the length now.

First I scored the piece in half with my razor saw.

Then I went back over the score multiple times with my Xacto knife. This is a lot like cutting mat board so go slow with only a little bit of pressure.
After cutting them down, I would plane them down further until they got to be a desired size. Then I did some angled cuts so the pieces would sit in the groove between the roof slats.

I test fit the pieces to make sure it looked like I intended. Then I primed them and glued them down.

When that was dry, I painted them up in place and sealed them.

While they aren’t as good as the press image, I’m pleased that the piece now hides that awkward roof gap.
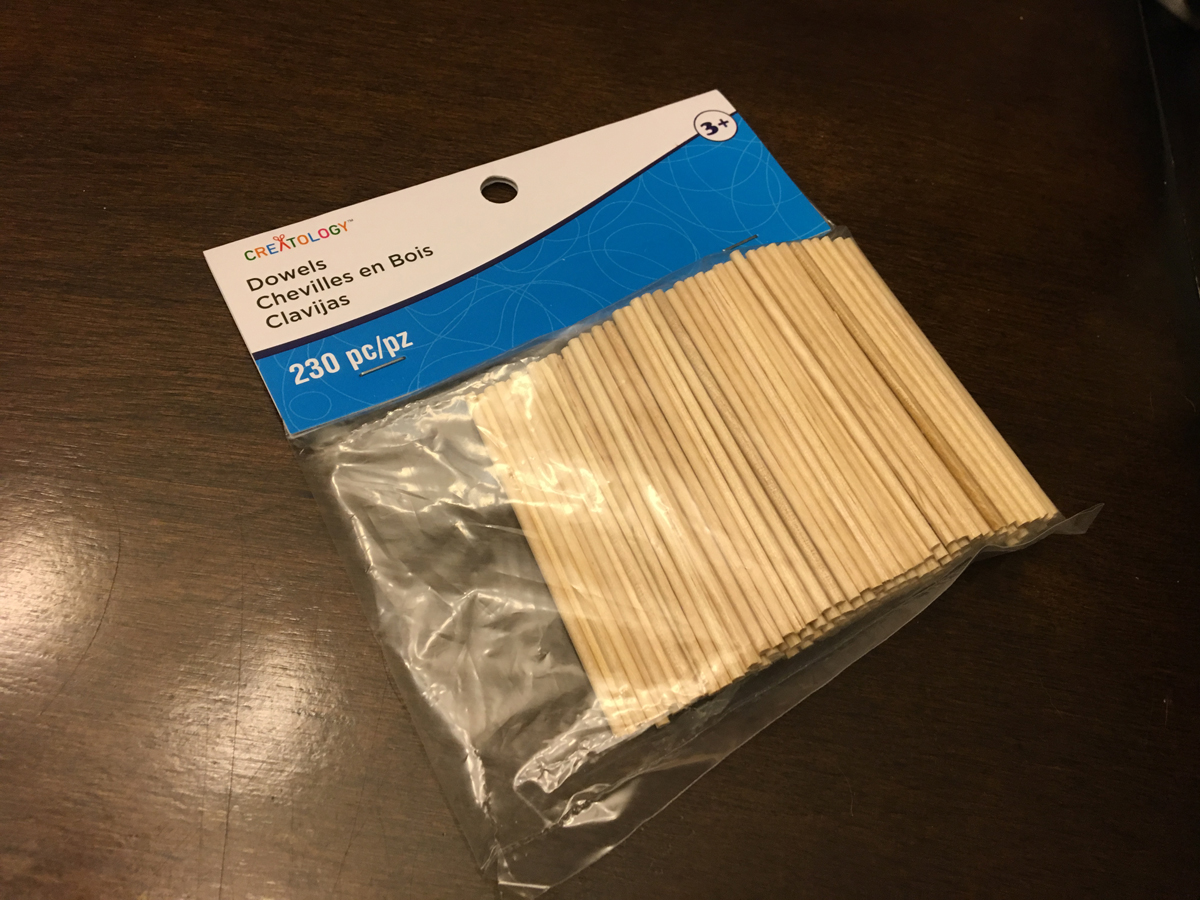
I didn’t like that the process took way too long for what it was so when I was in Michael’s hobby store, I scouted around and found these 2mm dowels (just like Gary recommended). I hope this cuts the processing time way down when I move on to work on the Sarissa Temple Bell kit.
But wait! there’s more! I wasn’t content to just finish the Dojo up so I started up their Japanese Bridge kit as well.

While the kit is easy, I did check out some excellent review examples like the one from Tiny Hordes to see what I was getting into. That article had some good suggestions so check them out if you’re also looking at this kit.
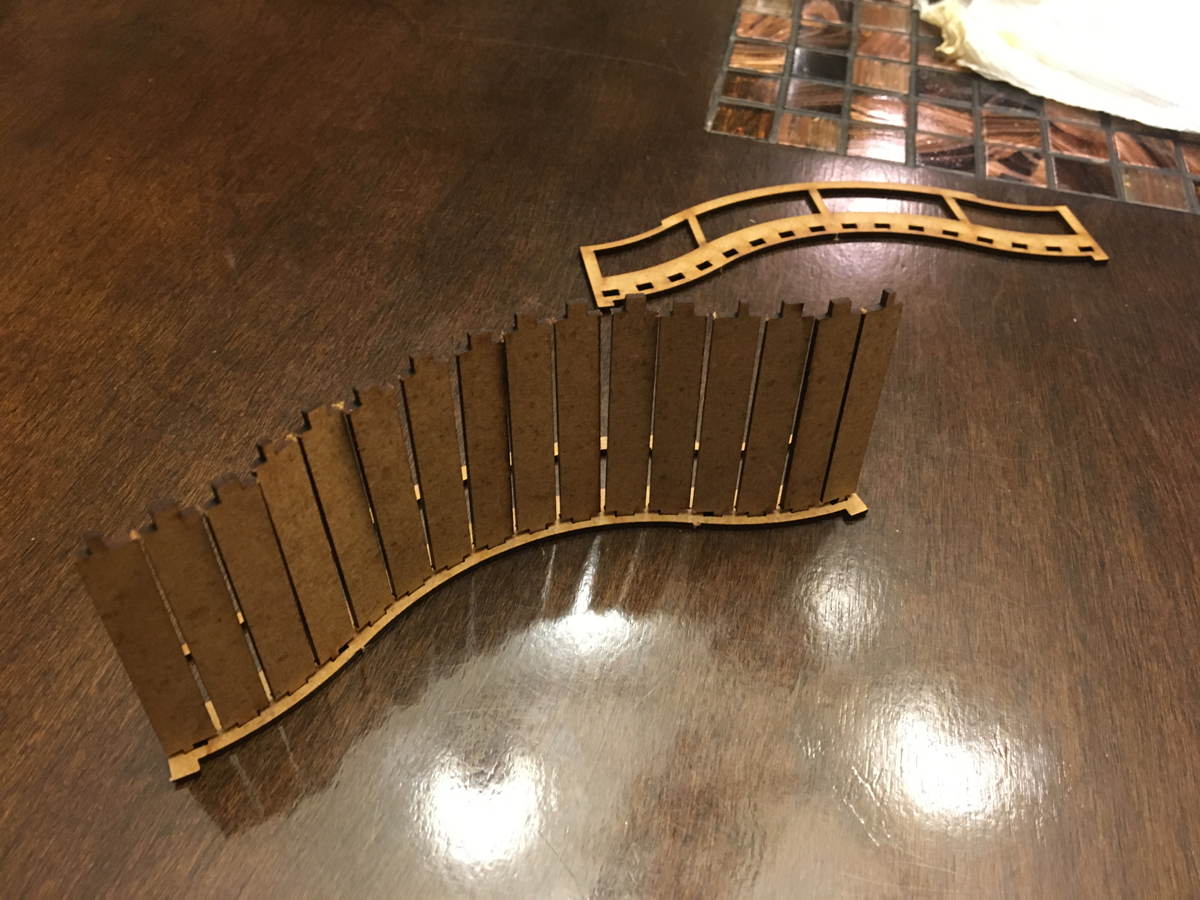
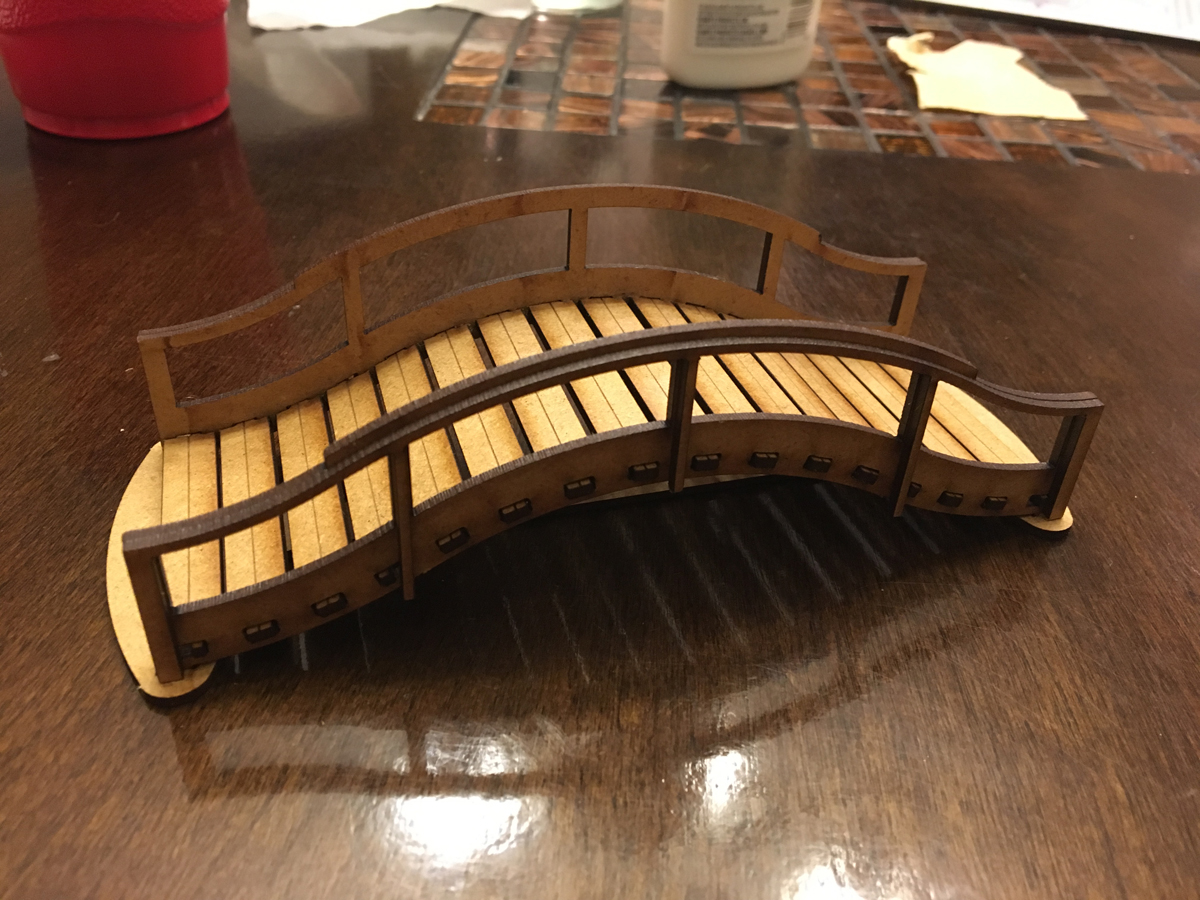
As always, I test fit the pieces together before gluing anything.

It did take some help from a third hand to get things to line up well in the final gluing but after all the planks aligned, the model held together well on its base.
Here we have the final details attached to the model.
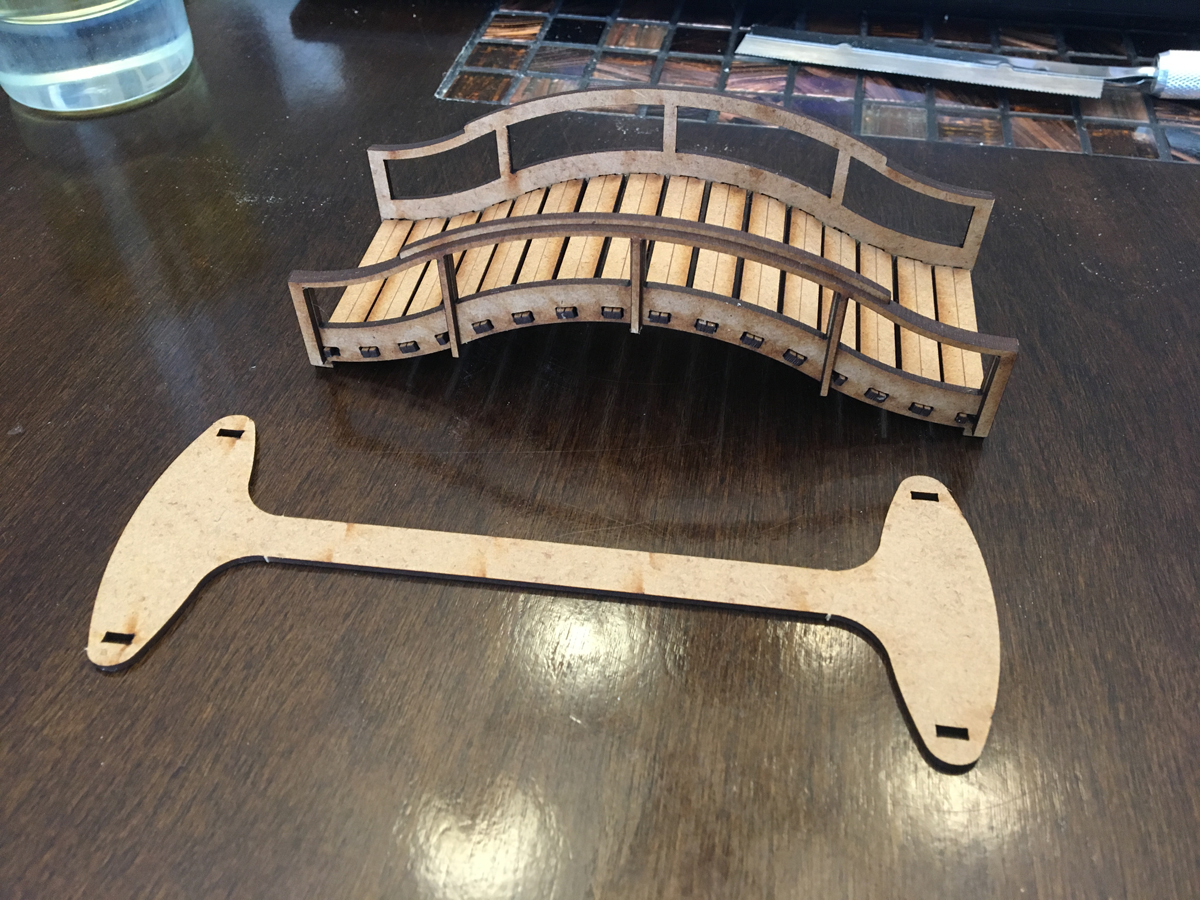
Awkwardly, under the bridge is a base piece spanning from one side to the other.

This will likely get in the way of any other 3D terrain you are trying to span so after the glue is dry and the bridge is solid, either remove the base entirely or at least cut out the center span.

I opted to remove the base entirely to give my terrain the most freedom possible.

Overall, the kit is very easy and works quite well. The only criticism is that the bridge isn’t wide enough to fit Test of Honour groups. The group base is too wide so you’ll need to house rule how that will work during a game.
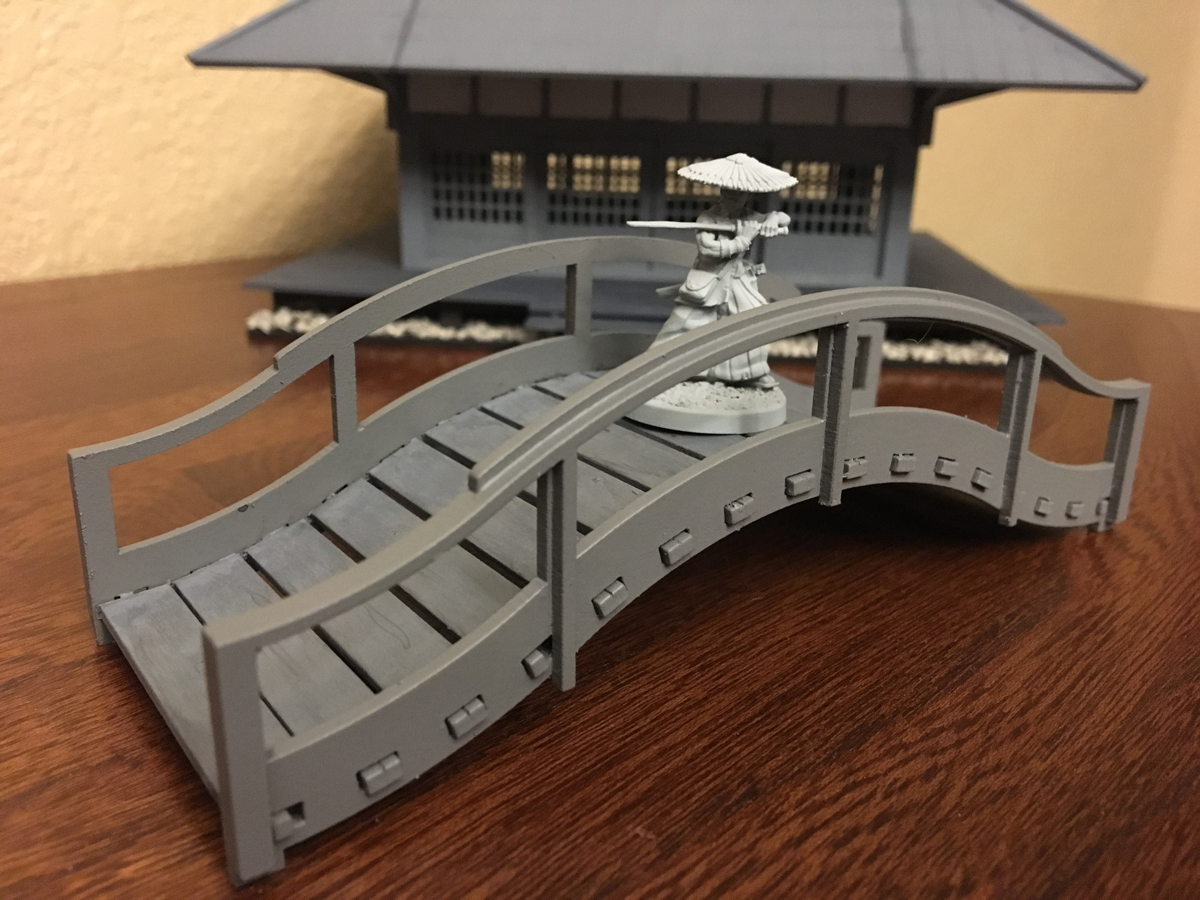
Single models fit extremely well, though.