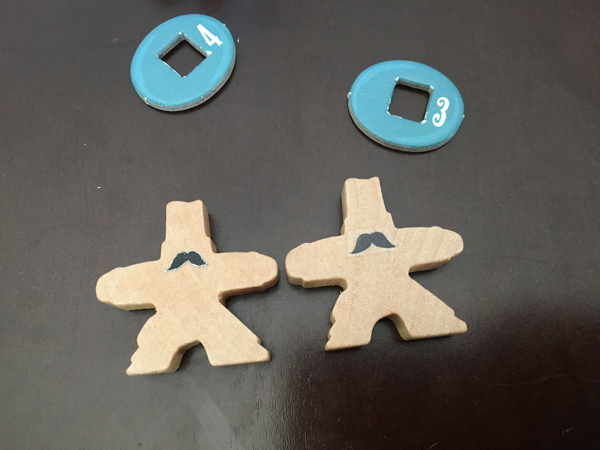
I had a lot of fun making my first batch of Flick em Up! mustaches but I was not 100% happy with how they turned out as the process of cutting them from labels made the cut outs imprecise and limited what styles I could actually use. I thought about using decals but the starter kits for those are around $20 and I wasn’t that unhappy with my results.
I shelved the concept until recently when a friend pointed me to this Instructable regarding Clear Stickers by user AndelDOA. This “hack” seemed really easy and very cheap. Being this close to Christmas, almost everyone should have everything you need on hand: Packing tape, a spoon (or burnishing tool), bowl for water, scissors, and your print out on regular printer paper from a laser jet or xerox machine. That last item is the key to the whole trick so if you don’t have access to a laser printer, you should be able to go to a local print store and get a print out for maybe a dollar.
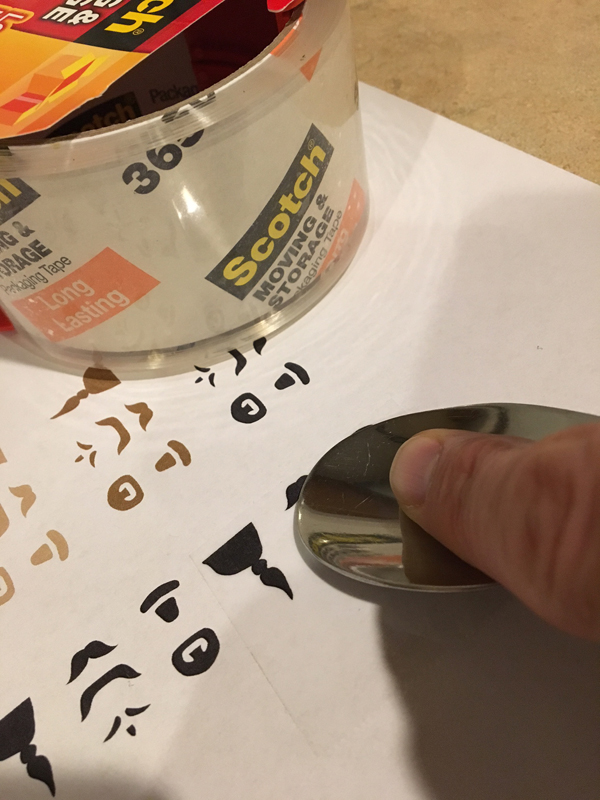
First, I took the packing tape, cut a small piece to cover some of the images that I wanted to test and started burnishing them with a spoon. Burnishing is usually a process used for metals and wood but the concept can be applied to a lot of papercrafts as well. In this application, you are using a flat, smooth tool to press the packing tape into the printed page so that the adhesive quality of the tape binds to the ink (or toner in this case). I used a spoon initially but the metal is a little too rough and seemed to scratch the tape. I’d recommend a wooden tool if you were going to do a lot of burnishing otherwise your finger should work for small quick applications.

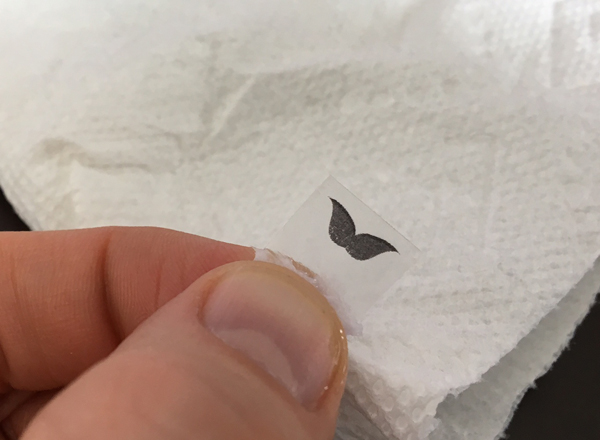
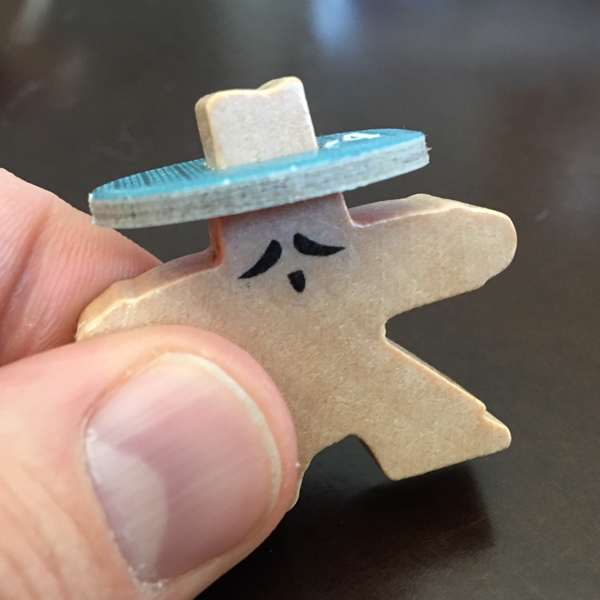
Next I cut the image out to size. This actually didn’t go so well as the piece was too small to really complete the next few steps: soak the piece in water for 3+ minutes and rub the wet paper material off.

As it will become clear later, I was a little too aggressive in the rubbing process (even using my fingernail to scrape some of the excess off) and it distorted the image quality.

Even with the distortion, I felt like the concept had merit so I tried again.
This time I cut a piece with enough extra space that I could hold it while rubbing only the area I need. After letting the new piece soak in the water for another 3-5 minutes, I found the best way to get the paper off was to just gently rub the area back and forth with very little pressure. Eventually the paper backing will “pill up” and start to roll off. Wet your finger/thumb occasionally to clean them and keep gently rubbing until all the white paper is off. The toner ink will remain on the packing tape and then you can set it aside to dry.
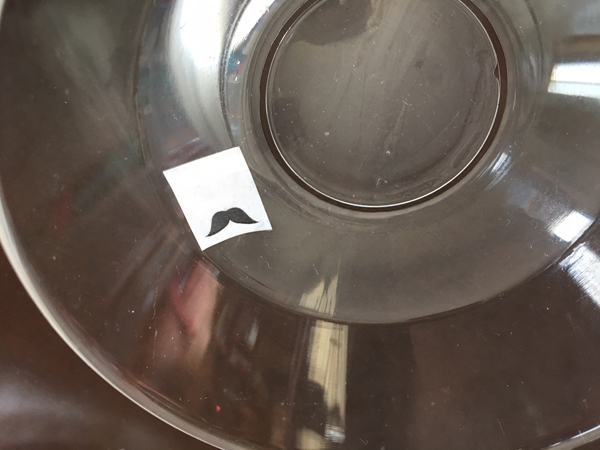
Once the packing tape is dry (for this size sticker it only took a few minutes in the dry winter air), the adhesive quality will return and it will function just like a sticker. Cut it to size and place it on the model. Due to the size, I found an X-acto blade worked well to help line up the final placement.
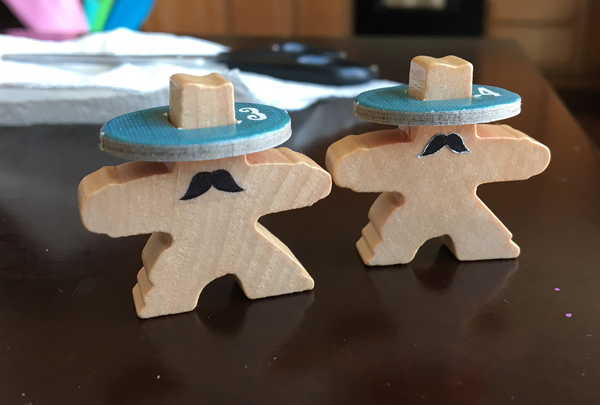
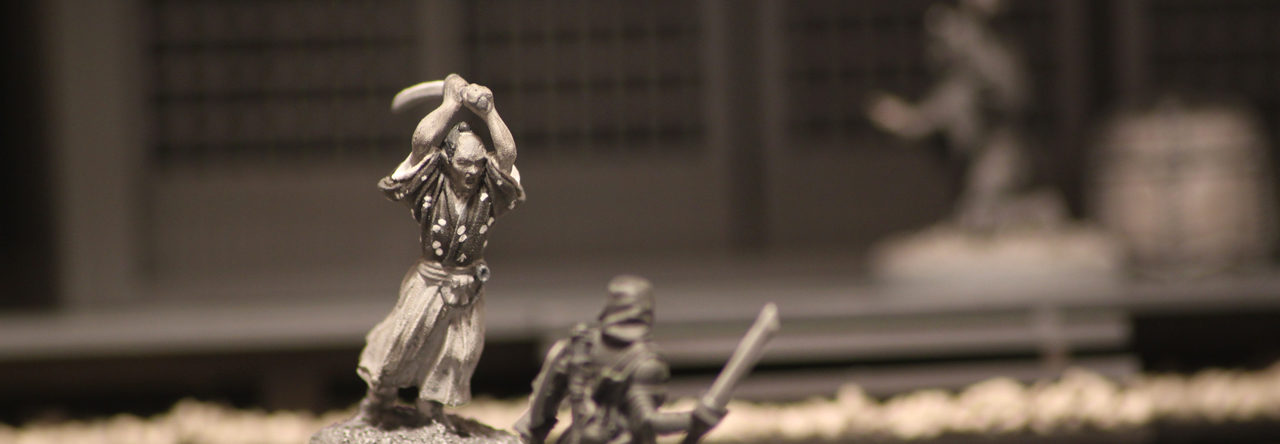
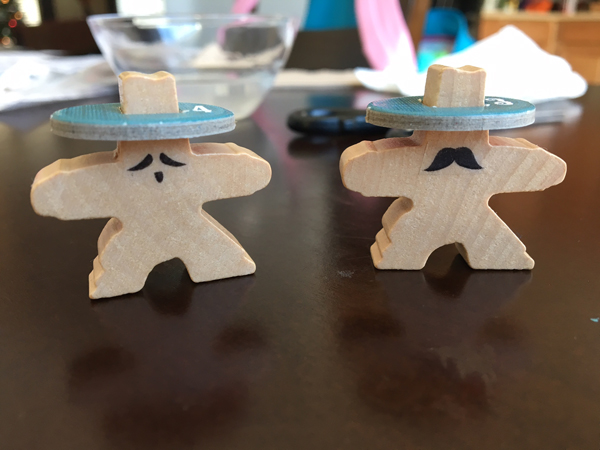
In these comparisons of the two final versions, the “clear sticker” technique is a more consistent shape and has no annoying “whiting” around the edges. It does have the shiny sticker look and you can see the faint edging of the sticker borders but with the cowboy hat and play distance, you can’t see that at all.
These differences might be too slight from a distance so one could argue that there isn’t enough of a difference to warrant redoing the existing mustaches. The main use of this technique, however, is to produce stylized images that I simply couldn’t cut out manually from my previous label method.
Like the “Kilmer” mustache here. I tried several times to cut this version out but it never worked. With this technique, it is simple and really cheap.
Holiday and Earp, together at last
This technique worked very well and now I’m already thinking about what other games I can apply this to. Custom PitchCar discs, maybe?
Rob Robinson
Awesome idea!!!!
Christian
Thanks! I was surprised it worked so well. It does have a flaw in that it can only go on lighter pieces. Trying to use this technique on the black cowboy pieces failed. Maybe if I had a print shop print with white (like when printing on a transparency)…
Rob Robinson
I have access to a laser printer at work, and impressed the staff using this method with the company logo!
Now to print off the ‘taches, and email them to myself 😉
Christian
That is fantastic! I think there are a ton of game applications that this can technique can apply to. I’m still working on sourcing an option for printing with white (so the stickers can be used on dark objects like the black cowboys).
Rob Robinson
Well they turned out nigh on perfect. So easy and such a great idea.
For added stickiness, I pressed the taches on top of a tube of prit stick for a few seconds. This made the bonding very strong!
I have had an idea for the black figures, which could work. You’d need a full outline of black, to match the black wood, then inside ‘the clear bit’ would need to be backed with a tiny piece of white sticky paper.
Then, when you apply the transfer onto the figure, you have a black border which masks against the wood, and the clear inside bit is used as a window to allow the white to show through!
Christian
Nice work on the pritt stick! I like the idea of the outline. You could use any color for the mustache “window” and it should show up fine. It’ll be interesting to see if the black transfer is dense enough that you don’t see the white or whatever through the transferred color or if the extra paper causes the sticker to have a noticeable raised section.