
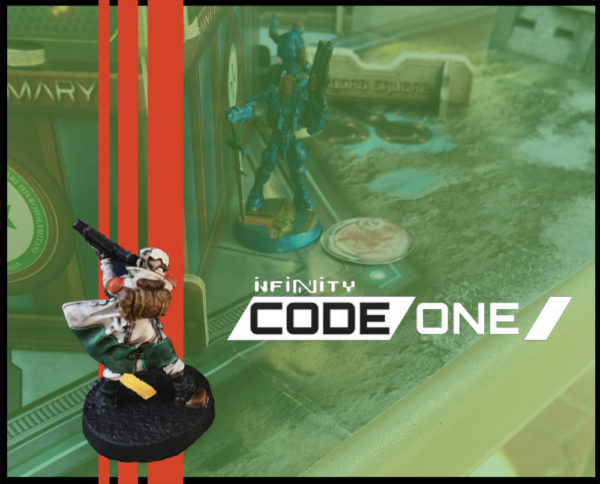
We ran game 3 of CodeOne this weekend under the canopy of Tentfinity. At this point, Sean and I have developed some thoughts around the system but first a quick report.
We’ve run through a few of the Rule Book missions but came across the “20×20” unofficial scenario system and decided to try that. This is a system of 20 simple alternate scenarios combining with 20 additional “variable” elements. The goal is to roll for the mission on a d20 and then roll for the variable effect that exists in that specific mission.
The system is nice for games after you’ve gotten familiar with the rules or if the standard missions (of which there are only 4) start to get old. The variables are a nice touch as they are generic enough to work with any mission but different enough to spice things up.
In Game 3, we have a domination-style game where you get points based on figures on the opponent’s side of the board, with further bonuses for being in their deployment zone. The Variable was a randomization of which side each figure could deploy. You roll for each figure and place them in deployment on the appropriate side of the board.
I won the roll off and decided I wanted to choose initiative. I built my list to be aggressive and spam camouflage as much as possible so I wanted to go first. With that, here is my list:
- Daofei (Lt) with Spitfire
- Guilang Skirmisher with Boarding Shotgun
- Guilang Skirmisher with Boarding Shotgun
- Hundun Ambush Unit with Marksman Rifle
- Zanshi Yisheng (doctor)
- Zanshi (paramedic)
- Zanshi (paramedic)
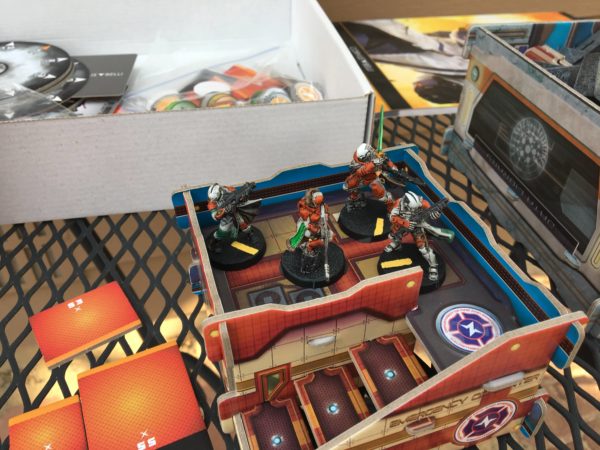
So the top 4 units in my list are all camo and the top three start halfway up the board. With lots of camo markers, my painted mins got sidelined. The bottom three are cheerleaders and there to maybe keep the strike team up. Of course, with my strike team so far up the field, I don’t know if the medic teams would do any good.
With initiative determined, Sean had me deploy first and on the dense side of the field. My set up was randomly determined but things seemed to split evenly. I had my Hundun set up with a doc nearby. My paramedics were placed on each side and my Guilangs were split on each side with my Lieutenant to support.

Sean chose the less-dense side because he thought that having cover in my zone as he tried to reach the objectives would be more beneficial and worse for me as I tried to set up digs in his sparse zone.
Most of his heavies were on the left side of the board while his engineer, combi bot, and Fusilier (turned out to be his Lieutenant), were on the right side. He decided to hid most of his units to have me burn orders getting to him, limiting my alpha strike.

I’ve never used Guilang Skirmishers effectively before and this game, I was determined to throw them into the fire and see if I can temper them. I tried this in a disastrous game 2 (which I couldn’t get any pictures of because the direct sunlight ruined all the shots) but only saw a glimpse of what they could do. That game saw me wiped out to a man and made for a cake walk for Sean but I think it is because I didn’t go aggressive enough.
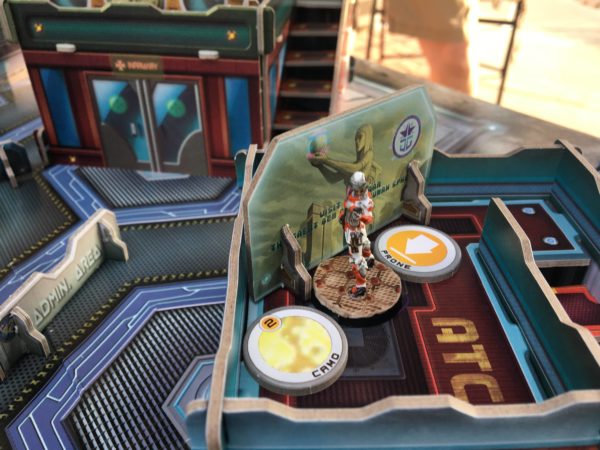
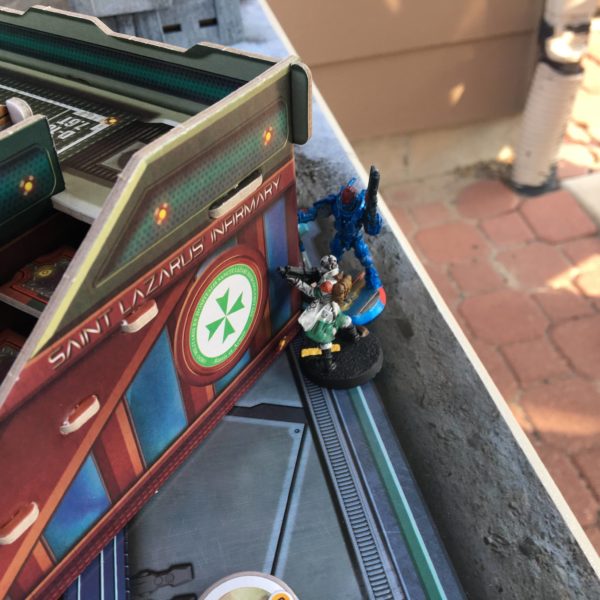
I camo-toed it down the stairs to blast the Fusilier to dust. Turned out that was Sean’s Lieutenant so things were starting off strong for Yu Jing. I then re-camo’d to set up a mean trick with some mines.

I got to the building edge and dropped a mine in view of the TR bot and engineer. I was hoping to have it go off while I come around the bend and blast them with a face full of shotgun but the Combi bot behind the concrete barriers could see the mine as well and took the blast. It went down for its efforts so it was an achievement of sorts. I only had one order left so I still rounded the corner and opened up on them.
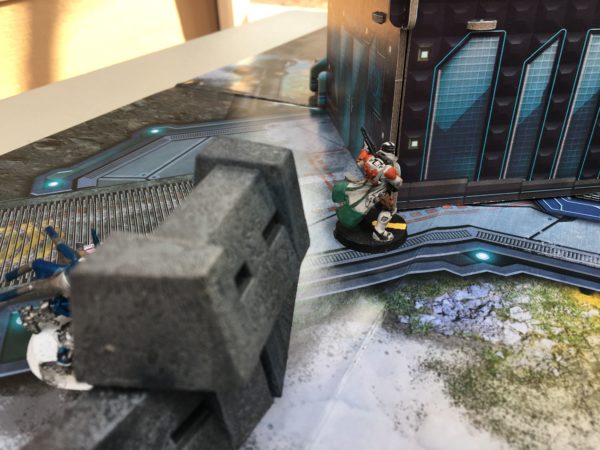
After the smoke cleared, there was nothing left. I ended my round moving my Daofei Lieutenant into a reactionary position. Brutal first round for Pan-O losing both bots, their engineer, and their Lieutenant right off the bat. I didn’t even make a single combat roll as I just used template weapons all round.
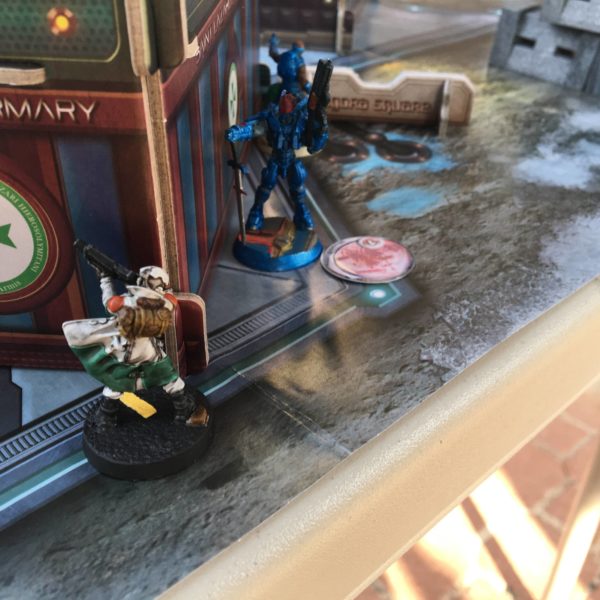
There wasn’t much Sean could do at this point. He had a Swiss Guard beat stick but only could feed him 3 orders. We could have easily called the game to set up again but we were running short on time and decided to play it out. The Swiss Guard and medic came out to advance up the map. I let the Swiss Guard pass but my Daofei opened up on the medic, dropping him.
On my second round, I started moving figures up and had my second Guilang move down to engage the Swiss Guard. The face off at this range is not good and I caught the Croc man in the blast as well, eliminating him. The Swiss Guard took a hit and then, just to see how it worked, engaged my Guilang in close combat. It didn’t do anything as we both stalemated.

On round 3, I moved more of my units in to the victory areas to secure the win while the Swiss Guard cc’d again. Dice pooped on for both of us and that ended the rout.
With our third game in hand, we still seem to be struggling to find the tactical games we played under N3. Each game has seemed to be a blow out for one side or the other, with this last game being the most obvious. Game 2 saw me pinned behind two opposing strong ARO (reaction) pieces that I just couldn’t overcome: A Swiss Guard with a doctor support and a TR bot with engineering support.
I’d faced the TR bot in Game 1 to disastrous effect but thought the Guilang would be able to handle. Poor deployment and tactical decisions had me take down the TR bot but was slaughtered in the reaction. This may have worked but the engineer hiding behind the bot just picked it back up. My guys couldn’t find a path through (the mission requiring a figure to bring a mcguffin to the opposite end of the map). They all died to a man as Pan-O easily dominated things.
One of the biggest things I’ve struggled with early on is most of the units I have played with in this faction don’t exist in CodeOne. I’ve found that this led me to play a certain way and to crutch heavily on some very specific pieces to be successful. With those things gone, I found it a hard learning curve to overcome.

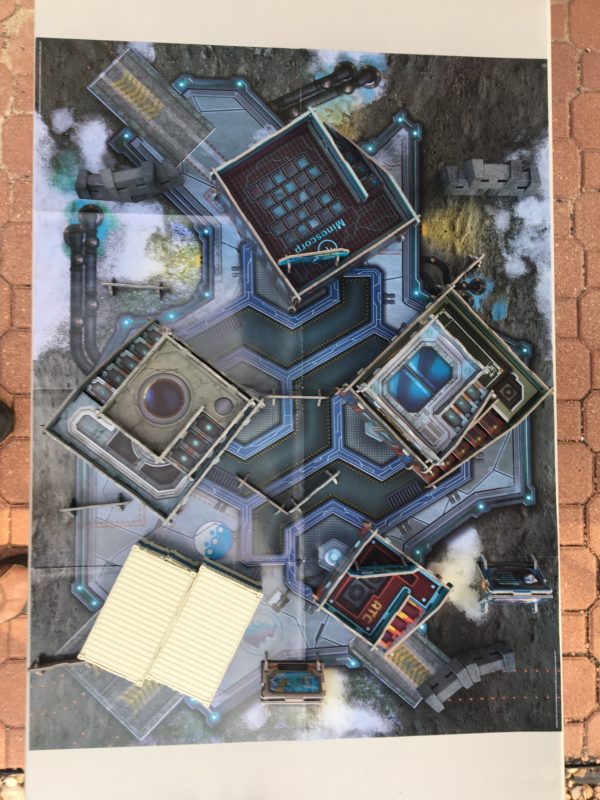
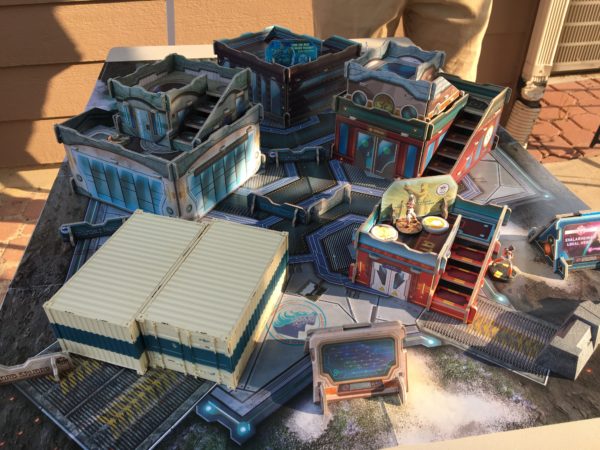
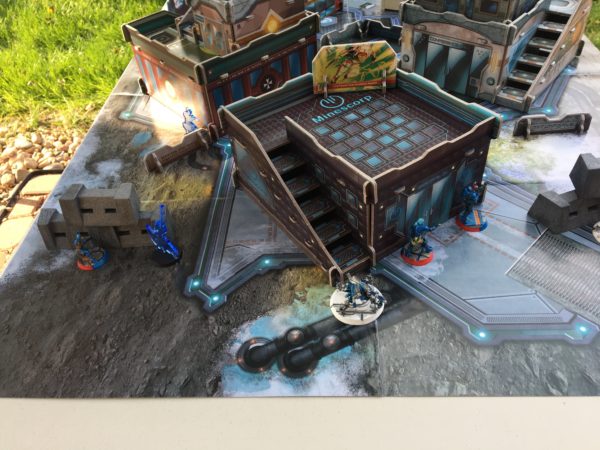
As I started to learn these new units and how to deal with them, Sean and I both noticed that CodeOne seems very difficult to run at the small 15 point level. The map is really small (which I like from a setup/footprint perspective) and it is hard to make the maps balanced in terms of allowing the appropriate units to work.
For example, building sniper nests so they can function but not also allowing them to dominate has been a particular struggle. This map punished snipers and didn’t allow for enough cover in the backfield on one deployment side. This heavily favored not only the use of close range shotgun weapons but also units with Infiltration that could set up halfway up the board. This likely led to the lopsided game we saw here.
Game 2 saw two crows nests (basically two small buildings) dominate as they could cover huge swaths of the board (frequently from both vantage points). Game 1 had the same but only from one vantage point. In a rule set that doesn’t allow for Cautious Movement (where you can dash from total cover to total cover), this brutal and you just have to get lucky in dodge rolls to survive.

Unfortunately for CodeOne, the N4 rules set is dropping this Friday and given the choice between the two systems, I’ll have to choose the one that allows me to use all the models I’ve bought and painted. The more complete option set of rules is another factor so I don’t see us playing CodeOne much after the N4 release.
That being said, Friday will not allow for enough time to really absorb all the rules changes so we decided to hit CodeOne one more time next weekend. We’ll give it one last shot to see if it can stay as a “quick play” alternative to N4 and we’ll go full points (or near full) to allow it the best opportunity to shine.